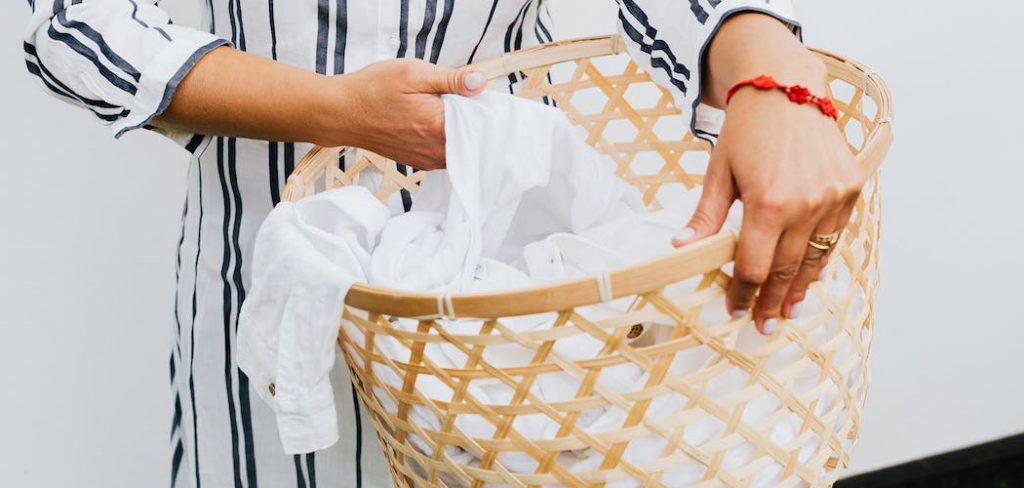
How to Make a Lining for a Basket
Adding a lining to a basket can not only protect its contents but also enhance its appearance and durability. Whether you’re repurposing an old basket or creating a new one from scratch, a lining can provide a professional finish and make your basket more functional.
Making a lining for a basket is a relatively simple DIY project that can be customized to your preferences and needs. In this intro paragraph, we will explore the process of how to make a lining for a basket, including the materials and steps involved.
Whether you’re looking to create a picnic basket, a storage basket, or a gift basket, a lining can add that extra touch of style and functionality to your creation. So, let’s dive into the world of basket making and learn how to make a lining that will elevate your basket to the next level!
What Can I Line a Basket with?
When it comes to lining a basket, there are a variety of materials that can be used. Some of the most popular options for lining include fabric, felt, fleece, and plastic. Depending on what kind of basket you have and what purpose it serves, one type of material may work better than another.
Fabric is often used as a liner in baskets because it’s easy to cut and sew into the desired shape. Many types of fabrics can be used when making liners, such as cotton blends, quilting fabric, or upholstery weight fabrics. Using a water-repellent fabric will help keep moisture out and make the liner last longer.
Felt is another common material used to line baskets. It’s soft and flexible, making it easy to cut and shape into whatever size or shape you need. Felt is also a good choice if you’re looking for an inexpensive way to line your basket because it’s readily available in most craft stores.
Fleece can be used as a liner for baskets as well. It’s a lightweight material, making it easy to work with and cut into the proper size and shape. Fleece also provides insulation from moisture for your basket, which is especially helpful if you’re using it for food storage.
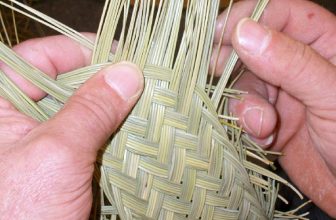
10 Methods How to Make a Lining for a Basket
1. Measure and Cut:
Measure the inside dimensions of your basket and add a few inches for seam allowances. Cut a piece of fabric based on these measurements to create the lining for your basket. You can use any fabric of your choice, such as cotton or canvas.

However, make sure that the fabric is thick enough to provide some stability and structure for the lining. Though you can use a sewing machine to sew the pieces together, it is best to hand-sew them as this will provide a more secure fit.
2. Hem the Edges:
Hem all four sides of the fabric by folding over the edges and sewing them down using a straight stitch on a sewing machine or hand stitching. This will prevent fraying and give your lining a clean finish. If hand stitching, use a simple running stitch for this step. If you’re using a sewing machine, be sure to choose the appropriate thread and needle size for your fabric.
While hemming, also take this opportunity to add any decorative details you want to the lining. For example, you could stitch a ribbon or lace trim around the edge of the hem for a decorative touch. Once all four edges are hemmed, you’re ready to attach your lining to the basket.
3. Attach Interfacing:
If you want to add extra stability to your lining, you can attach interfacing to the wrong side of the fabric. Cut interfacing to the same size as your fabric lining and iron it onto the fabric according to the manufacturer’s instructions.
This will give your basket lining extra stability and make it less likely to stretch or sag over time. However, be aware that the interfacing will make your lining stiffer, so it won’t drape quite as nicely. To prevent fraying, you can also finish the edges of your fabric before adding interfacing. Although this step is optional, it can provide a nice extra touch to your lining.
4. Add Pockets:
To create pockets in your lining for small items, cut and hem additional pieces of fabric to the desired size and shape. Attach them to the lining fabric using adhesive or stitching, leaving the top open for easy access.
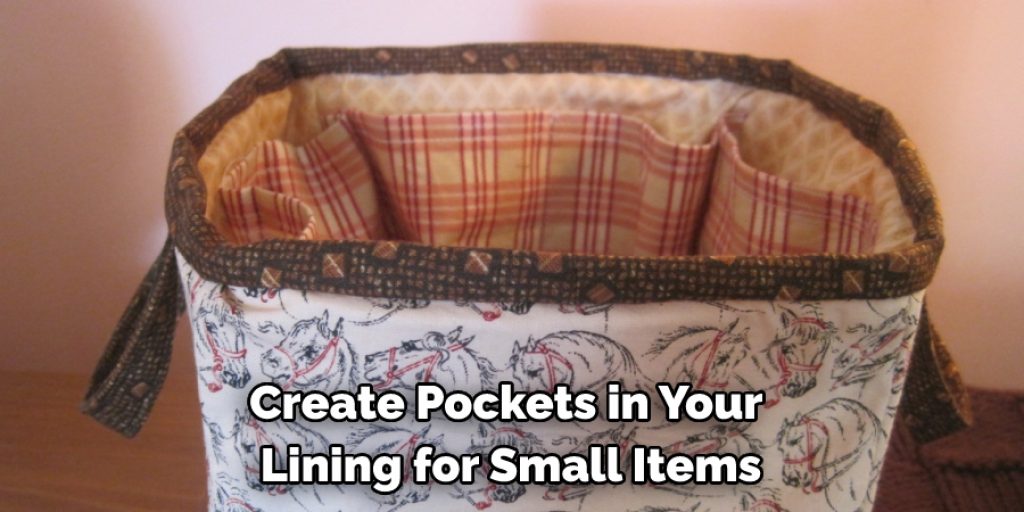
Pockets can also be created by making a separate piece of fabric, attaching it to the lining, and then folding back one side and stitching it in place. This will create an enclosed pocket and is ideal for items that need to be kept secure. Finally, if desired, use decorative trim or ribbon to add a special touch.
5. Sew the Sides:
Fold the fabric in half with the right sides facing each other, aligning the edges. Sew the sides together, leaving the top open, using a straight stitch, and backstitching at the beginning and end for reinforcement. Turn the fabric right side out and press the seams. Though the original fabric will not be visible, pressing the seams creates a neat finish.
To make sure the lining does not sag, stitch a few lines of gathering stitches along the top edge. Pull on the thread to gather the fabric as needed and fit it inside the basket. The gathering stitches will help keep the lining in place. Make sure the lining fits snugly inside the basket.
6. Box the Corners:
To create a flat bottom for your lining, box the corners. Pinch the corner of the lining fabric and fold it so that the side seam and bottom seam align. Sew across the corner, about an inch from the point, creating a triangle. Trim off the excess fabric and repeat on the other corner. Your lining should now have a flat bottom.
While this step is not required, it helps give your completed basket a professional look. Although the lining fabric may bunch up slightly on the corners, it will be securely held in place once you finish attaching the basket handles.
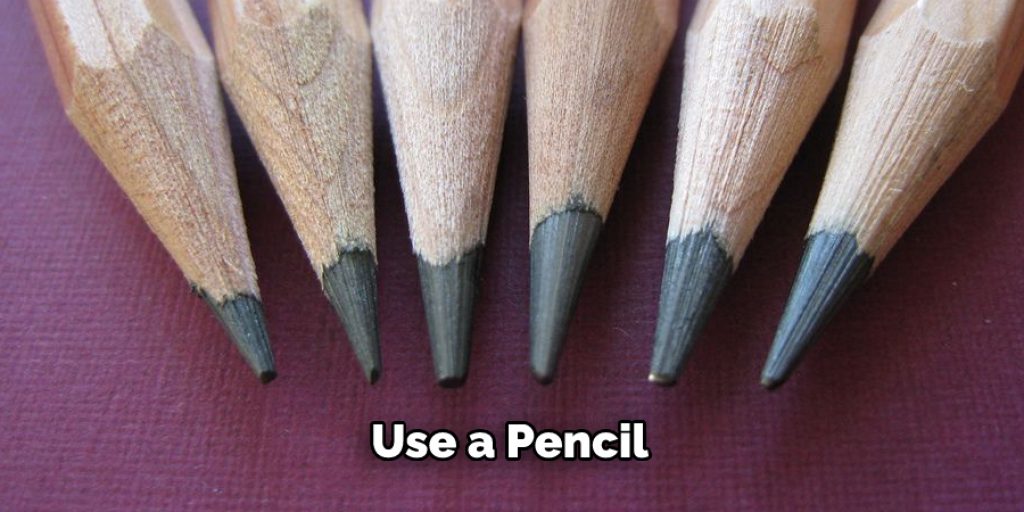
7. Turn Right Side Out:
Turn the lining right side out by pulling it through the top opening. Use a pencil or other blunt object to push out the corners and edges for a neat finish. If necessary, press the lining with an iron on a low-heat setting.
To keep the edges crisp, press them with a strip of bias tape. Though this is optional, it gives a neat, professional finish. While one person holds the lining in place, another person can sew a running stitch along the top of the basket to secure it in place. Make sure that the stitch is tight but not too tight so it doesn’t affect the shape of the basket.
8. Attach Handles:
If your basket has handles, mark their positions on the lining and cut small slits to accommodate them. Insert the handles through the slits and secure them in place by sewing or tying knots. If you’re using a fabric that frays easily, use fray-resistant thread to attach them.
9. Fit the Lining in the Basket:
Place the lining inside the basket, adjusting it to fit snugly. Make sure the lining sits evenly along the sides and bottom of the basket. If needed, use pins to secure the lining in place.
While the basket is empty, check to make sure the lining fits correctly before you fill it with items. To finish, fold the excess fabric at the top of the lining inward and stitch it in place. Your lined basket is now ready to fill with your favorite items.
10. Secure the Lining:
If desired, you can secure the lining to the basket using fabric glue, small stitches, or clips. This will prevent the lining from shifting or falling out when the basket is in use. If using fabric glue, be sure to apply it evenly around the edges of the lining.
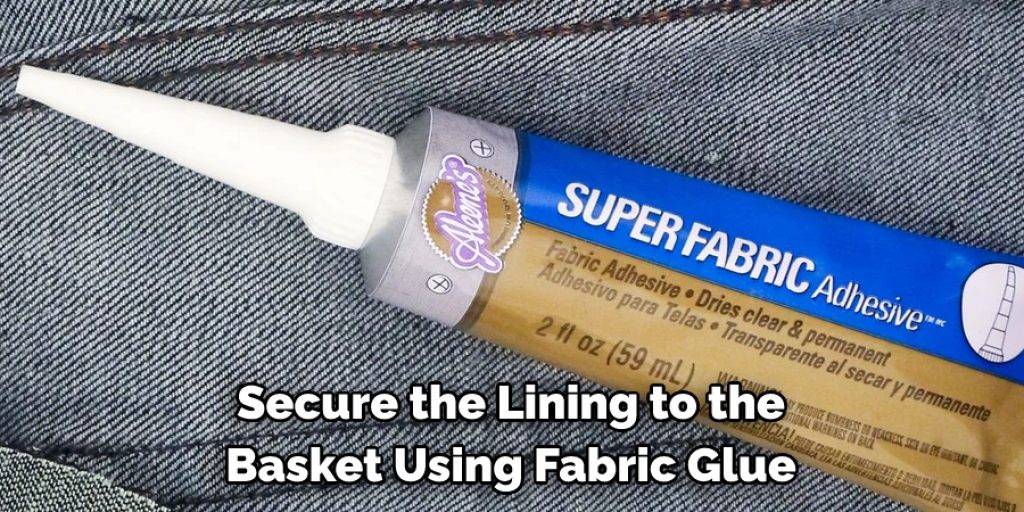
Small stitches can also provide a secure fit if you feel comfortable with hand sewing. Clips will work in a pinch but may soon need to be reattached due to daily use. Once your basket lining is secured, give it a final check and fill your basket with the items of your choice.
The possibilities are endless when it comes to creating beautiful custom linings for baskets. Whether you use fabric or paper, creating a lining can be a great way to add style and personality to any basket. With just a few simple supplies and steps, you can create a stunning
Conclusion
Crafting a lining for a basket is an enjoyable and creative way to pass time. With the right materials, a few simple steps, and some patience, even beginners can create beautiful linings for their baskets. Whether you choose to make yours from fabric or leather, this guide should have provided you with all the necessary resources and knowledge to help you along the way.
So now that you know the basics of how to make a lining for a basket, why not give it a try? Create a lining that perfectly suits your basket and express yourself with color, texture, and pattern. Make something you’ll be proud of!
Angela Ervin
Angela is the executive editor of DIY quickly. She began her career as an interior designer before applying her strategic and creative passion to lifestyle and home. She has close to 15 years of experience in creative writing and online content strategy for housekeeping, home decorations as well as other niche efforts. She loves her job and has the privilege of working with an extraordinary team. She lives with her husband, two sons, and daughter in Petersburg. When she's not busy working she spent time with her family.