How to Make May Baskets
May baskets are a charming tradition associated with the arrival of spring, celebrated in many cultures around the world. These delightful little baskets, usually filled with flowers, sweets, or small gifts, are hung on the doors of friends, neighbors, or loved ones as a gesture of goodwill and friendship.
Making May baskets can be a fun and creative activity for both kids and adults and a wonderful way to spread some cheer during the season of renewal. Whether you’re new to the tradition or looking for fresh ideas, this guide will provide you with easy-to-follow instructions on how to make May baskets.
From selecting materials and designing your baskets to choosing the perfect treats to fill them with, we’ll walk you through the steps to create beautiful and thoughtful May baskets that will brighten someone’s day. Get ready to embrace the spirit of spring and share some joy with your own handcrafted May baskets!
What Should I Put in My May Day Basket?
A May Day Basket is traditionally filled with small gifts and treats for the person you are gifting them to. The contents of the basket can be personalized based on what the recipient would like but may include flowers, chocolates or other sweets, a note or letter, potted plants or herbs, homemade jams or jellies, jewelry, scarves, and hats for cold weather days, art supplies such as paints and canvases for creative types.
You could also fill your basket with items from a hobby that your gift recipient enjoys – some yarn and knitting needles for knitters; golf balls and tees for golfers; gardening tools and seeds; cookie cutters; birdhouses. Whatever you decide to put in it, the basket should be full of things that your recipient will enjoy. Be sure to decorate your basket with a bow or some colorful ribbons, and the gift is sure to be appreciated!
What Is the Tradition of May Flowers?
The tradition of May Flowers is a centuries-old custom that dates back to the days of Ancient Rome. On the second day of May each year, Romans would gather flowers to decorate and honor their goddess Flora. This tradition has been carried on through many cultures, including Britain and America. In some places, it’s said that if you give someone a May Basket filled with fresh flowers on the first day of May, they will be blessed with good luck and prosperity throughout the rest of the year.
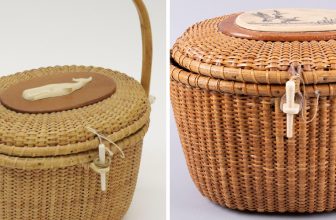
Today, giving someone a May Basket is still a popular way to show your appreciation or friendship for someone special. Most often, these baskets are filled with colorful springtime flowers such as daisies, daffodils, tulips, and hyacinths. The basket itself may be anything from a woven wicker to a delicate porcelain bowl or ceramic vase. Some people even create their own unique May Baskets made of paper or fabric.
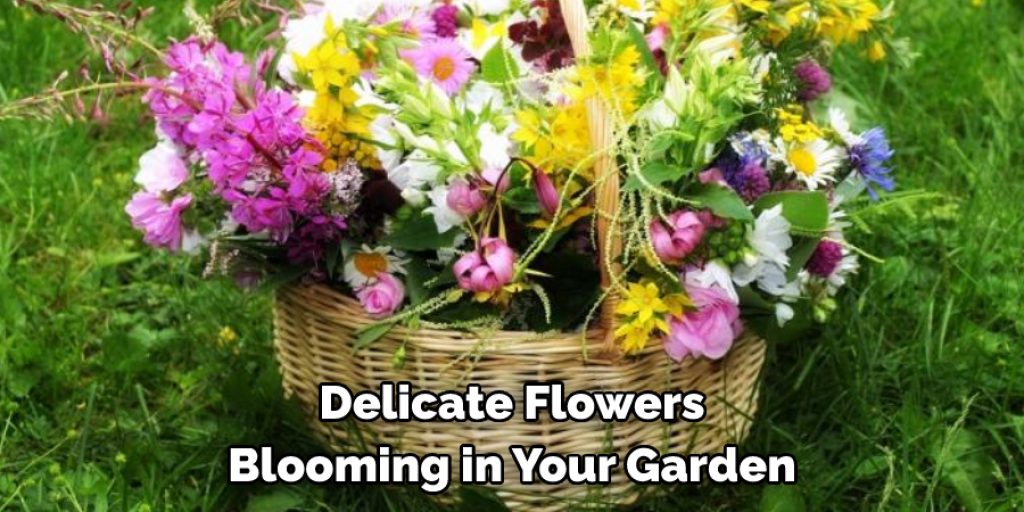
No matter how you choose to give your May Basket, take some time to appreciate the beauty of springtime that, it represents. From the delicate flowers blooming in your garden to the sweet smells of nature, take a moment to savor the season and enjoy the simple beauty of giving May Flowers.
What Tools & Supplies You’ll Need?
To make your May Baskets, you’ll need a few basic supplies. Here’s what we recommend for the best results:
- Ribbon or yarn.
- Scissors.
- Floral wire or pipe cleaners.
- Decorative items such as ribbons, buttons, and artificial flowers.
- Lightweight paper or cardstock.
- A hole punch.
- Glue gun (optional).
- 8. Floral foam (optional).
- Container of your choice.
Once you have all of the supplies, you’re ready to start putting together your May Baskets! Have fun and don’t forget to share pictures of your creations with us on social media!
7 Methods How to Make May Baskets
1. Gather Supplies
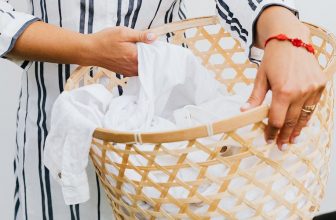
To make a May basket, you will need a basket, some tissue paper, ribbon, and flowers. You can find all of these supplies at your local craft store. You can also use any other decorations you’d like, such as bows or confetti.
If you’re feeling creative, you can also make your own basket out of recycled material. Though this may take a bit longer, it will make your basket extra special! However you choose to decorate it, make sure your basket is big enough to fit at least a few items inside.
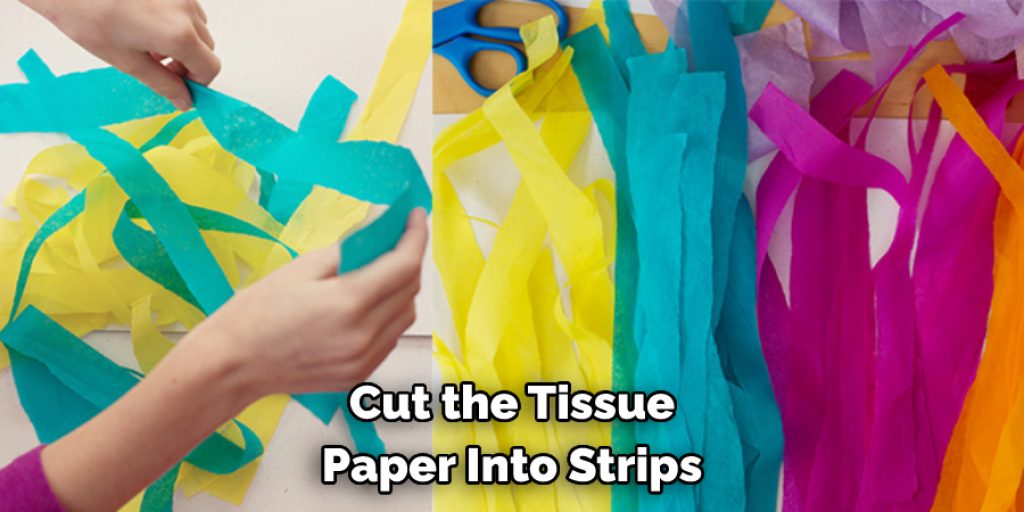
2. Cut the Tissue Paper
Cut the tissue paper into strips that are about 1-2 inches wide. You will need enough strips to cover the bottom of the basket and to wrap around the flowers. You can use any color of tissue paper you want but consider bright hues such as yellow, pink, and orange that will make the basket look festive.
If you prefer, you can use coordinating colors in the same shade. If you want a more traditional look, use solid colors like white or cream. While you’re cutting, you can also cut out festive shapes such as stars, hearts, or butterflies for an added touch. To finish, gather the strips and set them aside.
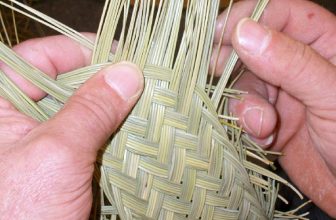
3. Wrap the Basket
Wrap the basket with tissue paper, using glue or tape to secure it in place. Decorations, such as ribbons, bows or fabric flowers, can be added to the basket to give it a more finished look. To finish off the basket, attach a handle to one side of it using string or yarn.
If desired, attach a tag with a personalized note or message. Your May basket is now ready to be hung on your loved one’s front door. While anyone can enjoy the beauty of these delightful baskets, they are especially appreciated by those who have been on the receiving end of your thoughtful gesture.
May baskets give you an opportunity to show someone how much you care and remind them that you are thinking of them even when apart.
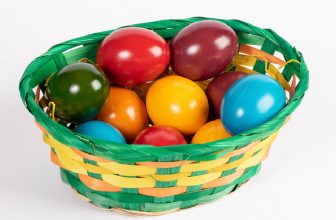
4. Fill the Basket with Flowers
Fill the basket with your favorite flowers. Make sure to leave enough room at the top of the basket so that you can tie a ribbon around it. You can also add other decorations, such as ribbons, bows, and buttons.
If you are using a metal basket, it may be easier to decorate with glue. If you’re using a paper-lined basket, use decorative tape or glue to secure the decorations.
Once your basket is filled with flowers, tie a ribbon around the neck of the basket to finish it off. Place your finished May Basket on a porch or doorstep, knock, and run away! Enjoy the smiles of your friends and family when they receive their May Basket.
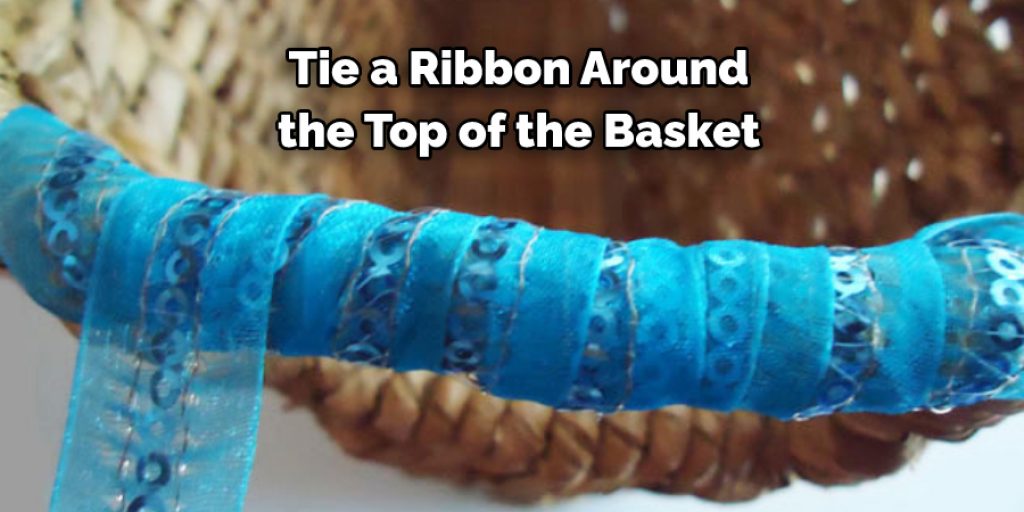
5. Tie a Ribbon Around the Basket
Tie a ribbon around the top of the basket, making sure to leave enough slack so that you can hang it from a doorknob or other object. You can use a simple piece of ribbon or tulle or get creative with colored ribbons and bows.
Make sure the ribbon is tightly secured in place. You may even choose to use a fabric flower appliqué or other embellishments to spice up the basket. While this isn’t necessary, it can make the basket extra special. Though not required, you may also choose to tie a note card or tag onto the basket.
6. Hang the Basket on a Doorknob or Other Object
Hang your May basket on a doorknob or other object. Be sure to knock on the door before you hang it so that you don’t startle anyone who might be inside! If you plan on hanging the basket on a tree, make sure to tie it securely and use a long enough string so that it won’t be too close to the ground.
Be sure to leave a note with the basket so that whoever receives it knows who it is from! After you have hung the basket, you can stand back and enjoy the beauty of your May basket.
7. Enjoy Your Handiwork!
Step back and enjoy your handiwork! May baskets are a great way to show someone you care, and they’re sure to appreciate your thoughtfulness. Make sure to hang the basket on their front door, so they can get a surprise when they open it up. Consider adding a note to the basket for an extra special touch.
Once you have completed your May Basket, you and your family or friends can enjoy the fruits of your labor! Have fun making these special gifts and creating lasting memories in the process.
Conclusion
Taking the time to craft your own May Baskets is a special way to make sure your family and friends will remember the meaning of this holiday for years to come. Not only does it give you an opportunity to be creative, but you can bring joy to those around you as they experience something made with love.
With a few simple supplies, you have everything you need to get started! Thanks for reading, and we hope this has given you some inspiration on how to make may baskets!
Angela Ervin
Angela is the executive editor of DIY quickly. She began her career as an interior designer before applying her strategic and creative passion to lifestyle and home. She has close to 15 years of experience in creative writing and online content strategy for housekeeping, home decorations as well as other niche efforts. She loves her job and has the privilege of working with an extraordinary team. She lives with her husband, two sons, and daughter in Petersburg. When she's not busy working she spent time with her family.