
How to Cut a Fat Quarter
Introduction:
Fat quarters are really very essential at different portions of your outfit. But the problem is they are needed to be brought from the market. Due to that, you may have to spend some additional money.
It would be better if the problem ended here. But sometimes, you may be unable to find the right quarter for your project, which extends the complications to the fullest.
Now you are here, you won’t have to face this annoying complication again. So in this article, I will show you how to cut a fat quarter easily so that you won’t have to buy it from the shop again.
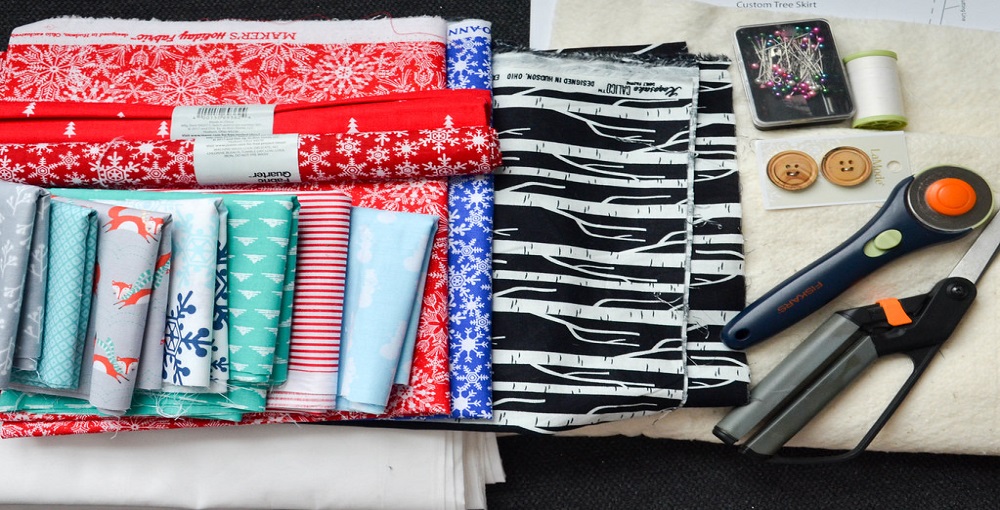
Required Materials:
- A fat quarter piece of fabric
- Scissors
- Rotary cutter or sharp blade and cutting board.
Processes on How To Cut A Fat Quarter
Process One:
First, lay the fabric in front of you with the right side facing up. Then, fold it in half diagonally and cut off any excess fabric at the fold, as close to your line as possible. You now have a triangle-shaped piece of fabric, approximately 12″ x 18″.
Next, take one long edge and fold over two inches on each side for seam allowance. If you are using a rotary cutter or sharp blade and cutting board, this step can be done after folding the other edges under, which will give you more control when making these folds so there won’t be any bulkiness from creating them before trimming them down too much.
Starting near where those folded sides meet (the top), measure width-wise and make a small mark with your fabric pen or pencil. Then, measure the width of your ruler to see how many inches you need to cut on that side before cutting off any excess at the end.
You have created an inside triangle shape where the sides meet together neatly without any bulkiness from creating them first and then trimming down too much as we did earlier when folding those two short ends under, which will give us more control when making these folds so there won’t be any bulkiness from creating them before trimming down too much as well.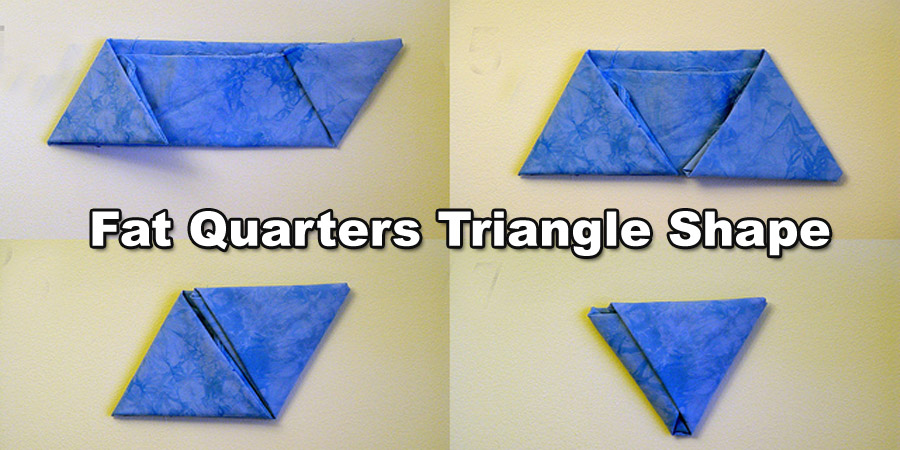
Now, take one long edge and fold it over again for seam allowance, so all three edges are folded in now and meet up nicely.
Measure out your desired length by measuring across both folded sides. You can cut the fabric with scissors, but I find it easier to use a rotary cutter and to cut mat, so you get a really straight line on your cuts.
First, place your ruler over the folded edge of your fabric, then hold both ends together as tightly as you can while making sure not to stretch anything out too much (you want this piece to be nice and square).
Next, cut all around until you have created a rectangle shape equal in width by length without any excess hanging from having those two short edges meet up nicely when we folded them under earlier like our other strips below.
Now, follow these same instructions for each strip of fat quarters or yard-long pieces before trimming down one side with your rotary cutter to the size you want.
Process Two
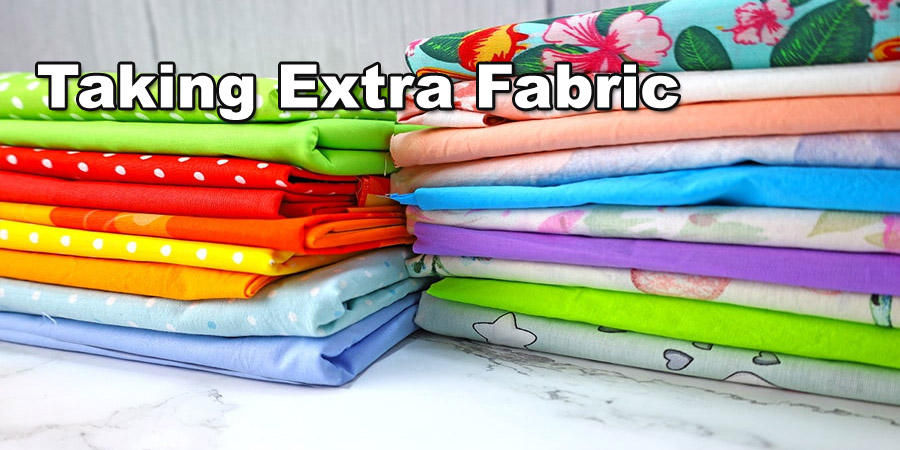
So, I have first placed the material along the end of my cutting board. I scotch the material all the way down. It does give you probably almost three-eights of an inch extra of fabric, but it is necessary because the fabric doesn’t always come completely square.
A fat quarter is a piece of fabric that is 18 inches wide by the width of the fabric. So, if the width of the fabric is 40 inches, the fat quarter should be 18 by 20 inches. If the fabric’s width extends to 44 inches, the fat quarter should be 18 by 22 and a half inches.
Once you figured that out, put your ruler on the fabric and use your rotary cutter to slice it off. You will get a fat quarter with this method. Next, rotate the fabric and put the ruler along the edges. That’s it; you will get your fat quarter ready to use. See, I told you it’s simple. Hopefully, you have understood the above process.
Final Thoughts
In conclusion, we have stated two vital processes in this article that will help you cut a fat quarter. But you must ensure all the materials before starting the work. You should also maintain personal safety while using the cutter and other sharp objects. You should also follow all the instructions carefully. Thank you, and have a good day.
You may read also –
Elizabeth Davis
Elizabeth is a creative writer and digital editor based in the United States. She has a passion for the arts and crafts, which she developed from a young age. Elizabeth has always loved experimenting with new mediums and sharing her work with others. When she started blogging, she knew that DIYquickly would be the perfect platform to share her tutorials and tips. She's been writing for the blog from the beginning, and her readers love her helpful advice and easy-to-follow instructions. When she's not writing or editing, Elizabeth enjoys spending time with her family and friends.


