
How to Make Mitered Corners on Quilt Borders
Do you want to know about the appropriate process of how to make mitered corners on quilt borders? If the answer is definite, we must say you are in the correct place. Yes, believe us, we are not making a fool of you!
To learn the process of making mitered corners on quilt borders, you should have to follow some basic level steps. Otherwise, there is quite a possibility that you might not be able to perform the task if you fail to follow any of the steps correctly.
We have some good news for you throughout this article; we will present you with a step-by-step procedure for making mitered corners on a quilt border.
We believe that if you can manage to follow the steps that we are going to provide accordingly and maintain all the careful measurements, you will be able to execute the task appropriately, even without requiring others’ support.
If you are willing to study this topic in more depth, we request you to read the whole content to acquire all the less-known factors that were creating obstacles in your way of achieving your most desired outcome.
An Overall Overview of the Topic
A mitered corner is an approach to complete corners on pad cases, shades, napkins, and various sewing ventures. Making mitered corners will make the edges of your undertaking look perfect and clean.
Sewing mitered corners may appear to be testing; however, it is straightforward and requires making one crease on each corner. In any case, you should make several folds and stamps to distinguish where to sew the creases.
For a great deal of starting quilters, making mitered corners is startling. It looks entangled. Mitered corners look incredible on quilts. Numerous quilters avoid sewing them since it appears to be confused.
The Process of How to Make Mitered Corners on Quilt Borders
- In this model, we utilize a blanket top that estimates 11″ x 14″. The outskirts are cut at 3-1/2″ and finish at 3″. To accurately figure out what length to cut the outskirt strips, include the accompanying numbers: width or height + cut outskirt width + cut fringe width + 1″
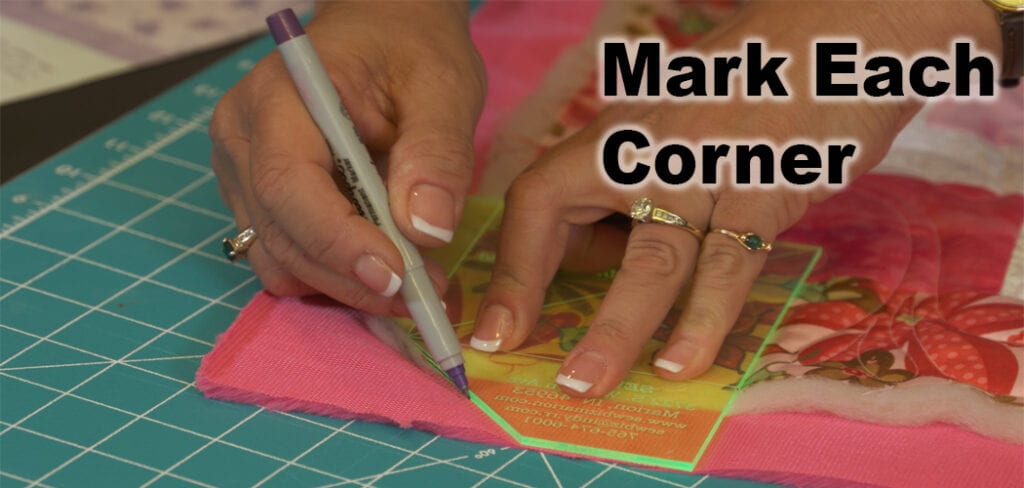
- I propose you do not avoid this progression. On the blanket top, mark each corner where the two crease remittances intersect. You can use a ruler with 1/4″ lines to draw lines.
- Discover the focuses of the fringe strip and the edge. You are sewing. Match the centers and pin between the inside and the checked corners. Stitch a 1/4″ crease from one stamped corner to the next. It can leave the ridge open on each side.
- Press the crease towards the blanket top—rehash stages 3 and 4 with the rest of the blanket sides.
- In this progression, you will crease, imprint, and fasten the miter one at a time. Place the right sides of adjoining outskirts together. It makes a 45-degree crease in the blanket top, as appeared previously.
The creases in the blanket should be squeezed towards the top so that the ridges are stacked on top of each other. Use the overlap as your guide, and place the edge of a ruler with the overlay on the fringe. Use a stamping pen or pencil to check the slanting line on the edge of the blanket.
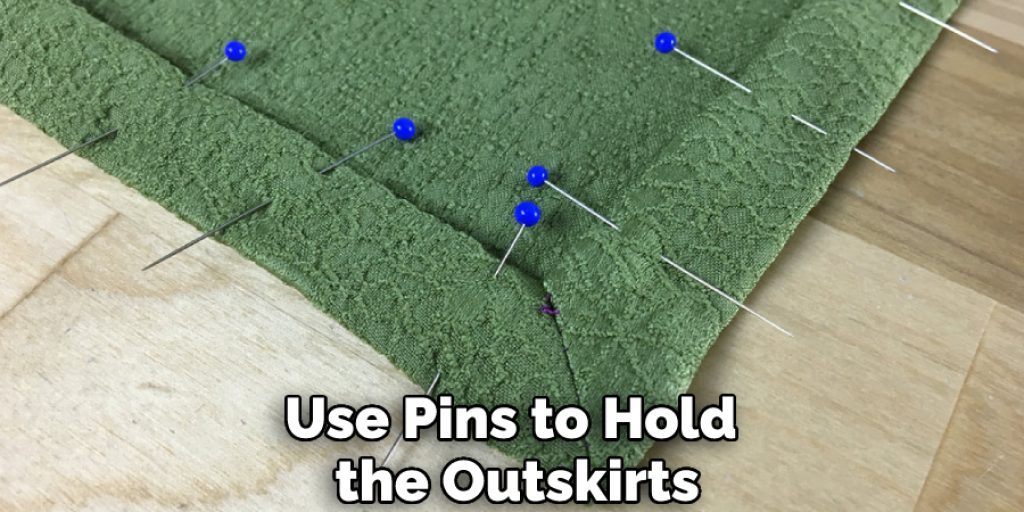
Use pins to hold the outskirts in place. Then, stitch along the blocked line. Unfurl the blanket. After that, press the crease either aside or open. Watch that the miter lays level before cutting the crease.
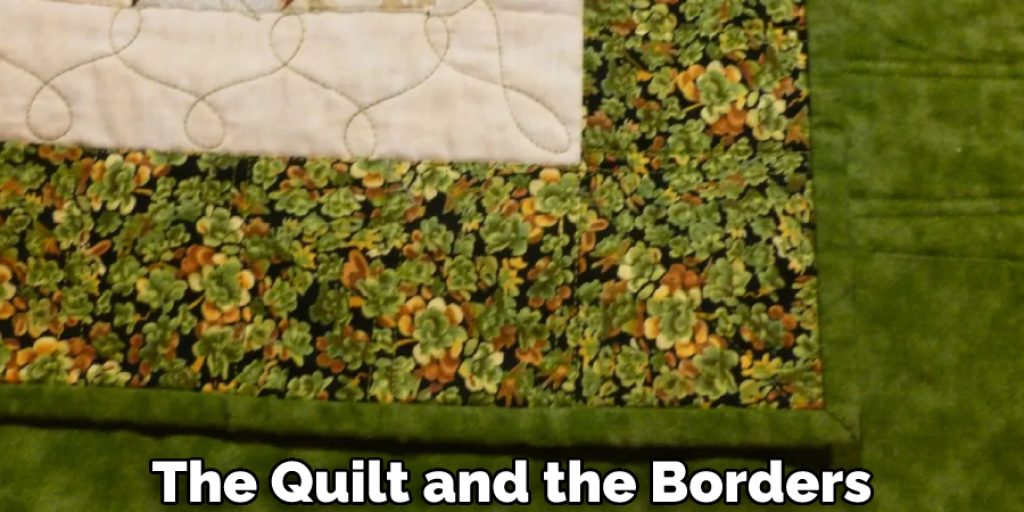
Trim off the little stubs that jab out. The unobtrusive crease of a mitered corner makes the deception of a continuous line around the blanket and exemplifies the magnificence of sewing.
Incredible mitering strategies can likewise be utilized for edges and corners of articles of clothing, bed and table materials, and home-enhancing ventures. When you make beautifully mitered corners, they are exceptionally simple to do and add an expert look to your investment.
Assuming you’ve made it to the end of this content, your confusion and queries about how to make mitered corners on quilt borders should now have an appropriate solution.
Again, we believe you can correctly follow the steps mentioned earlier in this article; then, you may achieve your goal successfully. But make sure you maintain all the precautions, then you are good to go.
Frequently Asked Questions
Which Borders Go on a Quilt First?
The answer to this question is very difficult as it depends on the quilt design. However, in general, the borders go on the outside of the quilt first.
Should I Square Up My Quilt Before Adding Borders?
There is no definite answer to this question as it depends on the quilt and the borders you use.
If the quilt is a solid color, then it is probably not necessary to square up the quilt before adding borders. However, if the quilt has a pattern or design, it may be necessary to square up the quilt to get accurate measurements for your borders.
Why Does My Quilt Top Pucker?
There are a few reasons why your quilt top might pucker. One possibility is that the batting is too dense, and the quilt won’t loft as much as it should. If this is the case, you can try to switch to a less dense batting or add more loft to the quilt by using a layer of fleece, cotton batting, or even a piece of lightweight foam.
One more reason your quilt may pucker could be from incorrect sewing techniques. Ensure you’re following the proper instructions for piecing your quilt together so no stitches are visible on the surface of your fabric. Also, be careful not to over-sew or use too many stabilizers; these can cause problems with the quilt’s ability to move and breathe.
What Is Quilt Puckering?
Quilt puckering is a common problem affecting quilts and other fabrics when dried. It is caused by the fabric shrinking in the dryer, which causes the fabric to curl up. There are several ways to prevent quilt puckering:
1. Pre-treat your fabric with a water-repellent agent before you dry it. This will help keep the fabric from shrinking and causing puckering.
2. Dry your quilt slowly and evenly to avoid excess heat or moisture build-up, which can cause the fabric to shrink and curl up.
3. Use a mesh drying rack instead of a wooden one if possible, as this will help distribute the heat more evenly and prevent excess moisture from building up.
What Is Seam Puckering?
Seam puckering is a common issue that occurs when the fabric of your clothing stretches. This can happen when you wear clothes that are too tight or too large. When the fabric stretches, it creates wrinkles or folds in the fabric. Over time, these wrinkles can become noticeable and annoying. There are a few things that you can do to prevent seam puckering from happening:
1. Buy clothes that fit well and are made from comfortable materials.
2. Don’t wear clothes that are too tight or too large.
3. Let your clothes air-dry after washing them to reduce the amount of starch in the fabric.


