
How To Cut Sashing Strips For Quilts
Introduction
Cutting sashing strips may sound like a very tough job. But with the accurate techniques, any fabric can be easily turned into usable pieces for a quilt. This article may help you by saving a lot of money and time as you’ll be doing it on your own.
Requirements
The basic things that you need are the rotary cutter, the 6/24 ruler, 15/15 square ruler, and finally, a cutting map for safe cutting.
Step One: Draw a Diagram of the Quilt
The first thing you need to do is to draw a diagram of the quilt. It will give you a genuine guideline. Then you need to take a suitable fabric and wash it well and dry it properly. After that, you should press the fabric to get an even and flawless cut. You can start with horizontal stripes or vertical stripes.
Step Two: Cut the Horizontal Stripes Vertically
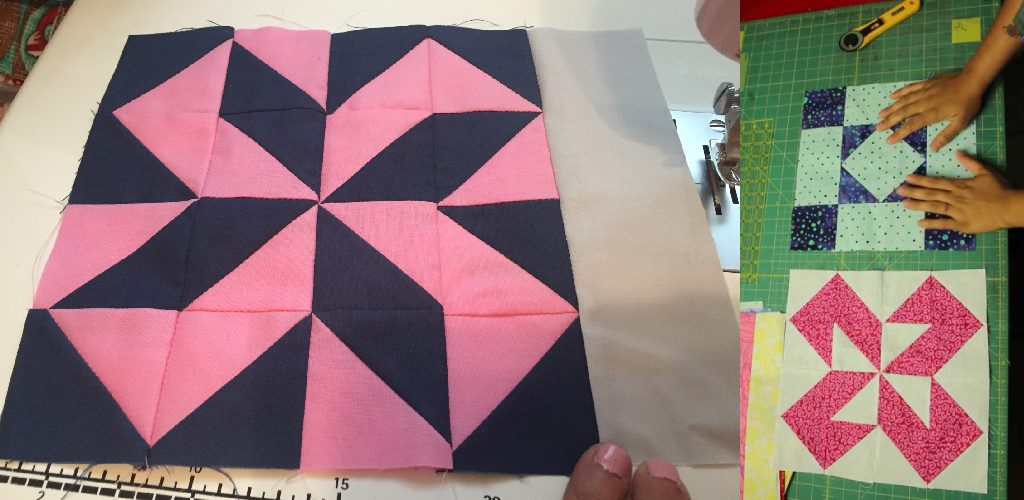
To make a quilt, you need to cut fabric into strips and then sew the strips together. The interesting thing is that you have to cut the horizontal stripes vertically to lay in the right direction. It would be best if you cut a sizeable rectangle-shaped cloth that will cover all the horizontal or vertical stripes.
Step Three: Cut the Longer Piece Into Shorter Stripes
Now it’s time to cut the longer piece into shorter stripes. Then stretch it out to cut it into pieces. Then cut along the scale edge with 4.5-inch height and 12.5 lengths wide. And the vice versa measurements for the vertical cut. Now, all you need to do is to take measures and cut the fabric according to the need of your expected quilt strips that you have drawn. Be careful about cutting it while holding the scale to get a perfect edge. Otherwise, the edge may not be even, and you won’t get perfect strips.
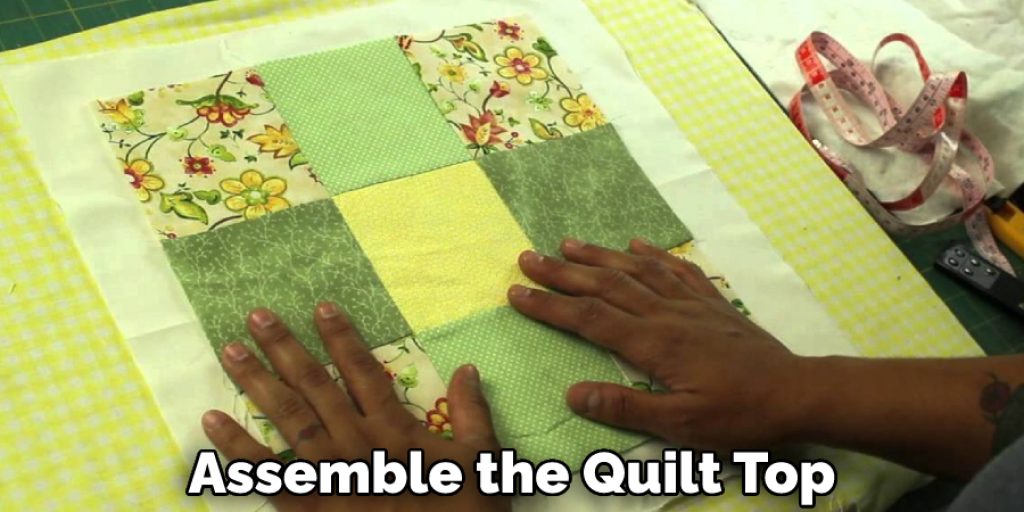
Step Four: Assemble the Quilt
Now it’s time to assemble the quilt top. Start by laying out the quilt top pieces according to the diagram or picture you use as a guide. Then, square them up if necessary.
After you finish sewing the blocks together, you will need to sew the sashing strips in between the blocks. It is important to match the seams of the blocks and sashing strips. Lastly, you will sew the borders to the quilt top. Make sure the seams match. Now your quilt is ready for batting and backing.
Step Five: Basting the Quilt
Basting is securing the quilt top to the batting and backing with long, loose stitches. This keeps the layers from shifting while you’re quilting. There are a few different ways to baste a quilt, but I prefer using safety pins. To start, I lay the backing fabric on my design wall (a corkboard hanging from the wall) wrong side up. I smooth it out, making sure there are no wrinkles or creases. Then I lay the batting on top of the backing, also smoothing it out.
To baste a quilt, start by placing a row of pins parallel to the quilt’s edge, about 1/2 inch from the edge. Then place another row of pins perpendicular to the first, spacing them about 2 inches apart. Continue until you’ve basted the entire quilt.
Step Six: Sew Them Together
Once the strips have been cut to length, it is time to sew them together. To do this, place two of the strip’s right sides together and sew along one long edge using a ¼ inch seam allowance. Zigzag or overcast the raw edges to prevent fraying. Do this for all of the strips.
Now it is time to sew the strips together. Place two of the strip’s right sides together and sew along one long edge using a ¼ inch seam allowance. Zigzag or overcast the raw edges to prevent fraying. Do this for all of the strips. When you are finished, the quilt top should look like a checkerboard.
Step Seven: Quilting
The final step is quilting the quilt. This is securing the quilt top, batting, and backing together. You can do this by hand or machine. I prefer to machine quilt as it is faster and more precise. There are a million different ways to quilt a quilt, so choose the method that best suits your skills and style.

Some Helpful Tips and Suggestions:
1. Decide the width of your sashing strips. This can depend on the size and shape of your quilt and the effect you are trying to achieve.
2. Cut strips from fabric yardage using a rotary cutter and mat or a good pair of scissors. A square ruler helps get evenly proportioned strips.
3. If your quilt has curved edges, it might look nicer with sashing cut on the bias (at a 45-degree angle to the fabric grain).
4. When sewing the strips together, be sure to press the seams open to avoid bulkiness.
5. If you want to add a border to your quilt, it’s often a good idea to use the same fabric for the sashing as for the border. This will help to unify the look of the entire quilt.
6. Sashing can also add interest and texture to a quilt or highlight certain areas of the design. Experiment with different widths and colors of strips to see what looks best.
7. Basting is an important step in quilting, but it can be tedious. I find it helpful to use a small, sharp needle (like a tapestry needle) and a long piece of thread to baste the quilt. This makes the process a little bit faster and less frustrating.
Frequently Asked Questions
Should Quilt Sashing Be Cut Crosswise or Lengthwise?
When adding sashing to a quilt top, it is important to consider the direction of the fabric grain. Sashing can be cut either crosswise or lengthwise, depending on the desired outcome.
Cutting sashing crosswise means that the fabric is cut perpendicular to the selvage edge, resulting in shorter strips with a larger width. This type of sashing is great for creating a strong horizontal element in the quilt top, as the eyes will be drawn across the width of the fabric. Additionally, crosswise sashing is useful for utilizing larger fabric prints without cutting them up too much.
What Does LOF Mean in Quilting?
LOF stands for a line of flow. This is the most common type of quilting design that is used in appliqué. The LOF pattern uses straight lines to create blocks and circles that are placed on top of each other, with a long thread stitch at the beginning and end.
What Is Cross Cutting in Quilting?
A cross-cutting is a term used in quilting. It refers to a diagonal cutting of fabric on the bias or perpendicular to the grain, which has been cut off square at both ends. Cross-cuts are useful for piecing together squares and rectangles that have been cut from a single piece of fabric. They are also known as bias cuts because they are made with the fabric’s natural bias folded in one direction.
Is It Ok to Piece Quilt Borders?
Yes, it is okay to piece quilt borders. However, you need to be careful and make sure that the two sides of the border are exactly even. It would be best to keep in mind that some pieces might not match up because they are made from different fabrics or sizes.
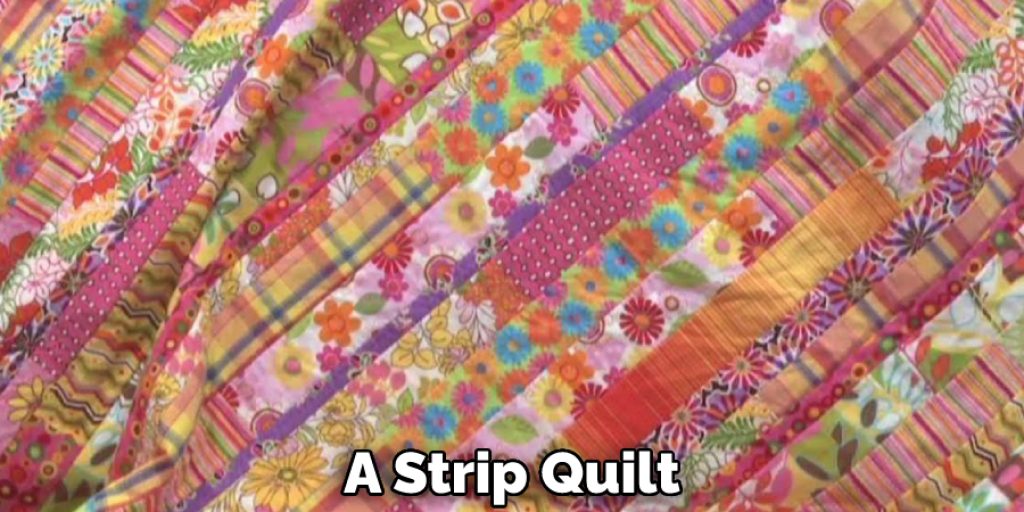
What Size Strips for a Strip Quilt?
The size of the strips you use for a strip quilt depends on how long your strips are. For example, if you have 6-inch strips, you would need about 4 yards of fabric.
If you want to make a quilt with 12-inch strips, you need about 8 yards of fabric.
Conclusion
As you can see, cutting sashing strips for quilts is not difficult. With the right tools and some practice, you will be able to create perfectly straight and evenly cut strips every time. We hope this blog post has helped you understand how to cut sashing strips for quilts better and given you the confidence to try it out yourself.
We recommend using a rotary cutter and mat to make the job easier and more precise. Use a ruler or other straight edge as a guide when cutting your fabric. If you have any questions about this process or want tips on how to sew sashing strips together, please let us know in the comments below.
You may read also –
1. How to Make Mitered Corners on Quilt Borders
2. How to Hand Quilt Grandmother’s Flower Garden
Elizabeth Davis
Elizabeth is a creative writer and digital editor based in the United States. She has a passion for the arts and crafts, which she developed from a young age. Elizabeth has always loved experimenting with new mediums and sharing her work with others. When she started blogging, she knew that DIYquickly would be the perfect platform to share her tutorials and tips. She's been writing for the blog from the beginning, and her readers love her helpful advice and easy-to-follow instructions. When she's not writing or editing, Elizabeth enjoys spending time with her family and friends.


