
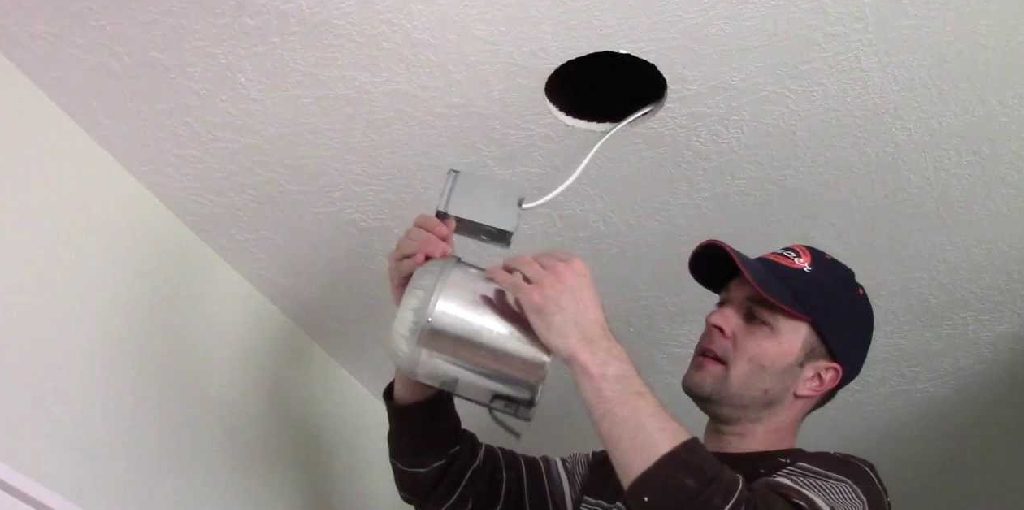
How to Cut a Hole in Plaster Ceiling
Hanging pictures or other items on the wall is a great way to decorate your house, but it can be difficult if you have plaster ceilings. This guide will show you how to cut a hole in plaster ceiling so that you can hang whatever you want without having to worry about damaging your ceiling. It’s easy! Just follow these step-by-step instructions, and soon enough, you’ll be changing things up with ease!
Plaster ceilings are gypsum and dried lime that can be cut with an electric saw or hand saw. It would help if you used caution when cutting the hole not to damage the surrounding area. The person doing the actual cutting should always wear safety goggles because this process will create dust. Read on to know more information!
Summary: If you find yourself stuck with a plaster ceiling that needs to be cut in order to fix a hole, there are a few methods you can try. One is to use a power drill and a hole saw, but this can be dangerous and difficult. Another option is to use a plasma cutter, which is less risky and faster, but also more expensive.
10 Ways on How to Cut a Hole in Plaster Ceiling:
1. Use a Drill with Hole Saw Attachment:
A hole saw drills a circle that is almost perfectly round, with smooth edges. A hole saw looks like an ordinary drill bit with a round blade attached in the center. The most common size of a hole saw has a diameter of seven inches and can cut up to four inches deep.
2. Use Drill Bits:
A hole saw is one of the most versatile tools in a woodworker’s arsenal. A circle is an abundant shape in furniture and buildings, and there are few methods to cut holes that work as quickly and accurately for this job. A drill is limited by its ability to drill straight down; when you need to drill a perfectly round hole in any material, a hole saw is the only way to do it.
3. Use Circular Saw:
The circular saw blade will give you the cleanest cut in drywall but probably doesn’t have enough oomph to cut through all of the layers in your plaster walls or ceilings. If available, use a reciprocating saw or a portable jigsaw instead.
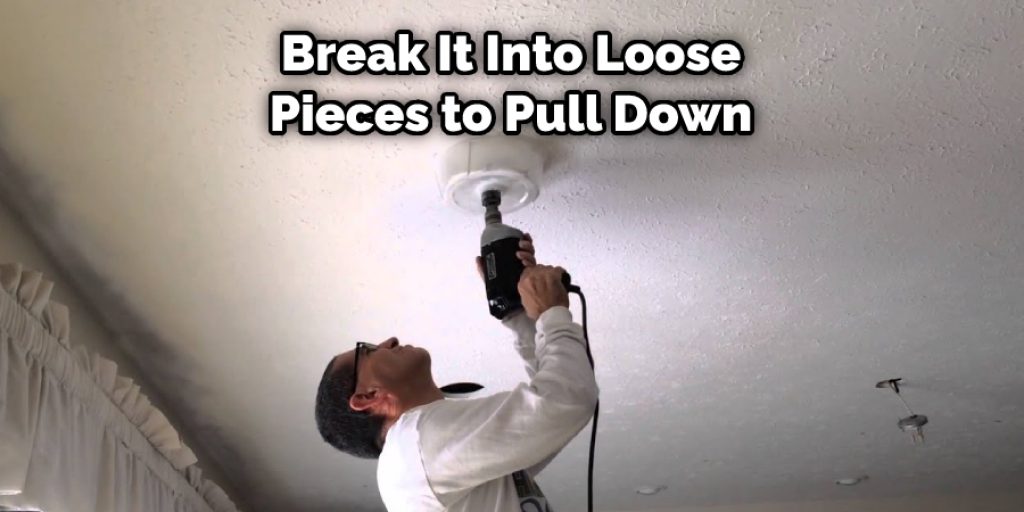
4. Breakable Tile Ceilings:
If you have a ceiling with tile on it, you can break it up into loose pieces to pull down and stick it into a garbage bag. This usually isn’t too difficult if the tiles are only 1/2-inch thick, but thicker tiles will require multiple blows of the hammer.
5. Use Demolition Hammer:
If you have access to a demolition hammer, this tool will break through just about anything. The noise your neighbors will hear when you use one might be enough of an incentive to take care of the problem another way, but if not, wear ear protection and go for it.
6. Use Jackhammer:
If there is no other option, you can always break up the ceiling with a jackhammer. Make sure to have the proper safety equipment for this job, though, because it is easy to injure your hands or feet if you are not careful.
7. Use a Router with a Straight Edge Guide:
If you can get your hands on one, use a router with a straight edge guide to cut. This will give you a perfectly smooth hole in the ceiling, and it is clean enough that you may not even need to prime or paint after it is cut.
8. Use Jigsaw:
Use a jigsaw to cut your hole in the ceiling. A straight blade is fine for this job; you don’t need anything special. Just make sure that it will fit through whatever opening you are cutting, and make sure that you care not to damage any of the joists or beams underneath with errant cuts.
9. Pry Out Plaster Ceiling Panels:
Locate the nails in the ceiling panels with a stud finder. Next, pry up one corner of a ceiling panel using a hammer and pry bar, then grab it with both hands, wiggle it loose, and quickly pull down on it with all your might to remove it from its track. Repeat this process until you have removed enough ceiling panels to access the area you are trying to repair.
10. Use Sawzall:
If you have a reciprocating saw, start cutting slowly through all of the material above where you need to make your repair. A little bit of patience will go a long way in this application; it is worth taking your time if it means getting out of the house without waking your neighbors.
Some Tips and Suggestions:
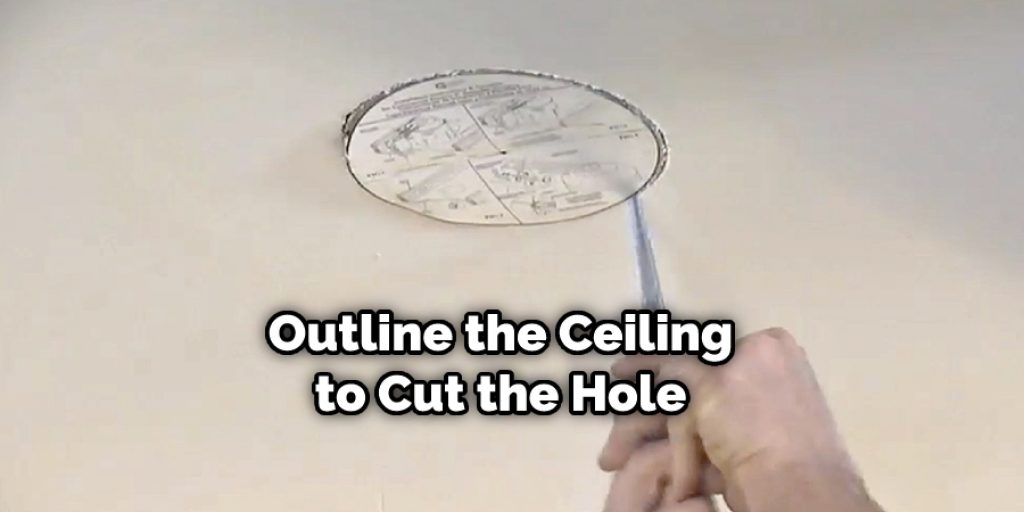
- Decide where the hole will be cut, then outline it onto the ceiling.
- Use a power drill to make small holes in the drawn rectangle/square (use around 5-6 holes).
- Start making deep cuts between each corner hole (you should get six cuts).
- Now, use a hammer to crack the blocks of material between each cut (you should get six cracks).
- Then use a chisel and hammer to remove all debris inside the drawn lines (be careful not to damage any electrical cables, plaster, etc.)
- Now, you can cut out the square/rectangle shape using a drywall saw (a cordless reciprocating saw will work too).
- Use some jointing compound to cover up any rough edges or cracks inside the hole.
- You may want to apply some paint over the top of the jointing compound to give it a more professional finish.
Conclusion:
The following step-by-step guide on how to cut a hole in plaster ceiling will provide you with a simple, straightforward method for cutting a hole in your plaster ceiling! In order for this project to be successful, you will need the following supplies and equipment an electric saw with a metal blade or reciprocating saw, high-grit sandpaper, pliers, safety goggles, and ear protection.
The first step involves cutting out a section of drywall surrounding where you want your opening cut until it has been removed from the studs on all four sides. Next, place some scrap under both ends of the area that was just released so they are perfectly aligned with one another (remembering how much height clearance we’ll need).
After securing these boards tightly against each other at their top edges, use them as spacers to hold the jack studs away while you cut their ends off. If this interests you and you would like to learn more about the plater ceiling, please feel free to contact us at any time!
Angela Ervin
Angela is the executive editor of DIY quickly. She began her career as an interior designer before applying her strategic and creative passion to lifestyle and home. She has close to 15 years of experience in creative writing and online content strategy for housekeeping, home decorations as well as other niche efforts. She loves her job and has the privilege of working with an extraordinary team. She lives with her husband, two sons, and daughter in Petersburg. When she's not busy working she spent time with her family.


