
How to Decorate a Basket With Ribbon
One of my favorite ways to decorate a basket is with ribbon. It’s such an easy way to add some flair and color! I always get compliments on how cute it looks, and people often ask me where they can find the same kind of ribbon that I used. Well, you are in luck because today I am going to show you how to decorate a basket with ribbon from simple materials!
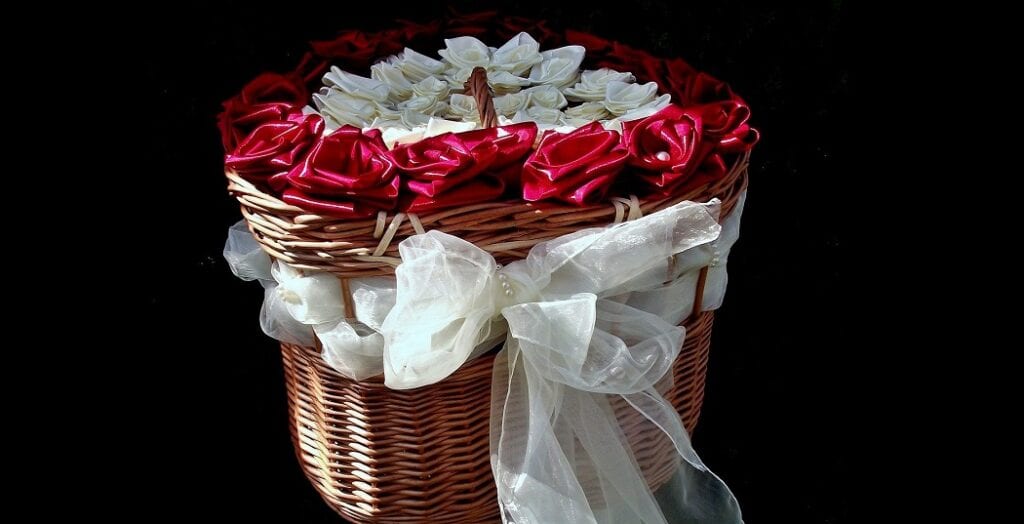
This post will show you step-by-step how to create your own decorative ribbons for any occasion using items that you can find at home or in stores near you. You don’t need a lot of supplies or expensive materials – just a few minutes and some creativity!
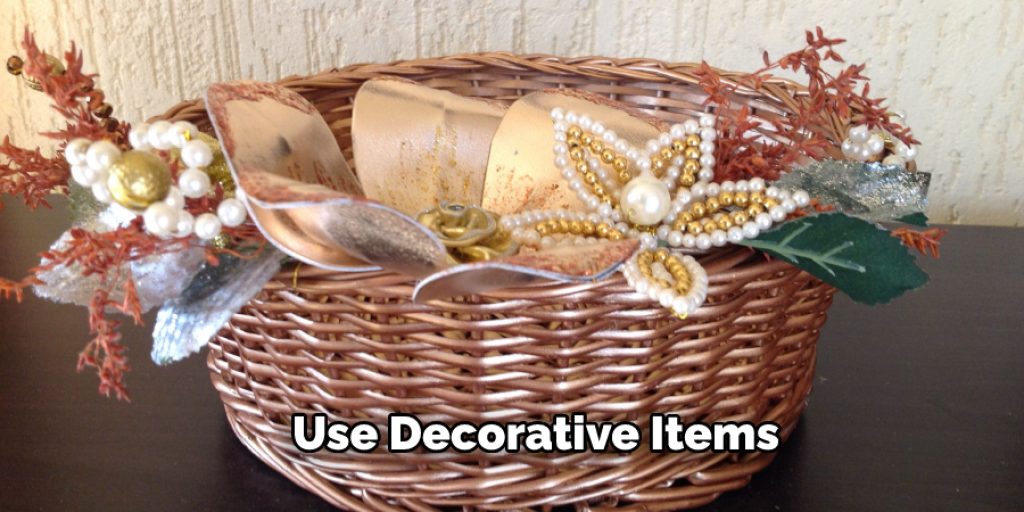
Summary: Decorate your basket with some pretty ribbon to add a touch of elegance. There are many different ways to do this, so get creative! You could use different colors and patterns, or go for a more traditional look. This is a great way to add a little extra flair to any gift and make it truly unique.
Materials You Need to Decorate a Basket with Ribbon
- Basket
- Ribbon (the width of the ribbon will depend on how wide you want the stripes to be, but I recommend a ribbon that is at least 12 inches for this project)
- Scissors
- String or ribbon to tie the ribbons together (optional)
How to Decorate a Basket With Ribbon – 7 Steps to Follow
Step One: Cut the Length
Cut the length of ribbon you want to use for your stripes, with a minimum width of 12 inches. For this project, I cut two ribbons which were about 18 inches long and six ribbons that were around one foot in length.
Step Two: Fold Each Side
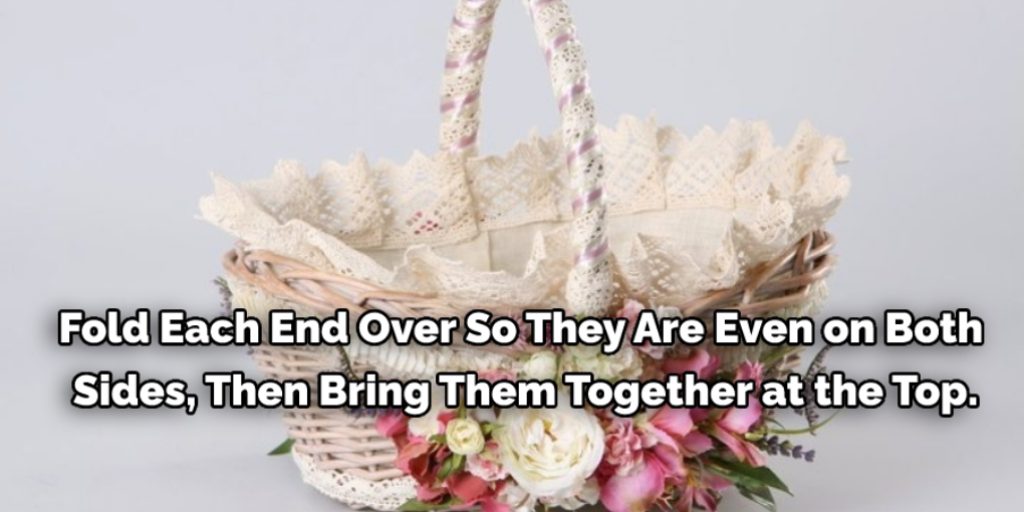
Fold each end over so they are even on both sides, then bring them together at the top. Tie it off using string or another piece of ribbon if desired.
Step Three: Tie with a Ribbon
Take one end from the shorter pieces and tie it onto an empty handle loop where there is enough space between loops to make room for all five strips (I recommend doing this while holding onto the other four ends).
Repeat with another loop from the handle and two more strips.
Step Four: Tie on Strips
Continue to tie on strips, alternating between loops that are near each other and ones further away until you have all five ribbons secured tightly in place (don’t forget to use both sides of the basket!). The final product should look like this:
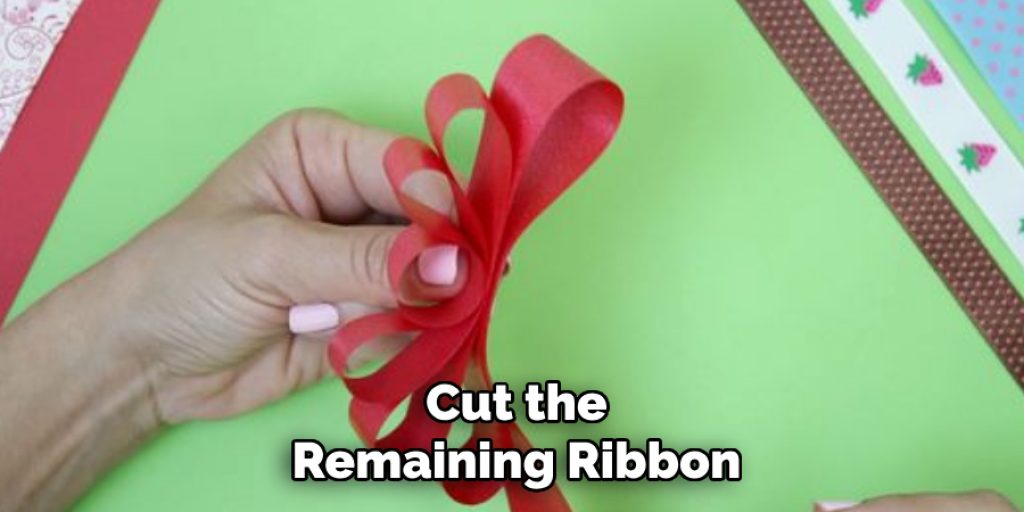
Step Five: Cut Out Pieces at Different Lengths
To create any design or pattern your want, simply cut out pieces at different lengths using scissors!
Things To Avoid to Decorate a Basket with Ribbon
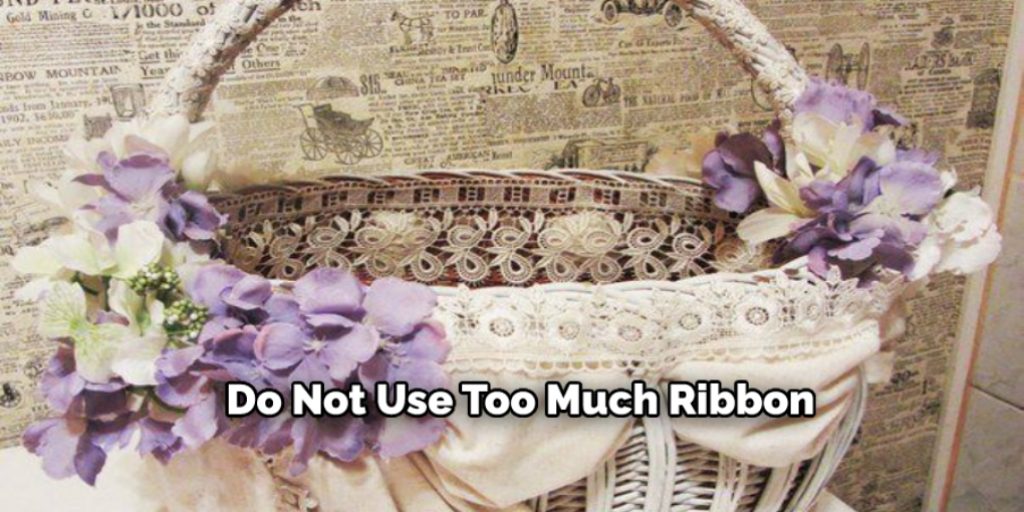
- Do not use too much ribbon. If you overdo it, your basket will look like a parcel wrapped at the post office.
- Don’t wrap the entire handle with ribbon; this can lead to an uncomfortable grip or slippery hold on the handle and make it difficult for people with smaller hands to carry around.
- The knot should be small enough that when someone pulls on one end of the bow (by mistake), they won’t have pulled out all of the ribbons in one go! When tying off a long piece of ribbon, don’t tie more than three knots – two is best so as not to risk any fraying taking place if people pull on them from time to time during their celebrations.
- Use scissors (ideally small ones) when cutting ribbons from spools – this will ensure straight cuts, without any distracting knots in sight! When using thick ribbons like those which come from craft stores, one should cut them into strips before tying off their ends; this prevents “wavy” edges which could otherwise be seen on the finished product.
- The right length of ribbon for your basket is one that reaches the top, but not so much as to touch the sides or bottom. If you are using a small basket, it’s best to use shorter lengths – maybe even just two inches in total! For bigger baskets, consider doubling up on ribbons where necessary.
Six Creative Basket Decoration Ideas With Ribbon:
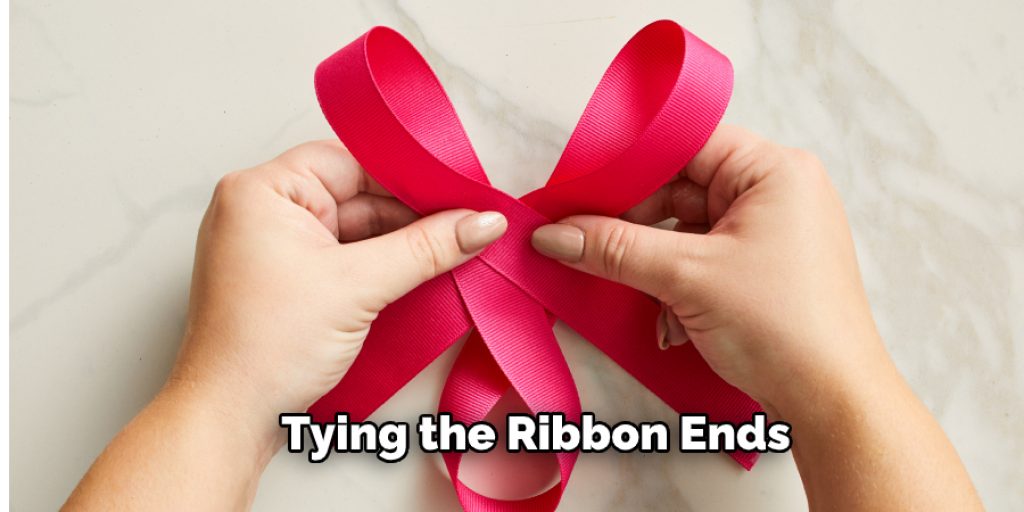
1. Tie a Bow at the Top of the Basket:
Take a 25-yard roll of ribbon and fold it in half. Tie a bow at the top of the basket by tying the ribbon ends at the loop. If you don’t want to use a bow, tie another knot at the top of the basket using both ribbons ends.
2. Make a Handle Using Ribbon:
Use a 1/4-inch satin ribbon and follow these steps below to make your handle for your straw or wicker baskets. First, cut two pieces of ribbon measuring 1 yard each. Next, fold each piece in half and tie a knot at the bottom center of the ribbon to create a loop.
3. Add Ribbon to Wires:
Cut off a small piece of wire from the roll and twist it around the wires, then add 10 pieces of ribbon. Glue the ribbon pieces directly on the wires if you don’t want to use wire.
4. Create a Pom-Pom Using Ribbon:
Cut a piece of 1/4-inch ribbon and make a loose knot at one end of it. Next, cut another short piece of ribbon measuring 2 inches long and tie it around the end with the knot. Finally, cut the remaining ribbon pieces in half and attach each piece to a wire, with a pom-pom on each end for decoration.
5. Try Different Patterns:
Try using a different pattern for your basket handle by cutting ten small pieces of ribbon, tying them together at one end, and then tie another row of ribbons on top of the first row using a different pattern.
6. Dye Wicker Basket Using Ribbon:
Take a ribbon measuring 12 inches long, tie it around one end of the basket, and start connecting dye onto the ribbon until you reach the other end. You can also dye your wicker baskets by making a paste using one tablespoon of sugar and 2 cups of water. Dip the basket into the paste for 20 minutes and rinse it off with cold water afterward.
Some Helpful Tips and Advice:
1. Before starting any process, ensure that all tools and materials are within your hand’s reach.
2. Get a basket with nice designs or get one plain. I like the baskets that you can get at Michaels because they come in many different sizes, designs, shapes, and styles. The downside to this is that it is a bit pricey.
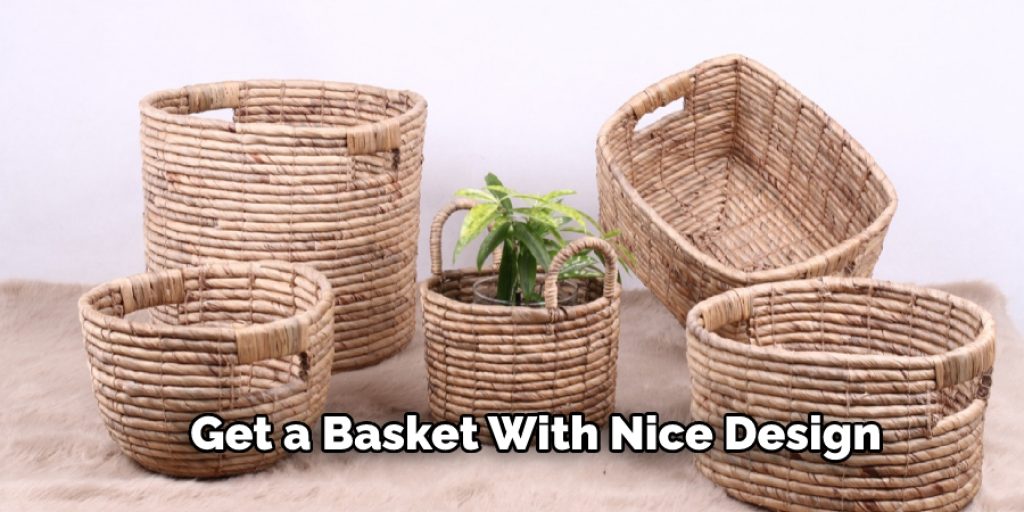
3. You can find ribbon at any Michael’s or Hobby Lobby for cheap, but you can always use yarn or twine if you are on a budget.
4. Don’t be afraid of color! There are many different shades of ribbon that go together well! Just make sure the colors look good by using colors in the same family. For example, I made the mistake of using a dark green ribbon with hot pink yarn when making these bunnies.
5. Draw or print your design on paper first to make sure you like it before adhering the ribbon onto the basket!
6. When deciding how long you want your ribbon, cut off about double the amount on each side of the basket.
7. When hot gluing your ribbon onto the basket, spread out your glue on both sides of where you are sticking on the ribbon, so it doesn’t get lumpy and ugly!
Frequently Asked Questions
What Color Ribbons Would You Want to Include for a Colorful Decoration?
There are a plethora of colors to choose from when decorating with ribbon, so it really depends on what you’re looking for. If the basket and ribbons are going to be going in your child’s room, I would consider using one or two primary colors (red/blue) plus some lighter shades as well.
What if You Want Ribbons That Are Inexpensive?
The best option for inexpensive ribbons is to buy them by the yard from craft stores – they come already cut into strips! Or, if you have access to sewing materials like spools or scissors, just use those items directly at home.”
Do You Have Any Personal Tips for Tying a Bow?
There are a few tips that can make tying the bow easier.
Pick up one end of the ribbon, and put it over your thumb so that there is an equal amount on each side (with about two inches sticking out). Bring both ends together in front of you with one hand holding them at shoulder height.
The other should be gripping just below where they join to create tension – this will help ensure a tight knot. With the first hand still grasping the loose ribbons above and now below, use your second hand to wrap them around themselves until they reach their destination spot: under your chin or lapel.
Conclusion
Now that you know the basics of how to decorate a basket with ribbon, you’ll be able to create your own unique and stylish baskets for any occasion. Have fun while learning about this easy DIY project! Remember these steps when creating your next gift or decoration so it will turn out beautifully every time.
You may read also –


