
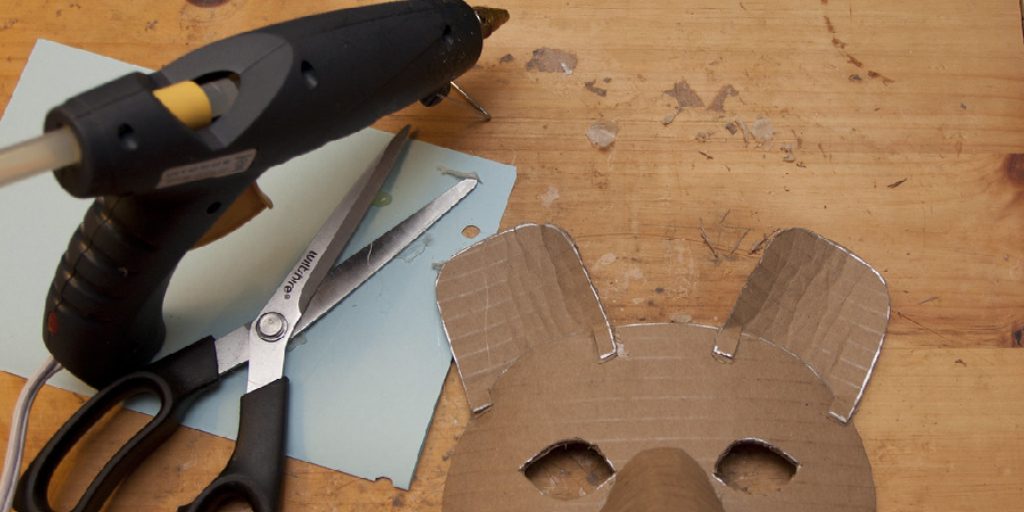
How to Do Paper Mache With Glue
Introduction:
Paper mache is making sculptures, masks, and other decorative items from paper and a mixture of glue and water. People use this as a way to recycle old newspapers and magazines into new, colorful creations. You can make your own paper mache paste with a few basic ingredients.
Most craft stores sell premade paste in tubes and tubs if you do not want to make it yourself. Paper mache paste is non-toxic and has the same consistency as school glue.
However, unlike real glue, it does not dry out when exposed to air for several days. In this article, I will discuss how to do paper mache with glue. So let us get started.
How to Do Paper Mache With Glue:
Step 1:
Heat the glue in a microwave for 5 minutes or until it’s hot enough to melt. You can also boil it on a stovetop. Once it’s heated up, add about 2 tablespoons of water. Stir until the glue is dissolved completely. Add more water if you would like a thinner paint/water mixture.
To make a slime monster, you will need:
- a container for your slime
- newspaper strips
- a q-tip
- a glue mixture
First, make your glue mixture. Then, dip the q-tip into the mixture and spread it evenly on the newspaper strips. Be careful not to use too much pressure, or the strips will tear. Once all the strips are coated, let them dry.
Step 2:
Now, this is where you decide what kind of craft to do with your newspaper strips. If you would like to make paper mache animals or any other project that has already been uploaded onto this site, then go ahead and use that project as a guideline for painting/coating your newspaper strips.
If not, I recommend wrapping it around an object such as a jar or bottle to give it shape. Ensure that glue solution coats each side of the newspaper strip evenly.
Step 3:
Allow at least 24 hours for newsprint to dry out completely. It will look dark brown/black instead of white when fully dried out like regular paper mache projects done with flour & water paste (because there’s no water in this solution).
Step 4:
Once dried out, you can now cut the newsprint into strips and then proceed to paper mache as usual with flour & water paste.
NOTE:
Newspaper is a safe alternative for homemade paper mache because it tends to be more durable than regular copy/printer paper, which students usually use when doing projects at school if they have access to computers and printers.
While it would not last as long as store-bought paper mâché paste, the newspaper is a great option if you don’t have any or want to save some money from buying expensive materials that most craft stores offer.
If using newspapers from around your house, make sure that it doesn’t have any ink on it, or you can paint over it with white acrylic paint before applying glue mixture.
Precautions While Making Paper Mache With Glue:
1. Make sure you wear old clothes or an apron; remember to work with messy stuff. If you do spill, wipe it up right away before it dries.
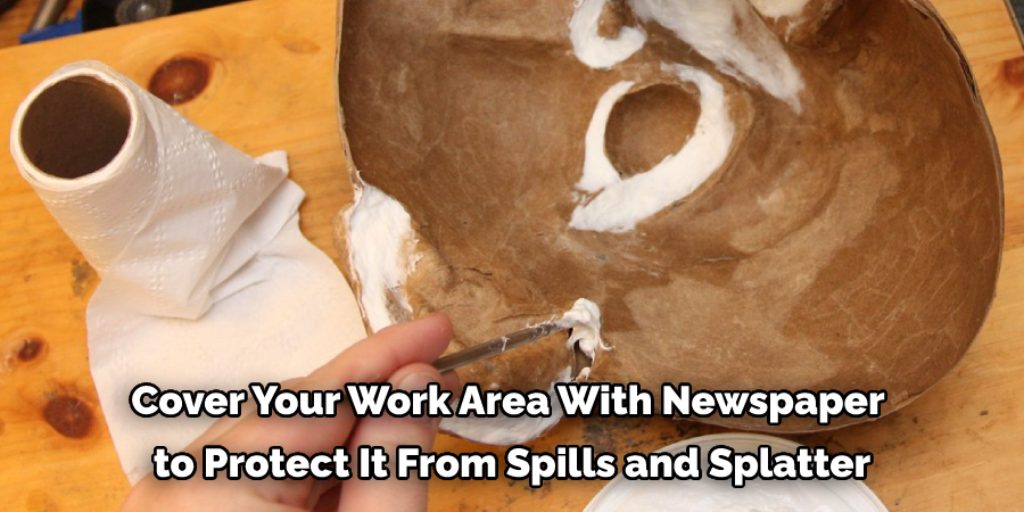
2. Cover your work area with newspaper to protect it from spills and splatter.
3. After each step, pour away the excess water/paste outside or in a sink drain. It will harden eventually if left there! You don’t want that! It would be such a pain to get rid of once dried!
4. Paper mache paste is made out of Elmer’s glue and water and works best when not stored for more than 2-3 days (unopened). Once opened. However, it is in the fridge and uses it up as quickly as possible. If it does dry, don’t worry; add a few drops of water and mix before using again.
5. Paper mache paste is very absorbent and works best with thin layers (don’t glob on the stuff).
6. This mixture will drip if you’re not careful! I suggest having a newspaper or something underneath to catch drips and spills that may happen.
7. You can use whatever paper you would like for this project: newspaper, printer paper, etc., but it MUST be PAPER: no- other types of materials such as fabric should ever be used because they will burn/ catch fire. Very easily!!
Which Glue is Best for Making Paper Mache?
Many adhesives can be used for paper mache. Titebond, Elmer’s White Glue, and rubber cement have all been used successfully by Do-It-Yourselfers to create three-dimensional art projects using a craft paper such as butcher or kraft paper.
Because of the porous nature of craft paper, white glue will work best. Some other glues may take too long to dry and/or become brittle once dried. To make a paste for applying the glue, pour some glue into a jar or plastic container, then add water until it is about as thick as you want your final product to be (i.e., runny like condensed milk).
The thicker your mix, the more time it will take for your design to dry. Generally speaking, the white glue you mix with water, the less time your paper mache project will take to dry.
Uses of Paper Mache:
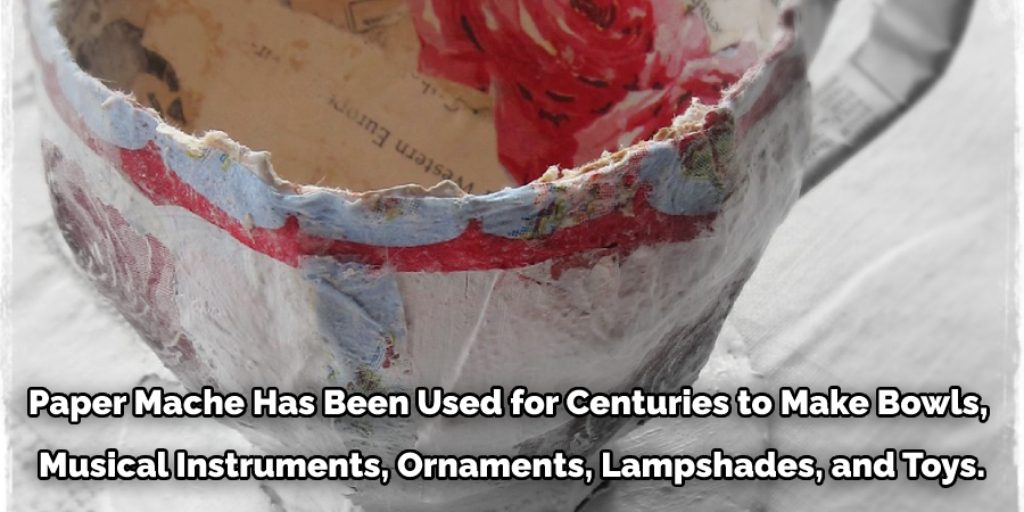
Paper mache has been used for centuries to make bowls, musical instruments, ornaments, lampshades, and toys. The fact that paper mache is water-based makes it a great material for children’s crafts because while it can be messy, it won’t stain your hands or clothing if you get it on them! Paper mache also offers many fun possibilities because many materials can be used in its making.
Conclusion:
I hope you have enjoyed this stepwise guide on how to do paper mache with glue. It should be a lot of fun because, as always, whatever you create is yours to keep and display proudly. So ensure all the steps are properly and following the safety precautions.
You have to be very patient while mixing the glue and wait for the stipulated time to obtain the best result. Thank you, and have a nice day!
Elizabeth Davis
Elizabeth is a creative writer and digital editor based in the United States. She has a passion for the arts and crafts, which she developed from a young age. Elizabeth has always loved experimenting with new mediums and sharing her work with others. When she started blogging, she knew that DIYquickly would be the perfect platform to share her tutorials and tips. She's been writing for the blog from the beginning, and her readers love her helpful advice and easy-to-follow instructions. When she's not writing or editing, Elizabeth enjoys spending time with her family and friends.


