
How to Fix a Manual Pencil Sharpener
Introduction:
A manual pencil sharpener can be compared to an electric one; it’s just a bit more primitive and lacks technology that many people would prefer today. This is why a manual means of sharpening your pencils has gotten less popular over time.
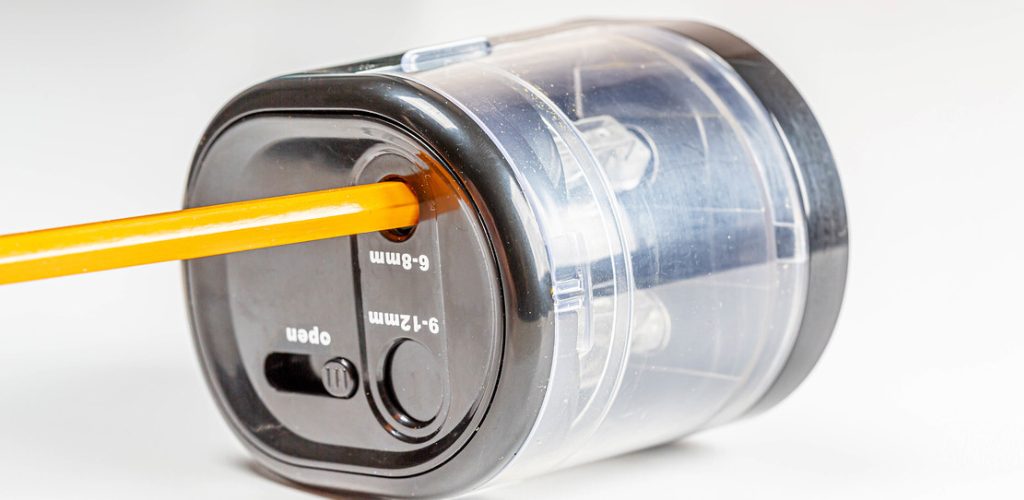
However, this type of pencil sharpener is straightforward to use because you are in charge of the cutting motion when it comes to using a manual sharpener. In addition, some models have built-in stops instead of breaks, so you need not worry about controlling the instrument. In this article, I will discuss how to fix a manual pencil sharpener. So let us get started.
Benefits of Using A Manual Pencil Sharpener:
Some people believe a manual pencil sharpener is for kids. The common perception of these people is that the use of classroom and office sharpeners has created this thought process. However, don’t let others make your decisions for you or tell you what to do! Instead, try using a manual pencil sharpener and see how convenient it can be.
In fact, there are many benefits to using a manual pencil sharpener instead of an electric one (which is what most schools use). At home, in classrooms, in quiet rooms, etc., it’s best to switch to a Manual Pencil Sharpener. Here are some benefits:
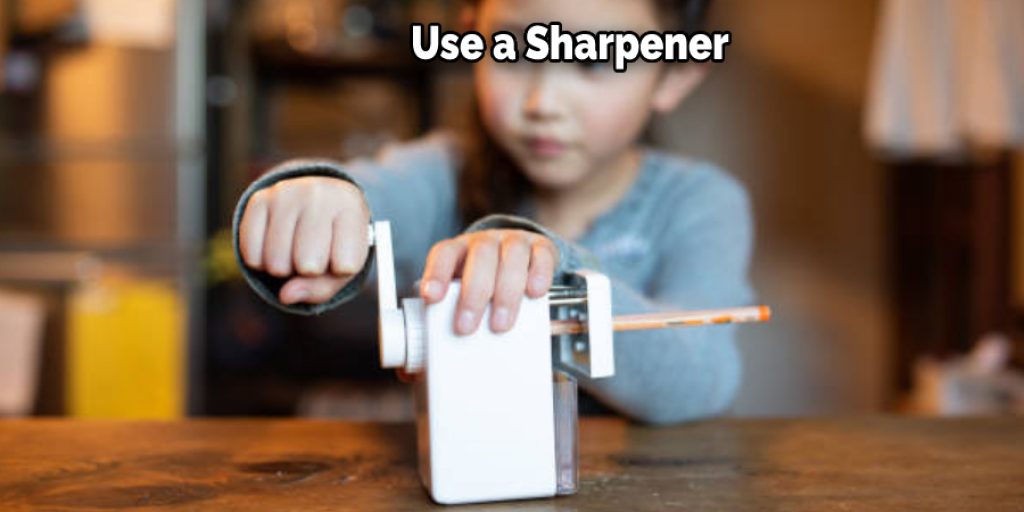
1. As long as you have nimble fingers, you shouldn’t have any problems turning this by hand – no electricity required!
2. Since this pencil sharpener is powered by electricity, you’ll be using less power than you would with a battery-operated sharpener. This is good for the environment, and your wallet too since you’ll be saving money on your electric bill.
3. The sound is pleasant and will not cause distraction. Manual pencil sharpeners do the job perfectly well for people who want a quieter environment at home or in the office.
4. Because of its quietness, if there are children in your house or classroom who like to draw or write with pencils all day long, this will definitely be something beneficial for them.
5. If you find electric pencil sharpeners to be noisy and annoying, you can use a manual one as an alternative. Some people don’t like the sound made by the electric sharpener, so if they find a manual one, they will be able to continue writing without being distracted.
6. It’s easier to maintain since you won’t have to worry about batteries running out or having dead electric power that prevents a pencil from being sharpened properly . Also, getting replacements are easier compared to looking for parts in an electronic pencil sharpener.
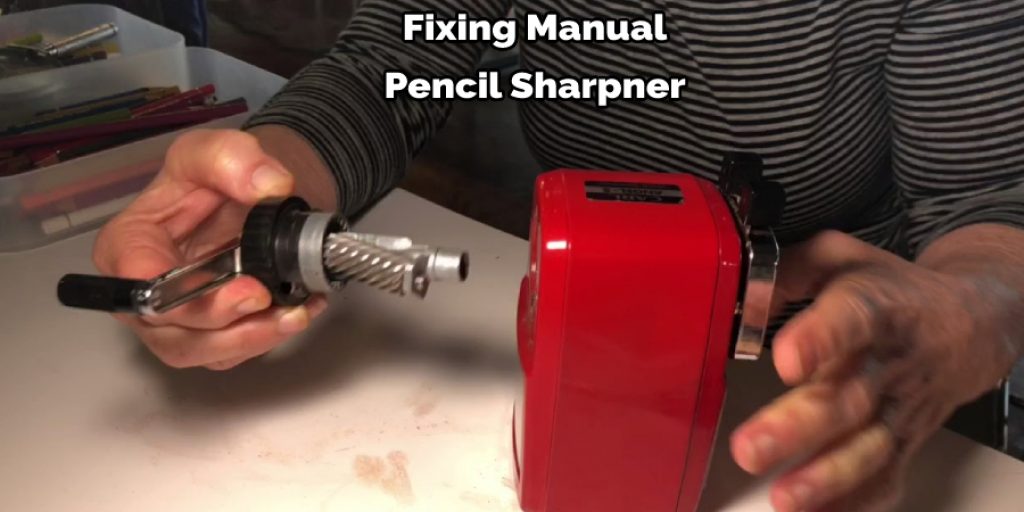
Step-wise Guide on How to Fix a Manual Pencil Sharpener:
It isn’t enjoyable when your pencil sharpener goes out of order. You have to sharpen a pencil every time you need one, and it can be inconvenient if you are on the move. But, take heart! You can easily fix that irritating manual pencil sharpener yourself and save yourself some money in the bargain.
Step 1:
Take Apart Manual Pencil Sharpener: First of all, dismantle your old manual pencil sharpener carefully using its directions or any instructions that come with it. Then set aside all parts except for the main part, which is the receptacle where your pencil shavings accumulate.
Step 2 :
Before attempting any repairs, you need to remove all dust and dirt from all parts using a damp cloth. The best way to clean the parts is to lie them flat on a table.
Step 3:
Fixing Broken Components: Now, carefully examine your manual pencil sharpener’s main part for any broken components (if such exist). Sometimes it may turn out that some screws or ferrules have been broken off, and this will make sharpening impossible until you have replaced these items with new ones. So take time out to locate the exact replacements from an art supplies store or hardware store. These can easily be located in stores that sell office and art supplies.
Step 4:
Fixing the Manual Pencil Sharpener: Once you have fixed all broken components, it is time to fix your manual pencil sharpener again. Re-assemble the parts in reverse order and place a screwdriver (not supplied with your machine) in its designated slot to ensure that all screws are tightened securely but not too tightly.
Step 5:
Cleaning Up: Finally, check for any remaining dust or dirt in the finished product by removing its cover and using a clean cloth (dampened if possible) on its interior surfaces. Your manual pencil sharpener is now ready for use!
Precautions While Fixing a Manual Sharpner:
1. Be careful of graphite dust
2. Careful not to get your hands dirty with pencil lead/graphite
3. Dispose of used graphite in a lead-free place (the steel case is okay)
4. Do wear a dust mask or a face mask when there are heavy dust/lead particles around the sharpener or if you have a sensitive nose and eyes.
5. Keep away from small children because they will play with it even though you tell them to stay away! Manual sharpeners are fun!
6. Wear safety glasses at all times while sharpening. They are cheap and effective to prevent injury in flying pencil lead or graphite shavings (however small the chance is) touching your eyes.
7. If you can’t get any fixative to stick on a broken piece of lead, it is possible that it could have lead dust/graphite particles on it which will probably show up later as black spots when you write with it.
8. Do make sure to wash hands thoroughly after using the sharpener!
Do Pencil Sharpeners Wear Out?
The lead in a manual pencil sharpener wears out or breaks. However, it is not the same as replacing a worn-out blade in an electric helical cutter or changing dull blades on rotary cutters.
The blade of a manual pencil sharpener is easy to access and replace, whereas an electric device can be more complicated. The lead mechanism inside both types of sharpeners also differs. In short, the answer to this question depends on what kind of sharpeners you use rather than their basic mechanical design.
Frequently Asked Questions
Why Is My Manual Pencil Sharpener Not Working?
There are a few things that can cause your manual pencil sharpener not to work.
One of the most common reasons is that the blade has become dull. To fix this, you will need to take the sharpener apart and replace the blade.
Another common problem is that the motor has gone bad. In order to fix this, you will need to replace the motor.
Do Pencil Sharpeners Wear Out?
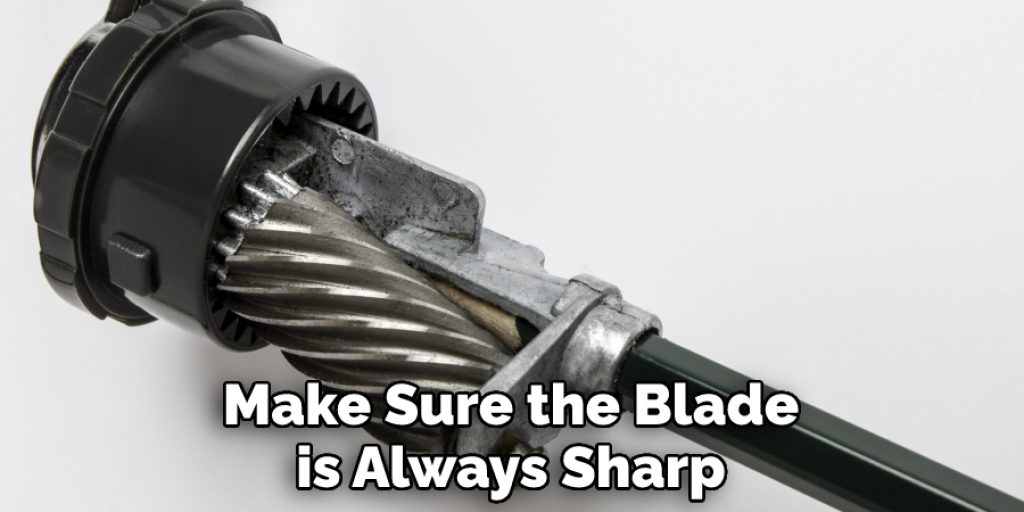
Pencil sharpeners are a type of household appliance that is used to sharpen pencils. They can last for years if they are properly taken care of.
To keep your pencil sharpener in good condition, you need to make sure the blade is always sharp. You can do this by using it regularly to sharpen the blades.
You should also clean the sharpener after each use by soaking it in water and soap. Finally, you should store it in a dry place so that it does not rust.
Why Are There Two Holes in a Pencil Sharpener?
There are two holes in a pencil sharpener because one is for the blade and the other is for the grinding wheel. The blade hole is smaller so that the blade can move more easily and quickly across the pencil’s surface. The grinding wheel hole is larger so that it can hold onto the pencil’s wood better, preventing it from breaking.
Why Do Some Pencils Not Sharpen?
Pencils that are not sharpened can lead to difficulty in drawing smooth lines and can also lead to frustration when trying to write or draw.
There are a few reasons why pencils may not be sharpened properly:
- The blade may be dull or the point may be broken off.
- The lead may have been inserted incorrectly into the pencil.
- The eraser may have been removed.
Can a Pencil Sharpener Overheat?
Yes, a pencil sharpener can overheat and cause damage. Sharpening pencils with a dull blade can cause the motor to overheat and eventually burn out. If this happens, you’ll need to replace the entire sharpener.
Conclusion:
It is a relief to know that you can fix almost anything yourself, as long as you are willing to do some hard work and troubleshooting. Moreover, it’s much cheaper than buying replacements for it! With these easy steps on how to fix a manual pencil sharpener, perhaps your whole class will be able to sharpen their pencils properly without the need for replacements or repairs with a replacement part every week.


