
How to Figure Out Angles for Wainscoting
One of the most critical tasks of woodworking is wainscoting, this requires much artistry, and there is a high possibility of faulty construction. For this reason today, we will illuminate you with few techniques on how to figure out angles for wainscoting. This will be much beneficial for your carpentry, and the probable error in the construction of your edges will indeed be eliminated by this method.
Procedure
Wainscoting is quite tricky for beginners who are involved in carpentry. There is an imminent need to figure out angles before the installation of the panels. The tips must look similar in terms of all aspects, and the woodworking will not look good. Many processes are used for figuring out these angles while wainscoting. We have shortlisted some for your better convenience. These are stated below with appropriate simplification.
Method One: Digital Angles Measuring Technique
This method is used when you want to make a lot of copies of something, like wainscoting. You need a spacer to do this, which is a custom-made object that helps you draw straight lines. The width of the spacer is based on how wide you want the space to be between two panels.
You can make it by cutting a wood panel with the panels’ spacing width, or you can use any ceramic material for this tool. But you have to remember that this tool should be firm enough to resist the pressure of your palm, and the edges should be adequately sanded for marking the lines. Once you have got the spacer, you can use a pencil and draw a straight line, which will coincide with the panel’s horizontal line.
You need to draw a line from the end of the horizontal line on the board. Make the line a bit longer, because you will need to measure the angle. Place the spacer on the board, and you will see that it will quickly show you how far apart the boards need to be. Draw a line parallel to the first line, using the spacer to measure the distance between them.
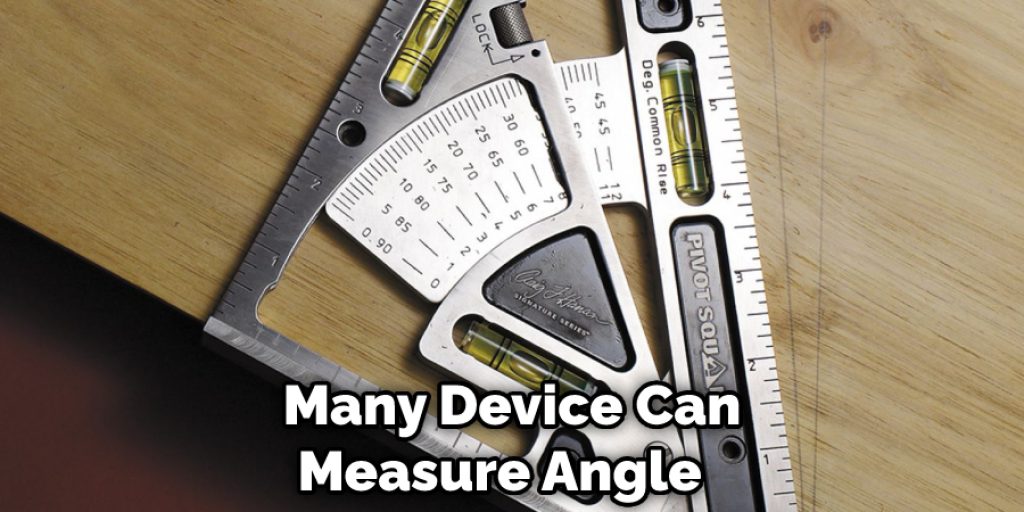
Once you have drawn both of these lines, you will observe an angle created by the intersection of the horizontal line and the parallel line drawing with the spacer’s help. Now you have to take an angle measuring device. There are many angle measuring devices available in the market. We prefer that for this method, you use the Husky Digital Angle Measuring Device. This will be much effective and provide an accurate value.
Before you can measure an angle with a digital angle measuring device, you need to know if it is an acute angle or obtuse angle. This is because the measurement may be different for each type of angle. To find out which type of angle you are measuring, look at the two lines that form the angle. An acute angle is less than 90 degrees, and an obtuse angle is more than 90 degrees. Once you know which type of angle you are measuring, you can place the device on the lines and get a reading on the screen.

If the device you’re observing shows an obtuse angle reading, it’s not placed correctly. In this instance, you’ll need to take the machine and adjust the two attached rulers so the reading becomes acute. This can be done by flipping the rulers in the opposite direction. By using a combination of basic geometric knowledge, you’ll be able to get the exact value.
Next, you have to observe the reading and note it down in a piece of paper. While measuring the angle, you should be much careful about the placement of the rulers. The rulers must coincide with the two lines. If this is not done correctly, then the measurement of the angle will become faulty. After this, you have to divide the angle into two equal values and then cut your panels according to the new value. After that, you can join the boards. Thus you can measure the angle for wainscoting.
Method Two: Conventional Angle Measuring Technique
This method is based on using a piece of traditional wainscoting equipment, this is the analog angle measuring device. You can use this device to measure the angle, and the best part of this device is that you can easily lock the angles while measuring. This will be helpful because once you closed the device, the slopes will get frilly stable, and you can get an accurate value for your calculation. This will be much helpful for beginners to learn the technique.
The tool that we will be using for this process is known as a miter gauge. You can quickly obtain it from your nearest carpentry store. For this process at first, you have to take a paper and pencil, it is better if you use a graph paper, it will help mark the measurements. Next, you have to take the measurement of the edges and then draw it on the paper. You must right the values of lines while you are drawing; this will help you cut the panels.

To measure the angles, you have to take the miter gauge and then place it in between the lines. There are two rulers attached to a circular disk in this tool. The rulers will be used for placing on the lines, and the circular disk will provide you the angle of measurement. There is also a locking key to keep the angle steady. Once you have placed the rulers and lock the tool, you will get the angle, and then you must divide the angle into two halves before cutting the panel.
Frequently Asked Questions
What Tool Do You Use to Measure Angles?
It is not recommended to leave your guitar out of its case because it will damage the instrument. For example, the neck of a guitar will expand and contract with changes in temperature, which can cause harm to the neck. The interior of a guitar is coated with a varnish that prevents moisture from getting inside. A change in the humidity can affect this coating and allow moisture to enter, leading to rusting or cracking of metal parts inside.
To prevent damage, you should store your guitar in its case when not being used and ensure that the strings are always correctly adjusted, so they don’t get bent while being stored or transported.
What Are 3 Devices Used to Measure Angles?
There are many devices that can be used to measure angles. These include the compass, protractor, and vernier caliper.
Compass: The most common device used to measure angles is the compass. It consists of two metal rods connected by a pivot point and attached to a thin plate with a needle at one end. When you hold the plate between your thumb and forefinger, the needle points north or south depending on which direction you turn it around the pivot point.
A protractor is an instrument used to measure angles in degrees or radians. It consists of two metal arms that intersect at a fixed base plate. The arms are marked with graduations from 0° to 180° or 360°, in increments of 30°. One arm has teeth that slide along the scale, allowing the user to read the angle value from either side of the scale without moving their hand from the center of rotation.
What Is the Angle of 45 Degrees?
The angle of 45 degrees is the measure of a right angle. It is equal to the sum of an acute angle and a straight line that goes through the point where two lines intersect.
How Many Degrees Is a Obtuse Angle?
An obtuse angle is an angle that measures between 90 degrees and 180 degrees. It is called a right angle because the side opposite the right angle is acute. An obtuse angle has two angles measuring at a smaller degree of each other, which means they form a triangle.
Conclusion
Lastly, we hope that for the best result of your carpentry, the processes mentioned here will be much useful. These techniques will precisely confirm the wainscoting of your edges. Besides, the persons who are curious about learning DIY techniques will be much benefitted by these methods. Thank you for your patience. Happy crafting. Have a nice day!!


