
How to Fix a Bent Car Door Frame
A bent car door frame can be a major inconvenience. How are you supposed to get your groceries in the back when the frame is all messed up? And, if it is one of those frames that flips down from the top, how are you going to get anything out without breaking your back? Thankfully, there are a few ways that you can try to fix a bent car door frame. However, before you start, you need to make sure that the damage is not too severe. If it is, then you might want to take it to a professional for repairs.
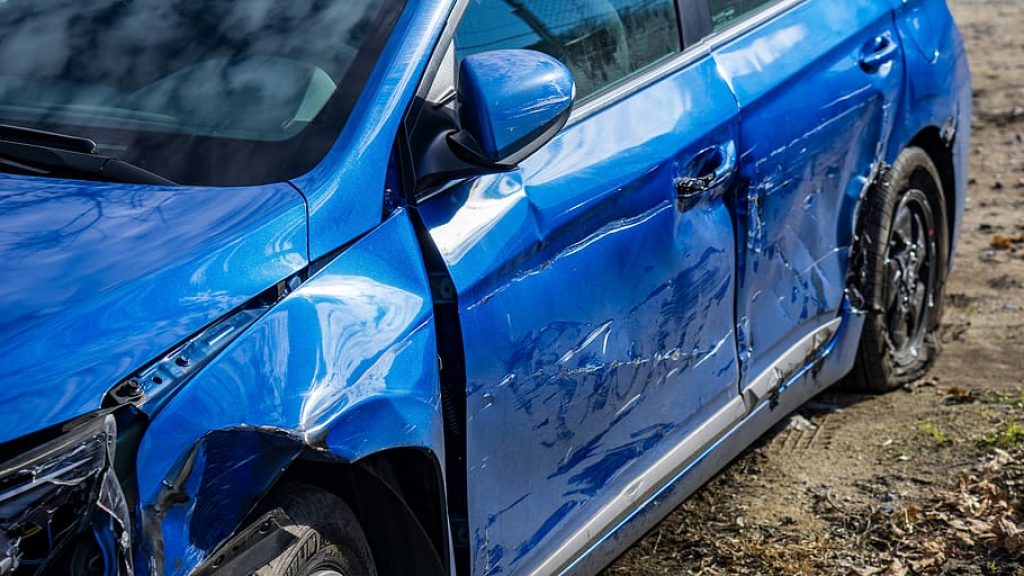
Fortunately for us, there are some easy ways to fix this problem. So in this guide, we will discuss some easy steps on how to fix a bent car door frame and give you some advice to prevent it in the future. Fixing a Bent Car Door Frame with an Auto Body Repair Shop If you want to fix your car door frame, the best way is to take it to an auto body repair shop. There are many reasons for this.
Materials Needed
- A jack
- Screws with washers
- Pliers or vice grips
- Flanges
- A drill with a hole saw in it
Instructions: How to Fix a Bent Car Door Frame
Steps One:
The first step is to use a jack to lift one side of the bent frame so that you can see how much space there is between the two parts that are bent. How much space you need depends on the type of frame that is used and what kind of fix it needs, but for now, we will use a jack to see how high to go.
Ideally, the two sides of the frame should be flush against each other as you raise it. Do this on both sides and make sure they match up when they are all the way up. Once you have them at the proper height, you will have to jack one side up until the jack stand touches that side, then do the same thing on the other side. If the frame is bent, you will need to place a shim in between the two sides before putting the jack stands under them.
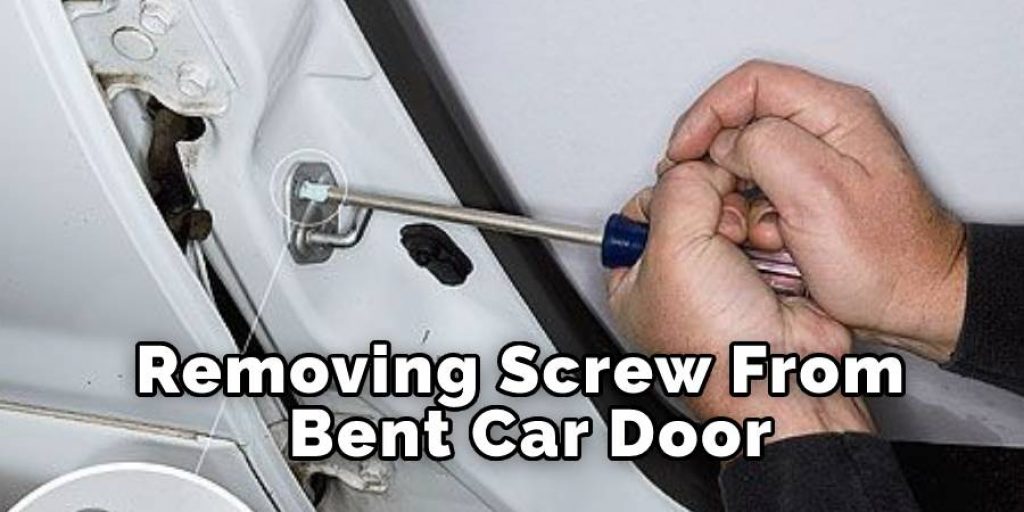
Step Two:
The second step is to remove any screws from one side of the car doorframe to separate the two parts. How many screws depends on the type of frame, but we will remove one from each side to see how much space there is between them. It’s best to start removing the screw on the side where you will want to mount the camera later. Using a putty knife or another thin object to pry between the two parts of the frame, start separating them from each other. How much space you will need depends on how big your camera is.
Step Three:
The third step is to place a screw through the hole drilled with a hole saw in it and into both parts of the car doorframe so that they are connected. How many holes you drill depends on the type of frame, but for now, we will do one with a hole saw in it to show where the screw goes and how big it is.
Put the car door and frame on a flat surface and start screwing the screw into it. Ensure that you drill the hole all the way through the frame so that the head of the screw can go through to the other side.
Step Four:
The fourth step is to put screws into any other places that need them to get bent again during the next step. How many screws you use depends on the type of frame, but for now, we will do one more on each side to show how they go in and what it looks like. Now, you can bend the frame back to form.
Step Five:
The fifth step is to take a clamp or vice grip and squeeze the two parts together all along the connection to line up everything correctly. Then take a 6mm Allen head wrench and snug the four bolts down. Be careful not to over tighten, but get them good and tight. It’s best to get two snugged down, then move on to the others.
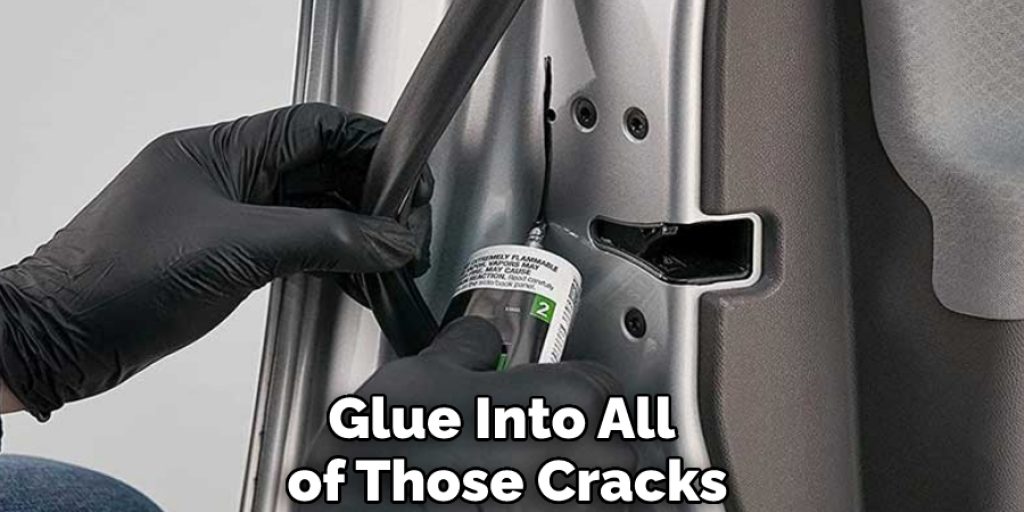
Step Six:
The sixth step is to put the metal backing on and use a hammer to pound it in place so that everything stays together. How much you hit it determines how strong your bond will be, but for now, we want to get some of the glue into all of those cracks between the old frame and the new. When you’re done, you should have a somewhat jagged looking frame that has the same size and shape as your original.
Step Seven:
The seventh step is to put some glue on the screws and then screw them in all along with that connection you just glued together, making sure they are going into the holes for attaching it to your car door frame from before. How tight or loose your screws are will determine how strong of a hold they have on the frame. Continue this process with the whole door frame until you are finished.
Step Eight:
The eighth step is to put your car door back onto the new metal backing and use a rubber mallet or hammer to pound it into place, ensuring that you are pressing it together evenly on both sides. The hard you hit to fix this problem will depend on how strong of an adhesive you use.
Step Nine:
The ninth step to fixing your car door is now to put the screws back in, but this time you are using them as a way of securing the new metal backing that has been attached with glued and screwed into place on your car door frame. How tight or loose these screws are will determine how strong they are. How tight you need the screws to fix your car door hinge will depend on how strong of an adhesive you use.
Step Ten:
The final step to fixing your car door is now to do a test run on it. How well the door opens and closes, as well as how firmly everything has been secured together, will determine if you need any adjustments or not.
Tips and Advice To Prevent Bent Car Door
- Use a towel to protect your car door from scratches when you open it.
- Don’t place heavy objects on the floor near the driver’s side of your vehicle, which may press against and dent your front fender or bumper over time.
- Never use your car door as a step stool to get into the passenger’s seat.
- Don’t rock or lean against your vehicle when opening and closing its doors, which may cause them to bend out of shape over time.
- Lock up any valuables inside your vehicle before you leave it for extended periods of time, so thieves don’t break in and steal them.
- Don’t let your children play with the door handles of other people’s cars, which may scratch or bend their car doors over time.
- When parking in tight spaces, be sure not to park too close to avoid dents.
- Don’t slam your car door shut, as this can lead to a bent frame.
Frequently Asked Questions
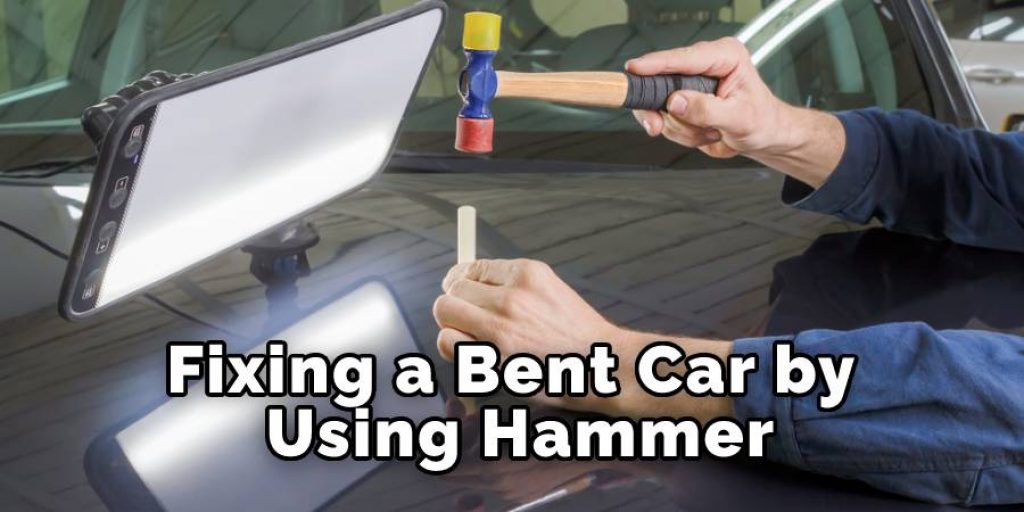
Can You Bend a Car Door Back in Place?
You can fix a bent car door frame using the hammer and chisel to spread it back into shape. First, use the ball-peen side of your hammer (the curved top) to tap against one end of the metal strip that runs along all four sides of your doorway until it sits flat on both ends again.
Once you have done so for each edge around your vehicle’s doorframe, take your pliers or another type of clamp in hand and tighten them down tight onto these edges with as much force as possible before snapping off any protruding fragments from underneath them with a pair of heavy-duty shears or thick wire cutters. This strips away any leftover bits of metal that are too short to remain safely attached.
Conclusion
If you’ve been putting off fixing your car door frame because it seems too difficult, don’t worry. A few simple things mentioned in how to fix a bent car door frame can be done to make the process easier and more efficient for anyone willing to give it a try. We hope this article has helped provide some insight into how easy of an undertaking this project really is!
You may read also: How to Fix Bullet Hole in Car
Louis Wein
Louis has always been fascinated by cars. He loves the way they look, the sound of the engine, and how they make him feel when he's driving. He is always keen to learn more about different mechanics of cars and how the engine contributes to other aspects of the car. As an automotive technician with over 10 years of experience, he knew how they worked and loved taking them apart to see how they went back together. He was especially interested in the mechanics of combustion engines and loved finding ways to make them more efficient. He loves to work on cars and help people keep their vehicles running smoothly. As a senior editor, he enjoys contributing to Diy quickly because it allows him to share his knowledge and expertise with others.


