
How to Fix a Broken Chair Back
Every wooden item has its own structural problem. But they can be fixed easily with a little amount of effort and some common sense. Yes, you can obviously call an expert to handle these jobs, but is it really necessary to spend some extra money on making some repairs? These small repairing tasks have always been necessary for every house, and they can be handled if you can pay the required amount of effort on it. Anyway, one of these common and annoying issues is the broken chair back. So, how to fix a broken chair back? I am gonna show you how just make sure to leave all your tasks for a while and concentrate on this article till the last.
Furniture gets warn, and some pieces break down over time. But it doesn’t mean that you have to through it into your trash pile. With some simple repairing methods, you can bring them back to their normal appearance and make them look good as new. You just have to proper rules; nothing else. But how are you going to repair wooden furniture, especially the back of a chair? Well, that’s a bit tricky, but as now you are here, you won’t have to worry about that. I am going to show you the exact ways of doing that. So, without any delay, let’s dive in!
How to Fix a Broken Chair Back
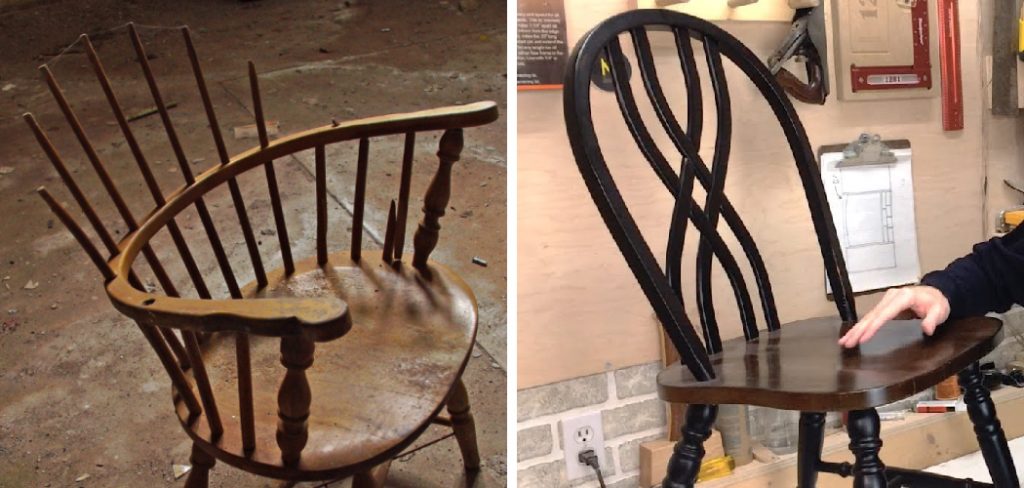
For this purpose, I have got one of my own chairs; that’s around six years old. But l found that the back of this chair has broken. It still has original finish on it, which isn’t in great shape so, I am not really concerned about making it pretty. I am just going to make it functional. So, we are going to start by taking off the back of the chair. I am using an upholstery stapler to remove the fabric and padding from the back of the chair. Once the back is off, we will then flip the chair over.
The chair broke from the back part because of the leaning issue. By the way, you shouldn’t lean back in your chair, especially if it’s years old. However, the back part of the chair is made of three or four pieces of wood that were glued together and then curved into the shape of the back of the chair at the factory. It broke right along the original glue line between two pieces of wood. So, it should be pretty easy to fix because of that. If your chair has broken from somewhere else, you have to use other techniques. But if your case is the same as mine, follow the steps below.
You Can Check It Out to Use a Shower Chair
Steps
- First of all, I applied some wax around the break. It is needed to be done properly so that the glue sticks to it very well. When you will apply the glue and clean the area, later on, it will come off easier. So, you won’t have to worry about the wax. After that, I started to apply the glue. I used the glue gun for it. The pliers were needed to open the two parts of the headlight properly. It is not so easy to do it with your hand, and the pliers are a good helper here.
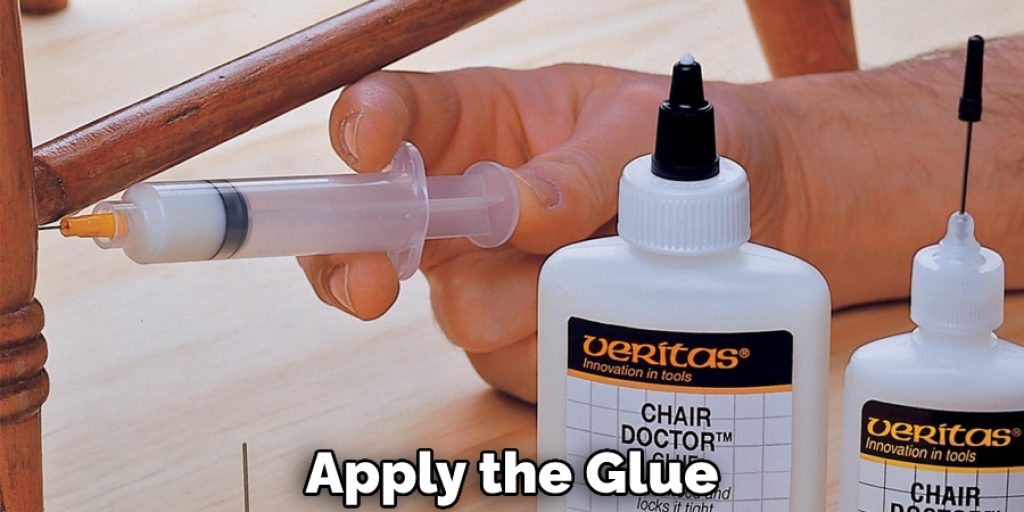
- Next, I took a little wedge and put it into the crack to open it up so that I could get the glue syringe in there and shoot some glue into the crack. I then put a little clamp on each side of the crack and used my hand to push down so that the wedge would stay in place.
- After you put the glue into the syringe, start applying it into the cracked area. Try to use a lot of glue so that it can reach the bottom of the crack. Once you’re done with one side, switch to the other side. Finally, put the syringe into the lower part of the crack so that it can reach the bottom properly.
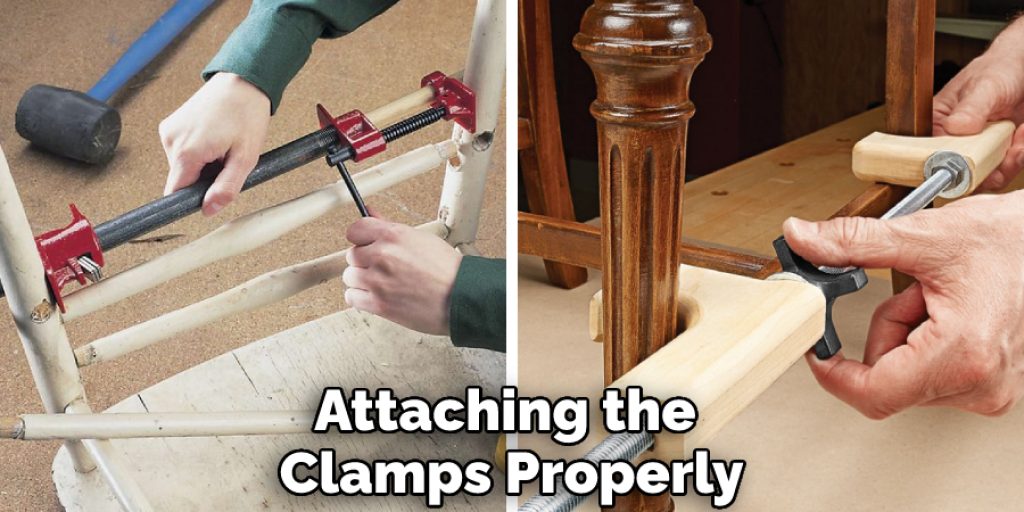
- Then I clamp both of the parts together. When you clamp the parts, you have to make sure that the surface isn’t parallel to each other. In this case, you can use the clamps that have pivot the ends. It will be more helpful for you and hold the surface properly. These clamps will conform to the non-parallel surfaces better than the regular clamps. If the damaged portion is a bit larger, you will need to attach two clamps at that portion.
- After attaching the clamps properly, leave the chair for 12-24 hours, at least. Then take the clamps off. I do the same, but I wasn’t confident that the glue had gone all the way down to the bottom. It is obviously too narrow down there, and the syringe won’t be able to get in it. It was looking safe, but I wish to add some more strength to the chair.
- For this, I prefer to drive a screw in the lower part of the cracked area. I began by drilling a pilot hole for the screw. The hole has to be big enough to allow the screw head to sit flush with the wood after it is driven in.
- Then I used a countersink bit so that the head of the screw sits below the surface of the portion.
- Before I start to put a screw into the hole, I used a little amount of Chapstick on the end of it. Just to lubricate it so it would go in easier. In this case, you can also work with candle wax or bar soap.
- If you struggle to put the screw in, you can also use a dowel in it. Simply drill the hole and make it a bit larger. Then I applied some glue in it. After that, I hammered it inside the hole. It’s also pretty simple. At the top of the hole, I glued in a button plug. That’s it; now, the chair is fixed properly.

Conclusion
Hopefully, you have understood the entire process, and you won’t have to ask anyone how to fix a broken chair back again. There are many other ways, but I have explained the simplest process for your convenience. If you are still confused, don’t hesitate to inform me through the comment section below.


