
How to Fix a Candle With a Short Wick
Introduction
Candle wicks are the materials that transmit the flame from a candle’s burning core to its outside environment. The word “wick” is ascribed to candle making not necessarily as a reference to a string or yarn, but more of an essence: it has been believed that wick contains some spiritual power that ignites and keeps the fire alive during flammable processes; hence, in lighting up candles, we often use wicks which have been soaked in specially formulated candle oils. IN this article, I will discuss how to fix a candle with a short wick.
Types of Candle Wicks
There are two types of wick found on contemporary candles: cotton (also called cotton core), which melts and freezes easily when exposed to extreme temperatures–this type is used for creating church candles or votive lights.
Another type is paraffin, which can last longer than cotton wicks but is also more expensive; this type is usually used to create candles that will be lit up regularly.
Candle wicks come in different sizes and shapes, and they are either short or long. The size of a candle’s wick depends on the amount of wax it contains; however, the length of the wick always measures 1 inch for every 4 inches contained within the candle body.
During burning a candle, you have to cut off its excess portion to elongate its life span and ensure optimal performance (this action may be needed after every time you light up your candle).
Issues of a Candle with Short Wick
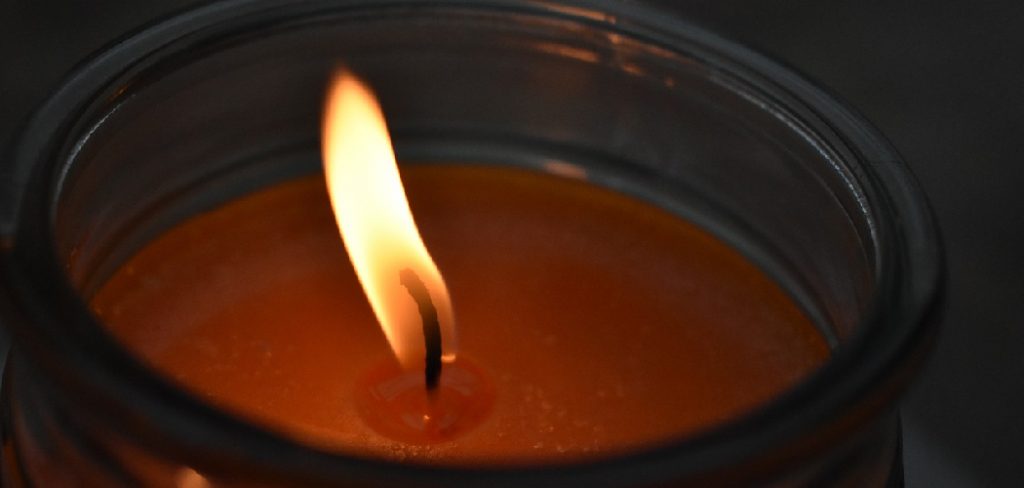
A Candle with a short wick may be placed on the ground of the wax pool to burn properly. There are many reasons for a candle with a short wick to exist, and thus have different solutions for each one.
The most common reason is that there’s not enough wax in the candle. Another possibility is that the wick was exposed to air while pouring wax into candlesticks; or that it wasn’t straightened out (some people don’t notice) before lighting it.
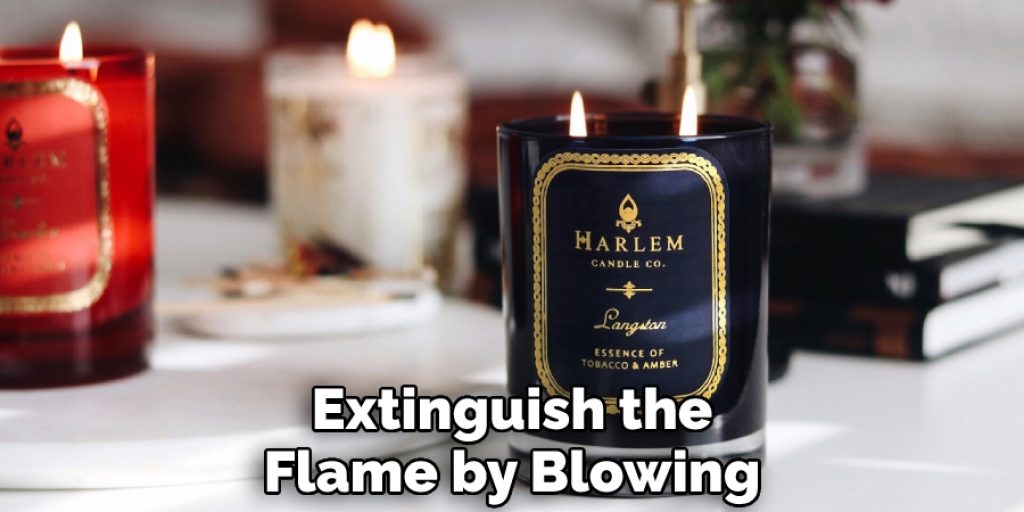
In this case, if you try to extinguish the flame by blowing on it or dipping it into the water–you’ll only make things worse and end up making ugly black soot spatter all over your hand(s).
Also, if you were to pour some wax on the wick (to solve it), that would be a big mistake. Finally, suppose the candle is not monolithic (i.e., made from one piece of wax). In that case, candles with short wicks can be fixed by melting another chunk of wax onto the unburnt end of the wick.
However, in this case, more wax would need to be added before lighting it again, or else there’s a higher risk of the candle burning too quickly and producing smoke and soot.
Do not drip any additional wax onto it if you find your candle flickering after adding new wax!
Brief Description on How Does One Know If The Wick Is Too Short
The flame of your candle will be wide, large, and sputtering while emitting black smoke if the wick is too short for a long duration of time. This issue with the candle is something that you need to know about as soon as possible because it might lead to fire hazards at home if not fixed immediately.
You cannot run the risk of having your candle burn in an unsafe manner, so make sure that you do something about it before anything goes wrong.
The person who has made your candle for you might not have had any problem with the wick length, but it is you who will be using it, and so you are responsible for making sure that everything is fine with the product.
There are two ways of testing whether or not your wick is too short, by measuring its length and observing the burning behavior of your candle. We’ll talk about these two ways in greater detail below:
1)”Measure The Wick Length:”
This method allows one to check whether or not their wick is too short for a long duration of time because if this were true, then there would be enough black smoke emitted while burning and large flame size. On the other hand, there’s a lack of oxygen in the wick, so the chemical reactions are not happening optimally.

To test your wick, you can take a ruler or any other measuring instrument and measure it against an inch to see if it’s short for sure. The most optimal length for a candle’s wick is 2 inches; however, there might be slight variations that manufacturers consider acceptable as well.
2)”Observe The Candle While It Burns:”
The second method involves observing your candle while burning to know whether or not it has enough oxygen to burn properly. If you notice a large flame and black smoke coming out of your candle, then this would mean that its short wick is causing this issue which means that all these negative effects come from the lack of oxygen in the wick.
In this case, if you’re a novice at making candles, then it would be better that you look for expert advice from people who can give you the right guidance in this regard.
Step-wise Guide on How to Fix a Candle With a Short Wick
Step 1:
Make sure that the shorted wick is not in contact with the candle wax. If it is in contact, do not try to fix it without first removing the melted wax up to where the wick was touching. Too much-melted wax will be harder to remove than a shorter piece of wick.
If you are less concerned about preserving the appearance of your candle and more concerned about re-lighting it quickly, then cut or trim off any remaining length from your candle’s existing wick. Of course, you can always do this step later when you get ready to burn another candle using this same container as its base.

Step 2:
The next step is to fold over a small piece of paper until its width equals the diameter of your candle’s wick. Apply glue to the area of the folded paper that will be touching the candle’s wick and lay the end of the wick on top of it. Allow the glue to dry before lighting your candle.
Step 3:
Slide it over the top of your bent and shortened wick so that it forms a cylinder around the shaft of the wick.
Next, take something like an ice pick or a long nail (maybe up to 1/4 inch wide) and pierce through one end of the paper into your wick tube just under where you pierced it earlier in step two during its initial creation.
Be careful not to accidentally poke yourself with this instrument, as you will surely be surprised how sharp objects can be even when used by mere humans! If you are concerned about safety issues, use a pair of tweezers for these next steps instead.
Step 4:
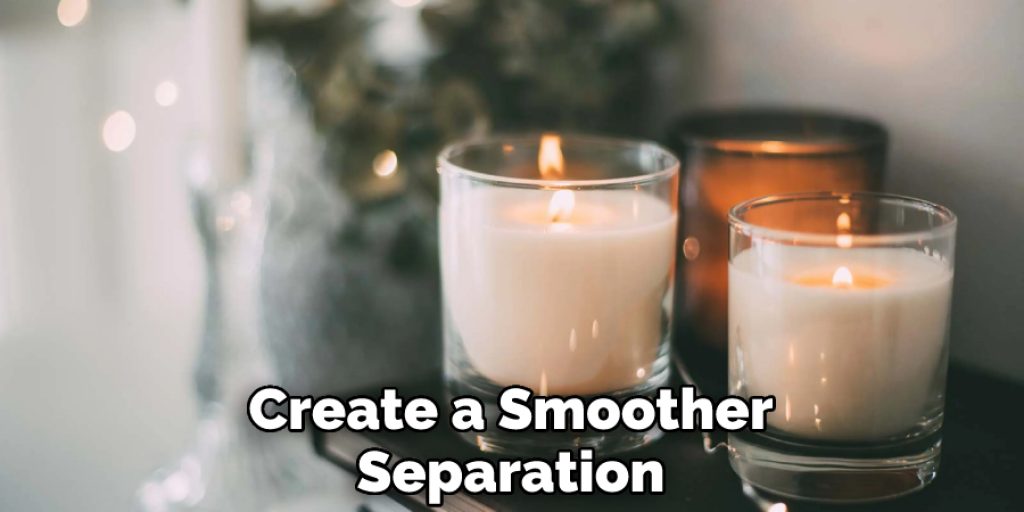
With what remains of your wick shaft, grab hold of your paper and gently (yet firmly) pull the cylinder you created in step two off of the shaft, leaving only your newly formed “wick” exposed. I’ve found that holding the paper firmly in one hand and using my other to pull the shaft helps to create a smoother separation between the two.
Step 5:
Now that you have a new short wick, we need to get it saturated with 100% pure vegetable or soybean oil.
It is important to use only vegetable or soybean oil for this next part as petroleum-based oils may clog your wicks if used here. If you are using votive-type containers as I did here, pour the oil into them until all of your candle’s wax is gone, and the desired amount of oil has been added to make up for what was lost during removal.
If your container is a different type or you have any specific concerns about the amount of oil that this process may consume, then I recommend following these instructions instead:
Place your candle into a larger container like an unused ice cream bucket and first fill it with water almost to the top. Then slowly add vegetable or soybean oil until its level stops rising as you pour.

You will know how much oil was needed to keep your wicks soaked after removing some of their original wax support when you reach this point. Based on this initial filling, you can easily determine how much extra oil to use for subsequent re-lights by adding just enough more than what is required.
Lastly, if your container’s opening isn’t large enough for pouring out its contents (like a votive candle jar), then you can use a funnel with enough of the first type of paper you used (or something similar) to act as your pouring spout.
I recommend using a funnel that is wide enough for this so that some extra oil won’t flow down and accidentally get poured over your wick instead of where it’s supposed to go.
Step 6:
After you have completed all necessary steps, simply light the candle just like you normally would and allow it to burn until the new wick stops smoking. This usually only takes about 30 seconds or so but may vary depending on your individual circumstances. Once the new wick has stopped smoking, trim the end of the old wick off and light it to dispose of. Now you are ready to enjoy your candle again!
Precautions While Performing How to Fix a Candle With a Short Wick
- Make sure the candle is not burning, and if it is, don’t touch it until you have doused the flame with water.
- Make sure that the wick you are replacing is completely burnt out. Your candle should be in the melted state before attempting this fix.
- When you have removed all precautions from the list above stated, proceed with fixing your candle in a safe environment away from any flammable objects and electric appliances.
Frequently Asked Questions
Can I Add a Wick to a Candle?
Candles without wicks are called votives. They come in various shapes and sizes, but the most common type is the light tea candle. When you buy a votive, it usually comes with either a wick or a holder that you can use to insert a wick.
Hold the candle up to add a wick to a candle so that the flame is at the top of the wick. Then, carefully slide the wick into the flame until it is fully inserted. Be sure to hold onto the candle tightly while doing this; otherwise, it could easily fall out of the holder and be extinguished.
What Can I Use Instead of a Wick?
A few different things can be used in place of a wick.
One option is to use a teabag. Simply fill the tea bag with hot water and let it steep for about 5 minutes. After 5 minutes, remove the tea bag and place it in the vaporizer. The tea’s vapor will help heat up the vape pen and produce vapor.
Another option is to use a cotton ball or pad. Wet the cotton ball or pad and place it in the vaporizer. After wetting it, please put it in the vaporizer and wait until it is heated up before using it.
Can You Use a Toothpick as a Candle Wick?
No, toothpicks cannot be used as candle wicks because they are not made to withstand high heat. Instead, use a thin piece of paper or a cotton ball to light your candle. You can also try using a birthday candle as a wick. Birthday candles are used as wicks because they are specially designed to withstand high heat and have a narrow base that fits in most glass bottles.
Can I Melt Down Old Candles to Make New Ones?
There is no definite answer as to whether or not you can melt down old candles to make new ones. However, there are a few things that you should keep in mind before attempting this:
• Make sure that the candles you are melting down are in good condition. If they are damaged or have labels that have come off, they will not be melted down successfully.
• Make sure that the waxes and other ingredients used in the candles are completely dry before beginning. Wet waxes will not be melted down and will end up clogging your melting pot or stove.
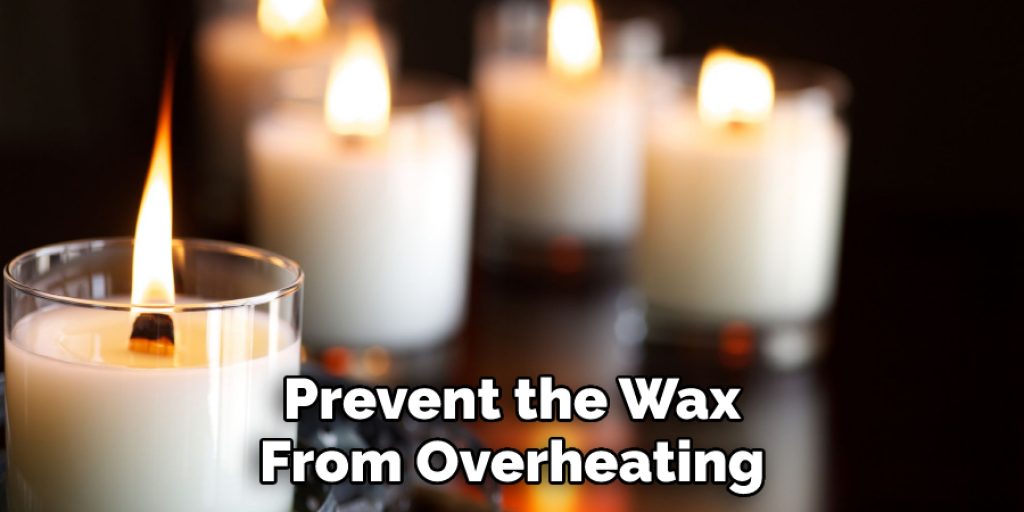
• Use a double boiler or an oven with a thermostat if possible. This will help to prevent the wax from overheating and becoming brittle.
Conclusion
I hope this article has been beneficial for learning how to fix a candle with a short wick. Thank you and have a nice day!


