
How to Fix a Hard Bricked Phone
A hard brick is the worst thing that could happen to your phone. When a phone becomes hard-bricked, it’s as if it were never turned on. Almost all of its functionality is gone, and you are left with an expensive paperweight unless you’re one of those lucky people who know how to fix a hard bricked phone.
If this has happened to your device, don’t panic! There are plenty of ways to revive your smartphone from the brink of death. Today we’re going to discuss this issue.
Summary: If your phone is “bricked” Or can’t be fixed, there are a few things you can do. First, try to erase all data and partitions on the device. This will restore the phone to its factory default state. Next, try to restore the phone using a USB cable and the original Apple firmware. Finally, if all else fails, you can buy a new phone.
Required Tools
- Flash tool
- USB Driver
- Computer
- USB cable
- Any android Stock ROM
Instructions: How to Fix a Hard Bricked Phone
Step One: Download the Firmware Package and Extract it with WinRAR
There are a variety of Stock ROMs available for Android Devices, but be sure to select the one that is compatible with your device’s model number. If you’re unsure which firmware to choose, check out How to Find Your Device’s Model Number for guidance.
You will need an extracting tool like Winrar or something similar before proceeding if you have Windows on your PC because the extracted files are compressed folders (ZIP archives). On macOS, there should be no problem as they come out uncompressed by default when unzipped using “unzip.” Linux users may also use their own preferred extraction utility such as ark, unzip, tar, or zip.
Step Two: Unpack the Stock ROM Files
Extract all of the files in each firmware folder into a single, new directory. This will leave you with one file for each model number. If there are any duplicate files with different names but the same content, delete these duplicates to avoid confusion during the flashing process.
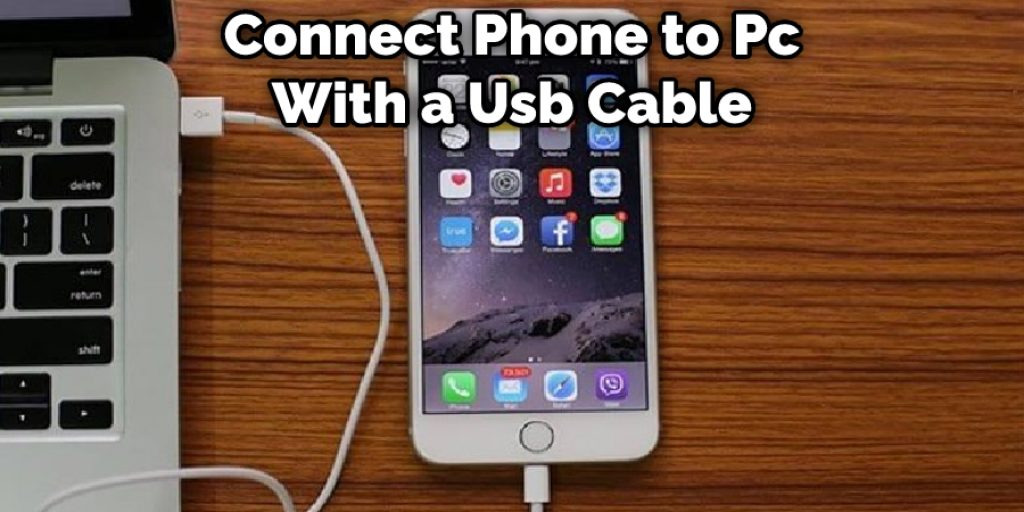
Step Three: Copy the Stock ROM files to your phone.
Connect your phone to a PC with a USB cable, and copy all of these stock ROM files from where they reside on your SD card into one folder in an easy-to-find location – either on the internal storage or external microSD card. This will serve as the recovery directory for flashing purposes later on, so be sure it’s accessible without requiring any special permissions (root-access).
Step Four: Extract the .zip File From Its Firmware Folder
Connect a file manager or other similar app on your device to where you copied all the .zip archives from step two, and copy them over one at a time (select both the archive and the destination to copy it over).
For each model, you’ll want to extract the .zip file from its firmware folder and then copy all of these files into a new directory. When you’re done, there should be only one file left for each model number (just like when you downloaded them) with the .zip extension.
Step Five: Boot into Your Custom Recovery Mode
In order to flash our custom firmware onto our device, we need to follow certain directions carefully. This is because there are different ways to boot up the device, depending on the custom recovery we are using.
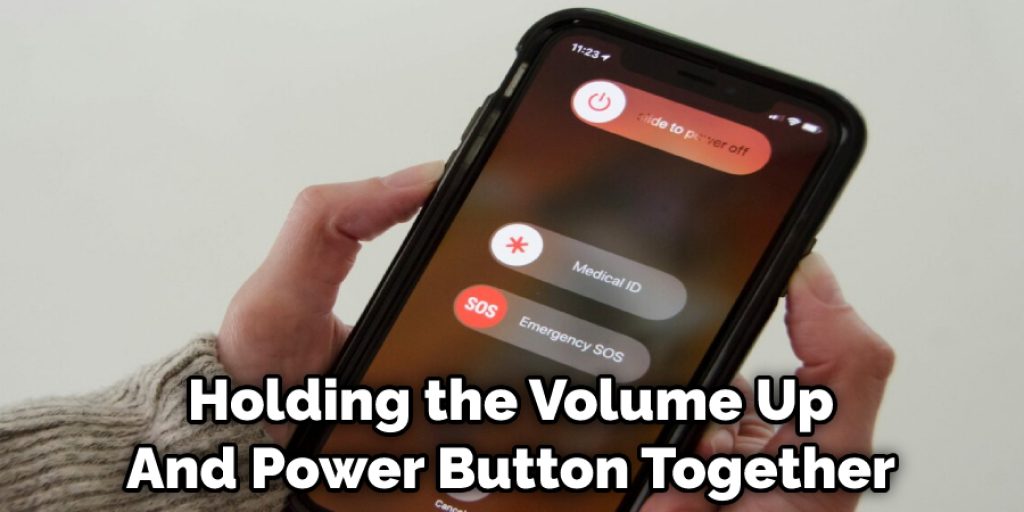
Step Six: Hold the Volume Up and Power Button Together
Open recovery mode by holding the Volume Up and Power button together until you see the LG logo on the screen, then release both buttons. If this does not work, try pressing Home Button + Volume Down at the same time instead of volume up and power.
You will need an Android device that is unlocked or rooted for different versions of firmware packages (.zip files) as they are often locked to specific carrier models only. For most devices, there should be one “FOTA” package that works well enough but check if available before proceeding.
Step Seven: Flash the Stock ROM Files to Your Phone.
Reboot into download mode and connect it to your computer once more (just like you did in step one). Open up Odin or Heimdall depending on which option you chose, make sure Auto Reboot is unchecked, click PDA/AP button, and select the .tar file corresponding with your model number. Hit start and wait for success!
Frequently Asked Questions on How to Fix a Hard Bricked Phone
How Many Times Do I Need to Boot My Phone?
To enter Recovery Mode on your device, first, turn it off. Then, hold down the Volume Up + Power buttons together until the LG logo appears on the screen. You can also use Quickboot or Flash Your Kernel instead if those work better with your operating system.
How Do We Restore Factory Settings?
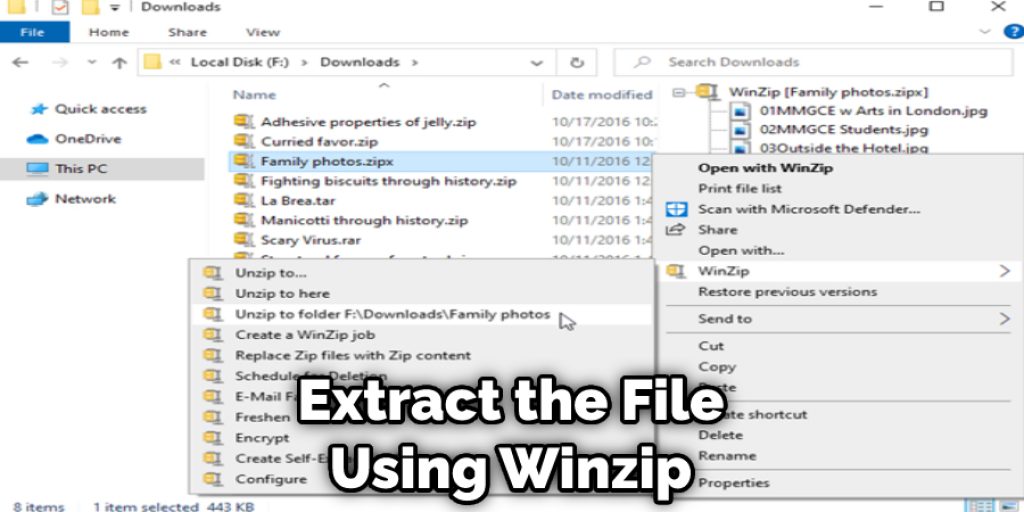
Well, first of all, download an Android Firmware Package from Google or any other website (in case there are issues with a connection), which includes software updates like operating systems, etcetera; once downloaded, extract the file using Winzip or another related app so that way now you have one folder containing all of these files.
How Do We Perform a Hard Reset?
Remove the battery from your phone if it won’t turn on, then hold down all the buttons at once. If this fixes the issue, congratulations! Remember these instructions so you’ll know what to do next time your phone has trouble starting up. Don’t plug your phone into any power sources until it’s completely turned off, or it will start an endless reboot cycle.
Conclusion
If you have a hard-bricked phone, it could be time to upgrade. Your life might not depend on your smartphone, but if you’ve lost all of the data that was stored in it and there is no way to recover any of those files, you may want to consider getting a new one!
There are many ways for people who aren’t tech-savvy or don’t know how to fix their own devices can find help. It’s always best practice when fixing an Android phone with “hard-bricks” (a term used by geeks) is to contact an expert so they can take care of everything from start to finish.
But if you want to fix your hard Brick phone yourself, then follow the instructions guideline that was mentioned in the post on how to fix a hard bricked phone and repair your phone without any additional cost.
You may read also: How To Fix Black Spot On IPhone Screen


