
How to Fix Hard Bricked Android
In this guide, we will share the steps on how to fix hard bricked android, so you don’t have to send it away for repair! Have you ever heard the term hard brick? How about soft brick? If not, we’ll explain. A “hard brick” occurs when your device cannot boot up and has no hope of being turned on again.

This can be caused by various issues, from losing power in the middle of flashing firmware, installing a bad ROM/kernel, or even just turning it off while an update is downloading. Luckily some steps can help fix this issue.
Summary: If you’re having trouble with your Android device, there are a few quick and easy steps you can take to try and get it back up and running. First, check if there’s anything you can do to fix the problem yourself- many times a simple reset will solve the issue. If that doesn’t work, then you may need to take your device to a service center or an expert to have it fixed.
Things You’ll Need:
- USB cable
- Computer with an internet connection (Windows)
- Downloaded image of the desired operating system for your device (.zip file)
- Spare MicroSD card
- Micro SD USB adapter (if not using the same computer)
- Proper drivers installed on your computer for your device, like ADB and Fastboot Drivers.
Instructions: How to Fix Hard Bricked Android
Step One:
Open the desired operating system .zip file on your computer and extract all of the contents out of it. You should be left with a folder containing this new OS and some subfolders that contain different versions for each type of Android device (Nexus, Samsung Galaxy). .zip file on your computer and extract all of the contents out of it. You should be left with a folder containing this new OS and some subfolders that contain different versions for each type of Android device (Nexus, Samsung Galaxy).
Step Two:
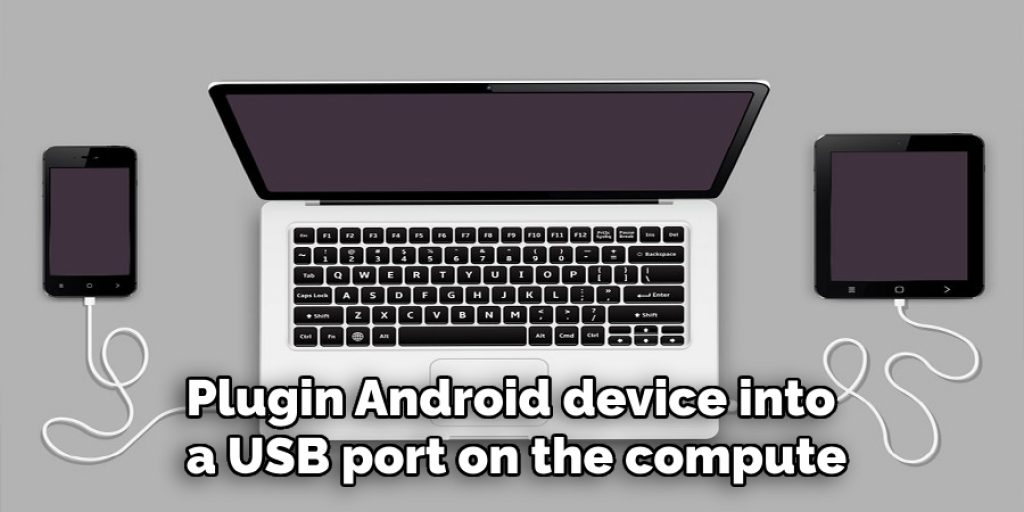
Plug your Android device into a USB port on the computer. Wait for it to show up in My Computer or Device Manager.
Step Three:
You should navigate to the folder where you extracted the Android files from earlier. Double-click on the “android” file with the operating system that is currently installed on your phone. If you have an older version of the OS, it will ask if you want to replace it with the new one.
Step Four:
If not, then it should start up and tell you that there is no OS currently on your device (and offer to install an older version). If it does nothing at all when double-clicked, that means you need to install the version of Android’s SDK corresponding with your phone model. To do that, go here and download the latest Android SDK.
Step Five:
Reboot your device and try installing an app from Google Play or see if it will update whichever apps are already on there. How a restart fixes hard-bricked devices is unknown because when you reboot, the phone’s operating system is loaded from the bootloader. It’s possible that this action refreshes the connection between the phone and the bootloader, which can help with installing an update. This can also help with a soft-bricked device.
Step Six:
If you’re still having problems with your device, this might be because of a corrupt SD card. Try removing it and plugging it back in to see if that fixes anything. Otherwise, just leave it out as long as possible (if not permanently) since an SD card can cause many other problems with your device.
Step Seven:
If you’re still having problems, there may be some hardware damage – this could be because the phone was dropped or exposed to water at one point. So you’ll need to find a way to access the hardware and follow the next steps.
Step Eight:
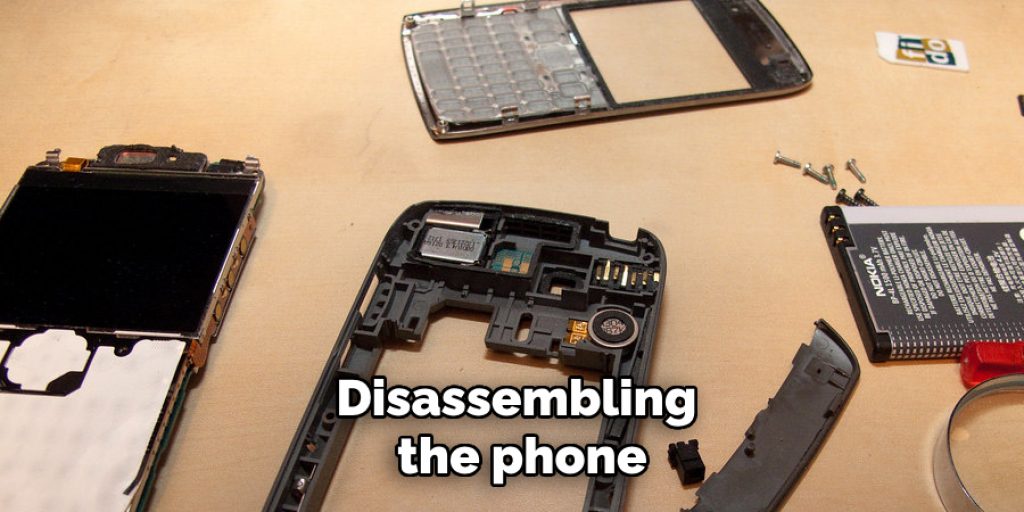
Disassemble the phone as much as possible, paying attention to any screws, clips, or other devices that are holding things in place. Look for seams with gaps large enough for your fingers. There will usually be some kind of screw holding the back panel in place. Once you’ve found a seam, start to pry it open with your fingers or use a plastic card like a credit card (be careful not to scratch and damage any of the parts).
Step Nine:
Look for electronics glue. This is normally white and will be holding down chips or other parts. Using a plastic card, start at one edge and slowly work it under the chip or part until you can free it from the glue (if you use too much pressure, as with any adhesive, this will result in damaging your phone).
Step Ten:
Once all of the chips have been freed from their white glue, start at one corner and slowly peel the back panel away from the phone. Now that you’ve freed all of the chips, it’s time to remove them. Take your plastic card (or a guitar pick), place one end under a chip and then use your fingers to slide downward along the side of each one until it starts to come out.
Step Eleven:
If the chip doesn’t want to come up, try using a pull tab like on soda cans and see if that does the trick! Once you’ve removed all of the chips from your phone’s motherboard, it is time to take off any connectors or cables. Be careful not to rip any of them.
Step Twelve:
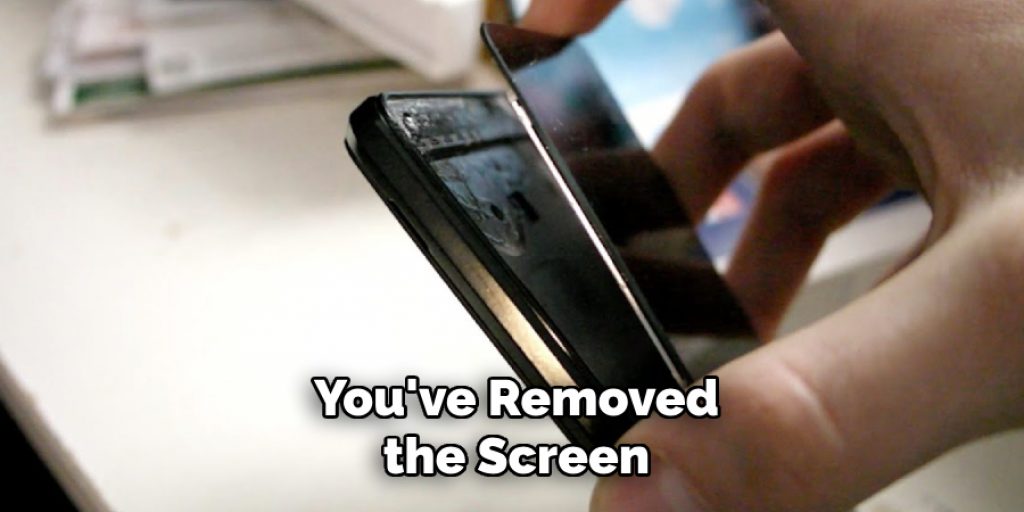
Now that you’ve removed all of the chips, it’s time to remove your phone from its case if it has one – after that, slowly pull up on the screen and then remove it from your device by gently pulling at each corner until they start to peel away.
Step Thirteen:
Now that you’ve removed the screen from your device, it’s time to use a suction cup on one of these plastic opening tools and carefully remove any residue or foreign objects in there.
Step Fourteen:
Now place all of those connectors back onto their corresponding spots on the motherboard. Be careful not to mix them up!
Step Fifteen:
Now carefully replace the screen, but don’t forget to take off the plastic film. Finally, put your device back together by plugging it all in and snapping any pieces that might have popped loose during repair onto their appropriate spots on the motherboard.
Frequently Asked Questions:
What causes hard bricked Android?
A hard-bricked Android is when the phone has been rendered unusable and cannot be restarted. This usually happens when the phone gets stuck in a boot loop or if there is a hardware problem with the device.
Can Rooting Brick Your Phone?
There are two ways to root your phone. One is using software, and the other is using a hardware tool.
The software method uses tools like Kingo, Framaroot, or SuperSU to root your phone without having to go through any physical damage on your device. This is also the safest way because you don’t have to break your phone to work properly.
The second method is by breaking off the back of your device and then inserting an SD card into it with an app like Towelroot, which then downloads all of the necessary files needed for rooting onto that SD card and after removing it from the broken device, inserting it into another one and installing them onto that new device.
Can You Jailbreak an Android?
Yes, but it will void your warranty and any security updates provided by the manufacturer. It is highly recommended to be done with caution as this process can break your device. A jailbreak is a software hack that allows you to run apps or other tweaks on your device that the manufacturer is not officially sanctioned.
Conclusion:
If you’re an Android user and your phone is bricked, then don’t panic. There are still many things that can be done to fix a hard-bricked Android device without replacing it or buying a new one! If you want to know how to fix hard bricked android smartphone of yours without going to a repair shop, then this article is for you. We’ll show you how to fix hard-bricked Android phones by using the following methods.
Let’s take a look at some of the methods we can get our devices up and running again in no time. What do you think? Share with others how they could fix their own phones if this happens to them. With these steps, there should be nothing stopping anyone from keeping their favorite piece of technology safe for years to come!
Check it out to learn to Fix Hairline Cracks In Phone Screen.


