
How to Fix a Stuck Shutter on a Film Camera
A camera shutter has two blades that open and close to control the amount of light hitting the film. If one or both of those blades get stuck, it can be a difficult fix, but not impossible! This blog post will teach you how to fix a stuck shutter on a film camera with just a few tools and give some tips and tricks to maintain your shutter on a film camera.

It’s important to note that this guide is meant for manual film cameras, as digital cameras have different mechanisms and may require a different approach.
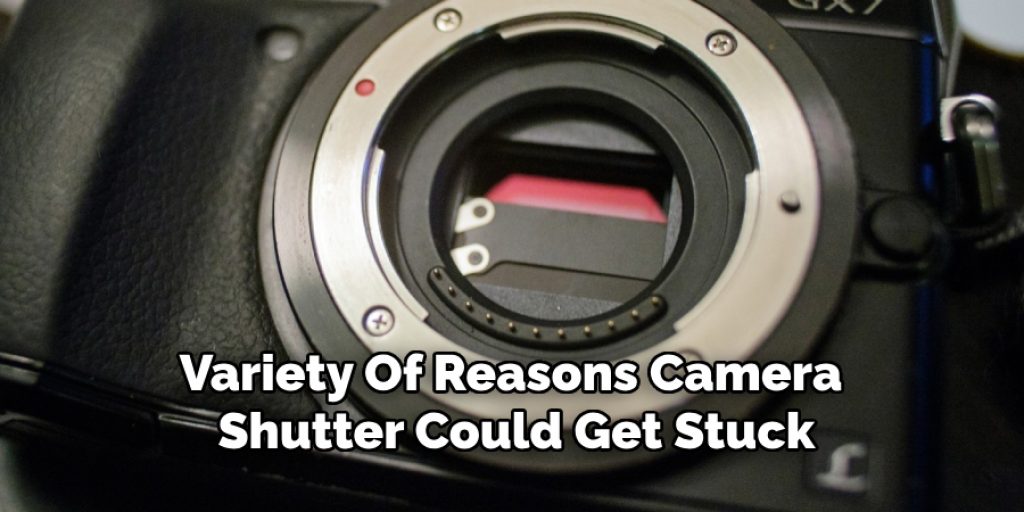
Reasons Why Stuck Shutter on a Film Camera Occurs
a) Obstruction of the film path. Dirt, oily fingerprints, or other foreign objects on the shutter blades can cause a stuck shutter. Sometimes, even hair can get caught in an old camera, which causes this problem.
b) A dirty lens that is not clean enough to allow light through will display black areas on your photographs when you attempt to take a picture. This can also cause a shutter to get stuck.
c) Exposure and shutter speed settings that are too slow. If the shutter speed is too slow, then it will take longer to expose the film. If the exposure time is too long, then light can leak in from outside sources and also cause the stuck shutter problem.
d) An incorrect shutter release. If the cable is not attached to the right port, or if it might be broken, it can cause a stuck shutter problem with some cameras.
e) The film may have been wound too tight or not enough, causing the camera’s shutter mechanism to be blocked by an excess film that has formed a loop inside of the camera.
Materials Needed:
A Screwdriver:
The first thing you will need to have is a screwdriver. The type of screwdriver needed may vary depending on the make and model of your camera, so it’s important to research beforehand or refer to your camera manual.
Tweezers:
Tweezers can be useful in removing any foreign objects that may be obstructing the shutter blades. They can also help with the delicate handling of the camera’s internal components.
Cleaning Solution or Cloth:
A cleaning solution specifically made for camera equipment or a soft cloth can be used to clean any dirt, fingerprints, or oil from the shutter blades and lens. It’s important to use a gentle solution as harsh chemicals may damage the camera.
Directions: How to Fix a Stuck Shutter on a Film Camera
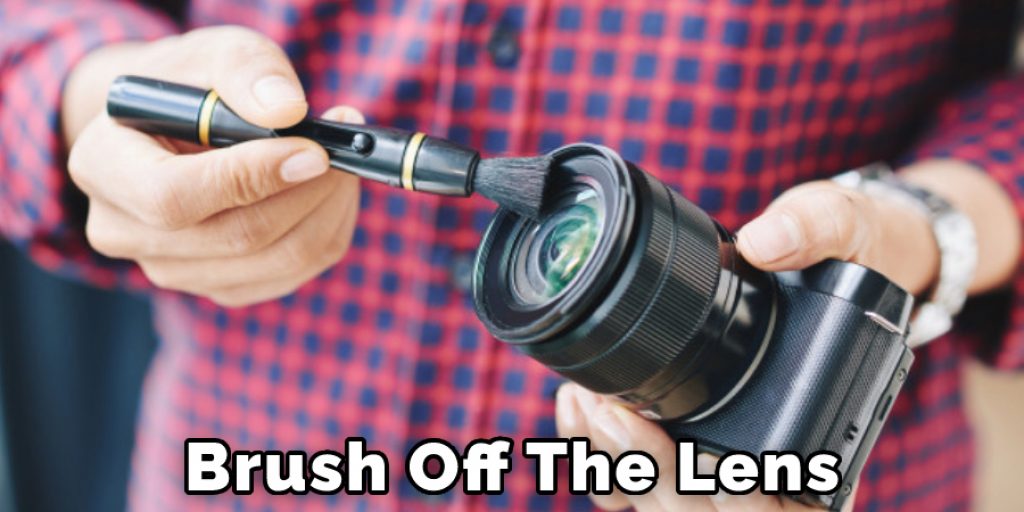
Step One: Remove the Lens and Clean it
Some shutters get stuck due to dirt buildup on the blades, so take out your lens and brush off any large debris from its surface. Be careful not to scratch anything! Then, use a cleaning solution or cloth to gently wipe away any dirt or fingerprints from the lens. It’s important to be gentle and avoid using harsh chemicals that can damage the lens.
You can also use a blower brush to remove any dust or particles that may have gotten inside the lens. But be careful not to use compressed air, as it can damage the lens and camera.
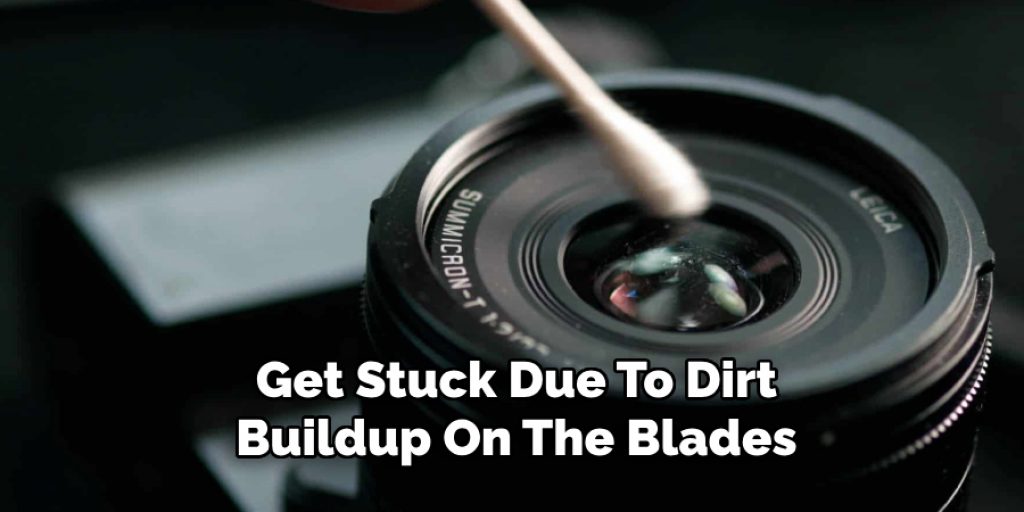
Step Two: Fix the Shutter
Locate the shutter button and open it up, revealing the two blades that make contact with film as they move in front of and away from each other. Sometimes, one or both of these will get stuck inside their housing (this is usually due to a buildup of dirt), so you’ll need to use your fingernail or a toothpick to carefully pry the blades apart. If the blades are still stuck, you may need to use your screwdriver and carefully remove any screws to access the blades and clean them more thoroughly with a cleaning solution or cloth.
The blades should now move smoothly and freely. If not, repeat the cleaning process until they do. The shutter should now be fixed!
Step Three: Use WD-40 Spray and Reassemble Camera
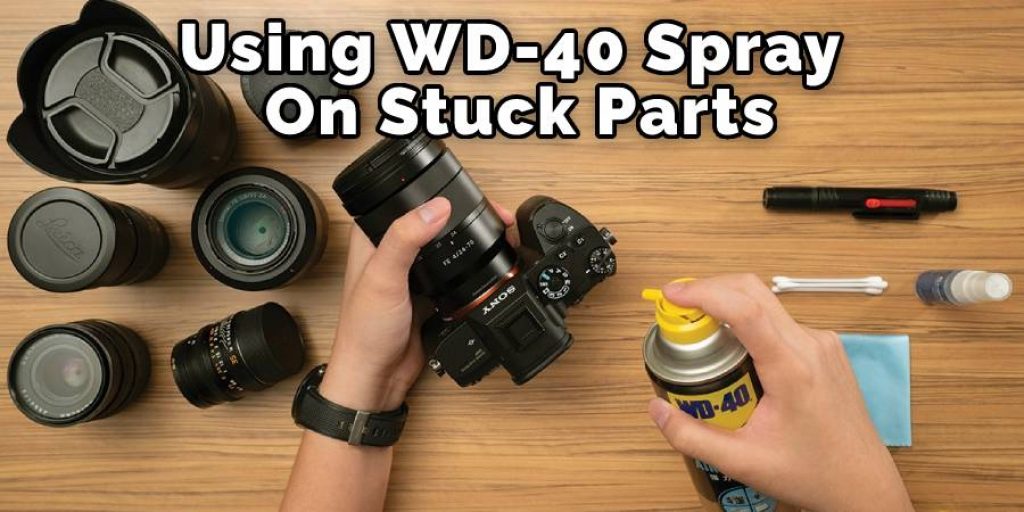
Once the blades are separated, use some WD-40 spray on them to lubricate any dirt particles that might be stuck in place. Once they’re clean, close up your camera’s shutter and reattach it to the camera body. The WD-40 should help the blades move more smoothly and prevent them from getting stuck again. But be careful not to use too much WD-40 as it can cause damage if overused.
The final step is to reassemble your camera and test out the shutter. It should now function properly and take beautiful photos without any stuck shutter issues. It’s also a good idea to clean and maintain your camera regularly to prevent this problem from occurring again.
Step Four: Test the Camera and Replace Batteries if Necessary
Test the camera by taking a photo of your hand in front of a light source. If there are any problems with the shutter, it will now be readily noticeable, and you can fix them accordingly. Replace old batteries if necessary to ensure that the problem isn’t due to low voltage levels from leaking power cells. You can also try resetting the camera by removing and reinserting the batteries.
You can see how it’s not too difficult to fix a stuck shutter on a film camera with just a few tools and some gentle cleaning. By maintaining your camera regularly and handling it with care, you can prevent this issue from occurring again in the future.
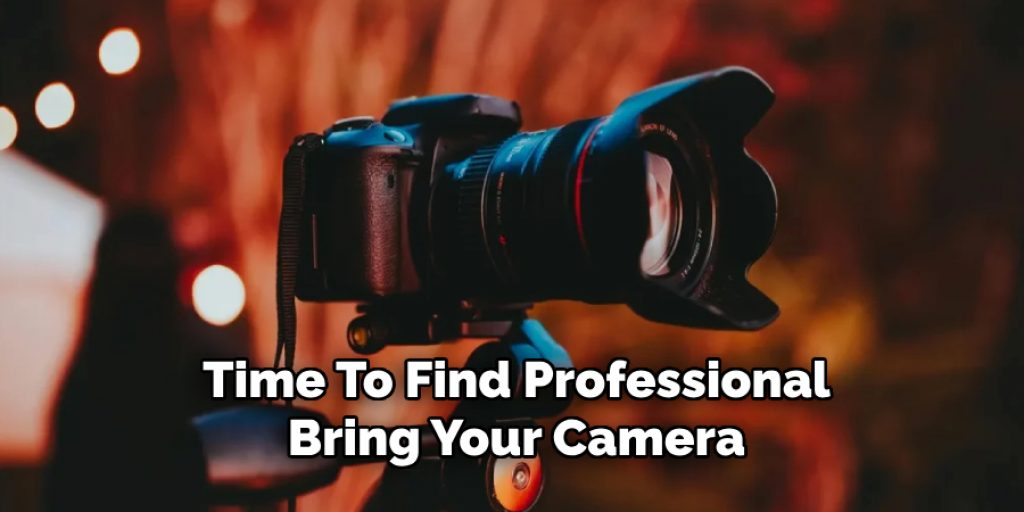
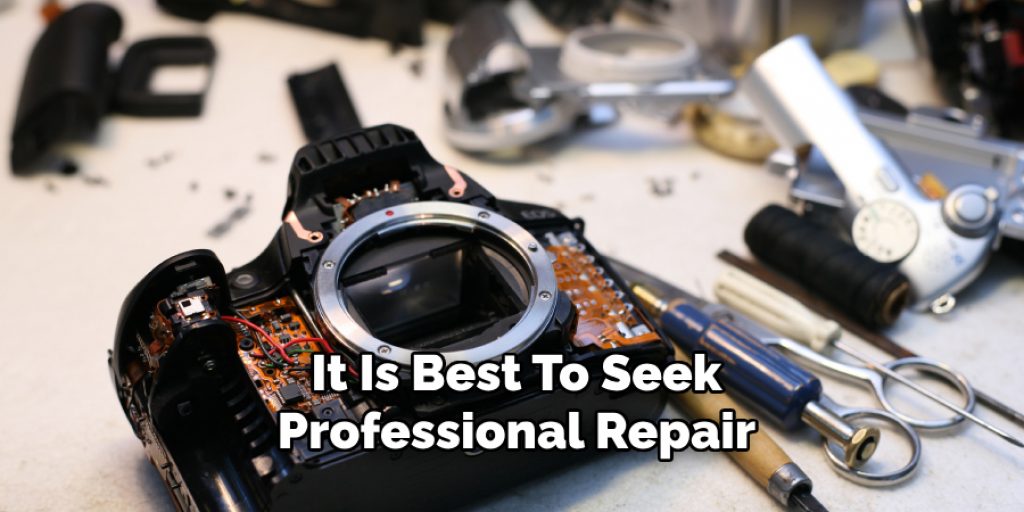
Step Five: Seek Professional Help if Necessary
If the problem persists, it’s time to find a professional. Bring your camera into an authorized repair shop, and they’ll be able to take care of any issues that are outside of what you can do on your own. They might also offer insight as to how this all came about in the first place. The common culprit is low voltage levels from old batteries. Regular maintenance and replacement of batteries can help prevent stuck shutters in the future.
But if your camera is experiencing more complex issues, it might be time to consider getting a new one. So, always keep in mind that prevention and regular maintenance are the best ways to avoid stuck shutters on film cameras.
Step Six: Put Your Camera to Good Use Again
Once you’ve fixed the shutter, it’s time to put your camera to good use again! Head outside and find a subject worth photographing in as many details of their face as possible with tight shots that show off their facial expressions.
If you want to take your pictures even further, use different types of lenses as well. A macro lens will give detail shots a new perspective, while wide-angle lenses show off landscapes in their full glory. Experimenting with different lenses can add new dimensions to your photography and make even old subjects seem new again. Enjoy your newly fixed camera and have fun capturing all the memories!
Step Seven: Keep Up Regular Maintenance
To prevent any future issues with a stuck shutter, it’s important to regularly clean and maintain your camera. Clean the lens and shutter blades regularly, and replace old batteries or other internal components as needed. By keeping up with maintenance, you can avoid having to deal with a stuck shutter in the future. The more you use your camera, the more important it is to take care of it properly.
Although fixing a stuck shutter on a film camera may seem daunting at first, it can be easily remedied with just a few simple steps. You don’t have to be a professional photographer or repair technician to fix this common issue. With some gentle cleaning, lubrication, and regular maintenance, your camera will be back in perfect working condition and ready to capture all of your photography adventures.
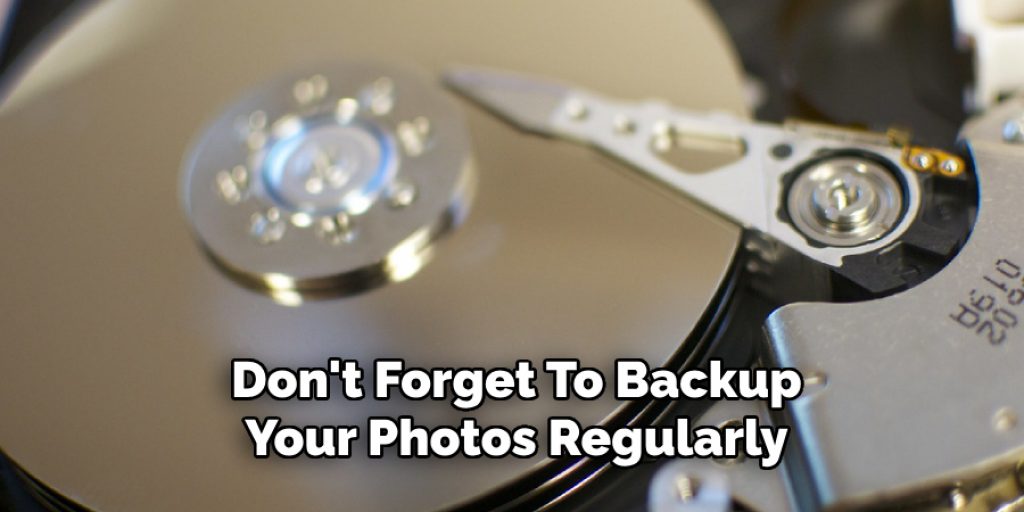
Step Eight: Backup Your Photos
Finally, don’t forget to backup your photos regularly. This will ensure that you always have a copy of your precious memories in case anything were to happen to your camera or its film. You can store your photos on an external hard drive, cloud storage, or even print physical copies for safekeeping. Whatever method you choose, make sure to do it regularly so you never lose your photos due to a camera malfunction.
Following these steps on how to fix a stuck shutter on a film camera can help you fix a stuck shutter on your film camera and get back to capturing beautiful moments. With proper maintenance, you can ensure that your camera remains in good working condition for years to come. So keep exploring and creating memories with your trusty film camera!
Some Tips and Tricks To Maintain Your Film Camera:
1) Clean the lens regularly with a lens cleaning solution or wipes. If necessary, use compressed air to remove dust and other particles from your camera body.
2) Turn off your camera when storing it for extended periods of time
3) Store an unopened film canister in a dark, cool place (not near windows) as soon as possible after shooting.
4) Keep your camera as dry and dust-free as possible. Store in a light-tight area free from dust particles.
5) If you’re not going to have access to a dark, cool place, store the film canister in an ice chest with plenty of frozen gel packs. The film will last for up to four days this way. Place one or two bags of non-frosted dried beans on top of the film canister to help keep it cool.
6) When storing your camera for long periods, clean and lubricate the moving parts. You can lubricate the moving parts with light oil (not WD40).
7) Cleaning with a dry cloth may not be enough. Consider using an air compressor or canned compressed air if available.
8) If you’re going to transport it, make sure you place your camera in an appropriate padded container or sleeve.
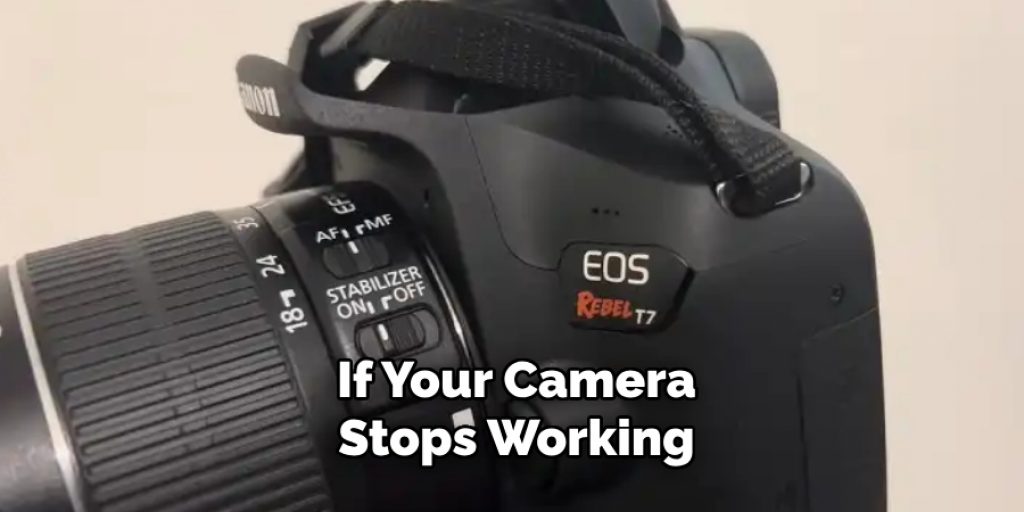
Do You Need to Use Professionals?
If your camera stops working, a faulty shutter may not always be to blame. Sometimes, it’s due to other internal issues that can only be resolved by professionals. It’s important to know when it’s time to seek professional help and when you can fix the problem on your own. If you’re unsure about how to fix a stuck shutter or if the issue persists after trying the steps above, it’s best to bring your camera to an authorized repair shop for an expert opinion. They will be able to diagnose and fix any issues with your camera that you may not have been able to resolve on your own. It’s always better to be safe than sorry when it comes to the proper function of your beloved film camera.
You can also consider taking your camera in for regular maintenance and cleaning to prevent any potential issues from arising. This will not only ensure the longevity of your film camera but also keep it functioning at its best for all your photography needs. With proper care and maintenance, you can keep using your film camera for many years to come. So keep exploring, capturing memories, and enjoying the art of analog photography with your trusty film camera.
How Much Will It Cost?
The cost of fixing a stuck shutter on a film camera can vary depending on the extent of the issue and the type of camera you have. DIY methods may only require a few dollars for cleaning supplies or new batteries, while professional repairs can range from $50 to $200 or more. It’s always best to get an estimate and discuss your options with the repair shop before proceeding with any repairs.
Overall, fixing a stuck shutter on your film camera can be a simple and affordable process if caught early and done correctly. With these steps and tips in mind, you can keep your camera in good working condition and continue capturing stunning photos for years to come.
It may seem daunting at first, but with some basic knowledge and regular maintenance, you can easily fix a stuck shutter on your film camera. So don’t let this common issue discourage you from using your beloved film camera. Follow these steps and tips, and you’ll be back to snapping beautiful memories in no time!
Frequently Asked Questions:
Q: Why Is My Film Camera Shutter Stuck?
A: There are a variety of reasons why your film camera shutter could get stuck. It might be that the batteries in your battery pack died, and it’s no longer getting power from them to operate. You may have left your lens cap on when you were shooting photos, which caused the electricity to stay off while the shutter was open. Or You may have accidentally pulled the film back into its tube while it was still exposed and didn’t realize it, which caused a few shots to be lost because of the lack of light hitting your film. In any case, there are a few things you can do to get your shutter unstuck.
Q: How Often Should I Clean My Film Camera?
A: It is recommended to clean your film camera lenses and body regularly, especially if you use it frequently. This will help prevent buildup of dirt and debris that could cause problems with the shutter or affect the quality of your photos. However, be careful not to over-clean as this can also cause damage to the delicate parts of your camera.
Q: Can I Fix My Stuck Shutter on My Own?
A: It depends on the severity of the issue and your own experience and comfort level with handling cameras and their components. In some cases, it may be possible to fix a stuck shutter on your own by following the steps outlined in this guide. However, if you are unsure or uncomfortable with these steps, it is best to seek professional help to avoid causing further damage to your camera. Additionally, regular maintenance and proper storage can prevent future issues with a stuck shutter.
Q: How Do I Know When My Film Camera Needs Professional Repair?
A: If the issue persists after attempting to fix it on your own, or if you notice any other problems with your camera that may be beyond your capabilities, it is best to seek professional repair. It is also important to consult a professional if you are unsure about how to properly clean and maintain your film camera. Regular tune-ups and checkups from a professional can also help keep your camera in good working condition.
Conclusion:
Saving your old film camera from the scrap heap is not as hard as you might think. If you have a stuck shutter, here are some easy steps to fix it that will work for most cameras. Don’t let an unrepairable problem prevent you from taking pictures of all those great memories! We hope this blog post has been helpful. Now you know how to fix a stuck shutter on a film camera!
You Can Check It Out to Work a Snaptain Drone
You may read also – How to Make Easel Backs for Picture Frames


