
How to Fix Auxiliary Port in Car
Introduction
Auxiliary ports connect non-audio devices such as an iPod, iPhone, or another device with a headphone jack. Auxillary port is often found in cars to use these devices through the car’s audio system. Unfortunately, the auxiliary port can go bad from time to time, and that is what this blog post will help you with how to fix auxiliary port in car. So stay tuned, and let’s get started.
Reasons for Auxiliary Port in Car to Stop Working
- An external electrical charge to the car could have interrupted power flow. This would trigger a voltage surge that can potentially damage electronic items within your vehicle, including the auxiliary port in the car.
- The aux cord may be plugged into an outlet on the dashboard or somewhere else inside of your vehicle and not at 12 volts as it should be.
- Your aux cord may have a short in it that makes the connection lose and not allow power to flow properly.
- The auxiliary input on your car stereo console could be faulty, which would cause erratic behavior when attempting to plug something into it.
These are all possible explanations for why you’re experiencing difficulties with your auxiliary port in the car not working correctly or at all – but one of them will surely work before toHowever, inlong! In some cases, if the problem persists after trying these simple methods, then you might need to get an expert opinion from a professional who can better diagnose what’s going on.
Process of Fixing Auxiliary Port in Car
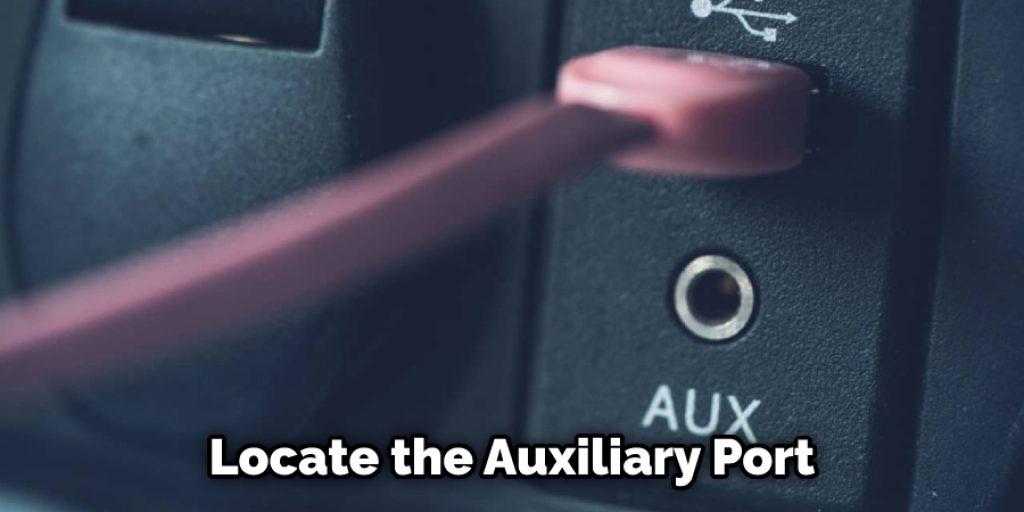
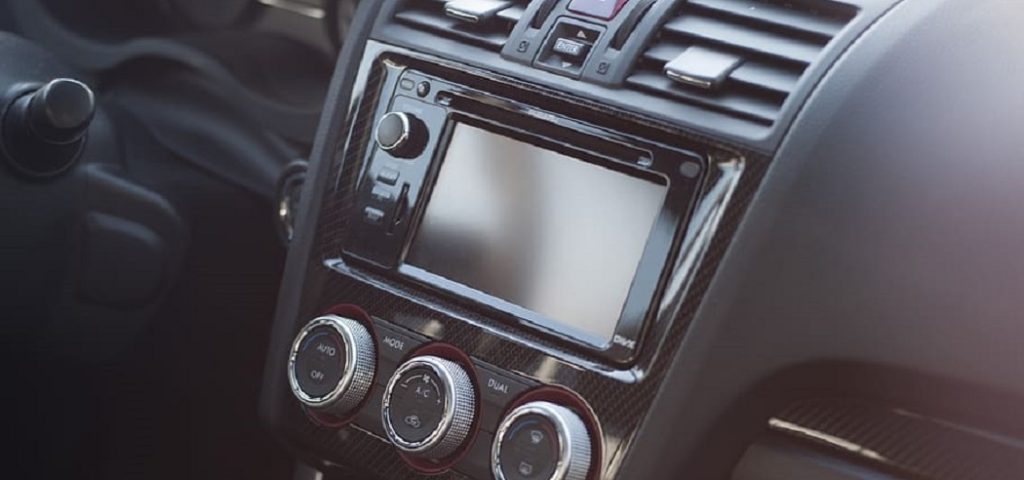
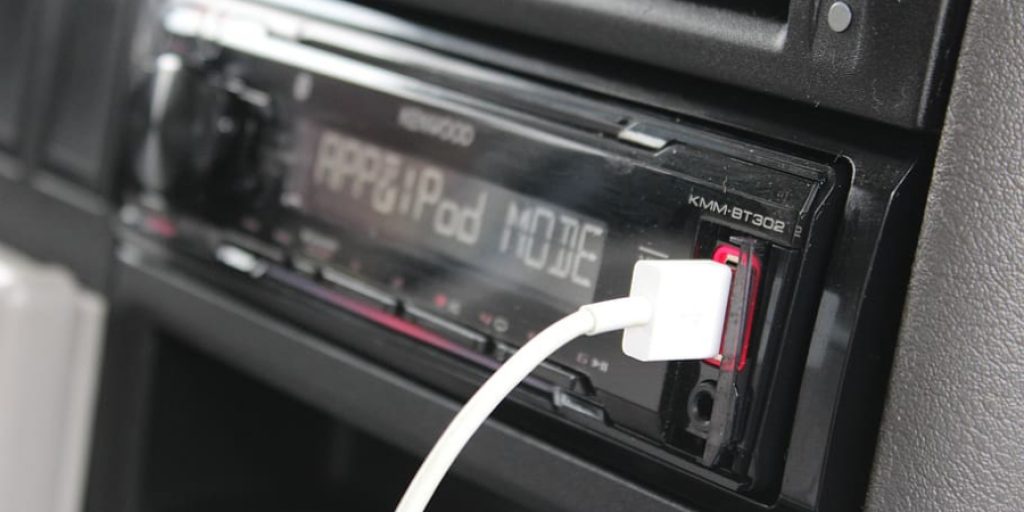
- Locate the Auxiliary Port. It is typically in a car’s center console and has inputs for analog devices (such as cassette tapes) or digital media players, such as an iPhone.
- Disconnect all cords from the input ports and turn off any connected device playing before the port’s disassembly began. This ensures no power surges occur while working with delicate electronics at proximity to sensitive equipment. Remove the input port’s screws using a Phillips screwdriver. Place the screws in a small dish and position it to the side of your work area. Remove the input port from the back panel of the television by carefully pulling on the housing.
- To remove the side panels on either end of the console area, unscrew the screws that are holding them in place. These screws are usually located near one corner of the vehicle. To remove the back panel, unscrew two more screws near the hinges along the backside edge of the dashboard area below the row of climate controls. This will allow the front and back panels to slide forward and off.
- To remove the top panel of the dash, unscrew the screws at each end where it meets the dashboard piece below. This will expose two more sets of screws near hinges along the sides that allow the front and back panels to separate from one another.
- To open the port assembly, carefully pry the tabs at the sides outward until they pop off. This will disconnect the gray metal casing around the device’s circuit board (which has brown wiring attached) from the shielded signal cables running towards the passenger seat area. Wires are plugged into ports behind these shields using hexagonal prongs or often flat ribbon connectors inside.
- Layout device on the surface to gain enough reach behind it (perhaps by removing passenger seat) and disconnect both cables from ports. Unplugging the two ends is a way of resetting the auxiliary port, which may be due to unseen damage preventing proper connection with the plug. If your car does not have this problem, then you are done; if so: 3) Reconnect cables, and try again. If the port still does not work, then you have an electronics problem inside the unit, which may require professional diagnosis and repair, or replacement of the unit.
- Disconnecting these wires will allow for replacing damaged parts inside while restoring ability for signal strength through stereo speakers or hands-free calling features. The shielded wire running towards the front end should connect without much difficulty. Still, the rear cable can prove tricky at first glance because the metal casing around it must be carefully pried apart where the plastic meets the metal frame. This should then allow for connection and reassembly of everything.
Precautions While Fixing Auxilliary Port in Car
- Make sure that the battery is disconnected before you begin.
- Place a towel or cloth over the top of the work area to prevent any fluid spills from getting into your engine compartment and onto other electrical components.
- Remove fuse #11 in the underhood fuse box, which supplies power to this particular circuit by turning right on it clockwise until it pops out. T- Release all four clips holding the panel in place with a screwdriver blade inserted between them and pull up while pressing outward, so they release their retaining tabs. The panel will be attached by two wiring connectors at each end near corners of long side edges when removed to access most connections inside without having to remove panels covering the front dashboard.
How to Install a New Auxiliary Port in Car
Sometimes the extent of damage might cause replacing the auxiliary port. For this, you have to start by removing the broken auxiliary port from the car.
Fresh out of your local hardware store, you’ll need a few tools to remove the old auxiliary port from your vehicle. Use pliers and screwdriver for this step, but be careful not to damage any wiring or hoses while removing it. You may want to take some photos before removal to reference them later on if necessary.
Now That You’ve Removed the Old One, Get Acquainted With How Exactly an Auxiliary Port Works:
Cables are threaded through plastic loops via metal attachments at both ends so they can’t come undone accidentally; then power is routed through small wires inside the cable itself, which carries energy down long distances without being harmed by electromagnetic interference – pretty cool! Anyway, make sure you thread the cables through the loops and attach them to their respective metal attachments before powering on your car.
After that, just put everything back together in reverse order of how it was taken apart: plug the new aux port into place, screw-down any loose parts with a Phillips head screwdriver (or another appropriate tool), then reconnect all hoses or wires as necessary. Finally, test out your work by checking for leaks around screws – if nothing’s leaking anywhere, congrats! You’ve fixed your vehicle’s auxiliary port! If not, at least you know what needs fixing now.
Check it out to Learn to Fix Aux Input in Car Stereo.
How Can I Keep the Auxiliary Port in My Car in good condition?
Here Are Some Tips to Help You Maintain the Auxiliary Port in a Car:
Try not to use any abrasive materials on the surface of your phone. If you’re using an external charger or earphones, make sure that they have soft surfaces and don’t scratch up your device’s ports too much.
Ensure that every time you insert anything into the aux port, it is dry before inserting it again so as not to get dirt inside there which can cause corrosion over time. Dirt will also accumulate on electrical contacts if wet items are often inserted, causing bad connections between cables and audio devices. This can be avoided by making sure all items going into this area are completely clean beforehand.
Final Thoughts
I hope that this blog post has given you some helpful tips on how to fix auxiliary port in car. If it hasn’t, don’t worry! The truth is that there are a few methods for fixing an aux cable. For example, you could try using tape to reinforce the connector and jack of your device or buy a new card altogether. You might have luck with any one of these solutions if none of them work for you (or they all do). Thank you, and have a good day.
Louis Wein
Louis has always been fascinated by cars. He loves the way they look, the sound of the engine, and how they make him feel when he's driving. He is always keen to learn more about different mechanics of cars and how the engine contributes to other aspects of the car. As an automotive technician with over 10 years of experience, he knew how they worked and loved taking them apart to see how they went back together. He was especially interested in the mechanics of combustion engines and loved finding ways to make them more efficient. He loves to work on cars and help people keep their vehicles running smoothly. As a senior editor, he enjoys contributing to Diy quickly because it allows him to share his knowledge and expertise with others.


