
How to Restick Led Lights
If you’ve ever experienced a problem with your LED lights, such as the light flickering or turning off, then you know how frustrating it can be. In many cases, the issue may be due to the light not being properly stuck. Luckily, resticking LED lights is a simple process that can be done in just a few minutes.
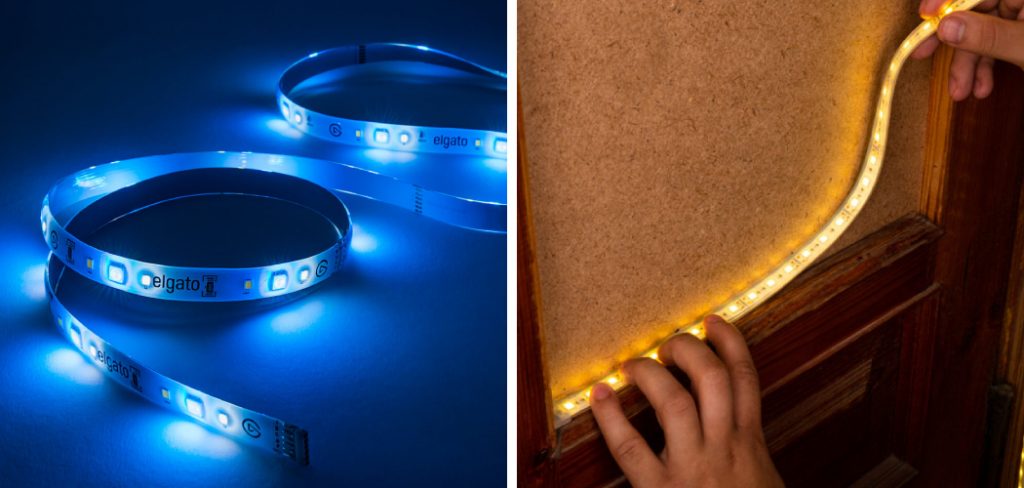
All you need is some clear adhesive and a steady hand. In this guide, we will discuss how to restick led lights to stay in place and provide consistent light. You can have your lights shining brightly again in no time in just a few simple steps! Read on for more information.
Can You Restick Led Lights?
Resticking LED lights may seem daunting, but it’s pretty straightforward. The first step is carefully removing the old adhesive from the light strip. This can be done with a scraper or even just a fingernail. Once the old adhesive is removed, use new double-sided tape or a sticky gel adhesive to secure the LED lights.
It’s important to note that these adhesive methods are temporary solutions, and the lights will need to be re-secured eventually. For a more permanent solution, consider using clips or straps to attach the LED lights to flat surfaces or hooks for hanging applications. Resticking LED lights may take some effort, but it’s worth it for a secure and long-lasting installation.
8 Effective Ways on How to Restick Led Lights
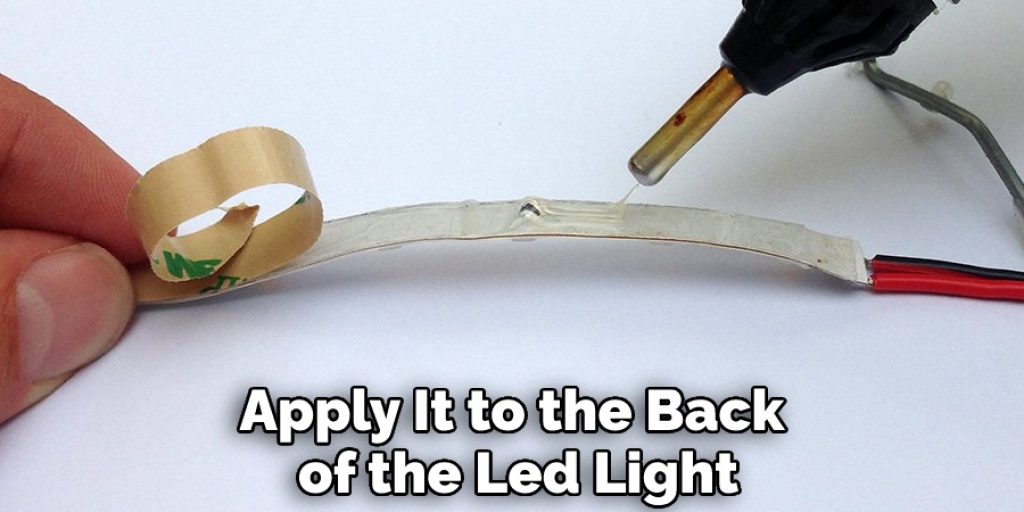
1. Use a Hot Glue Gun
If the LED lights are not sticking well, you can use a hot glue gun to add a small amount of glue to the back of the light. Be careful not to add too much glue, making it difficult for the light to stick to the surface. If your glue gun does not have a low-temperature setting, be extra careful not to burn yourself or the LED light.
2. Use Clear Nail Polish
Another option is to use clear nail polish to add a small amount of adhesive to the back of the LED light. This method is best for small areas where you do not want to add too much glue. If your nail polish does not have a built-in brush, use a cotton swab to apply it to the back of the LED light. Make sure that the nail polish is completely dry before proceeding.
3. Use Double-sided Tape
You can also use double-sided tape to adhere the LED light to the surface. This method is best for temporary applications, as the tape may not hold up over time. If the LED light is not sticking to the surface, you can try using stronger tape, such as duct tape. Make sure the surface is clean and dry before applying the tape. Apply the tape to both the LED light and the surface, then press them together. Hold for a few seconds to allow the adhesive to set.
4. Use E6000 glue
E6000 is a strong adhesive that can attach LED lights to almost any surface. This method is best for permanent applications, as the glue will hold up over time. When using E6000 glue, it is important to follow the instructions on the package. First, apply a small amount of glue to both the LED light and the surface you are attaching it to. Next, press the two surfaces together and hold for 30 seconds. The E6000 glue will take 24 hours to cure completely.
5. Use Hot Glue Dots
Hot glue dots are another option for attaching LED lights to a surface. These dots are already pre-measured, so you do not have to worry about adding too much glue. They are also easy to apply and remove, making them ideal for temporary applications. Hot glue dots are a good choice if your project is not permanent. Hold it for a few seconds to allow the glue to set.
6. Use Velcro Strips
If you need to remove the LED lights frequently, you can use Velcro strips to attach them to the surface. This method is also good for attaching LED lights in hard-to-reach places. If the lights are fixed, you can use adhesive-backed Velcro strips. Make sure the surface is clean and dust-free before applying the strips.
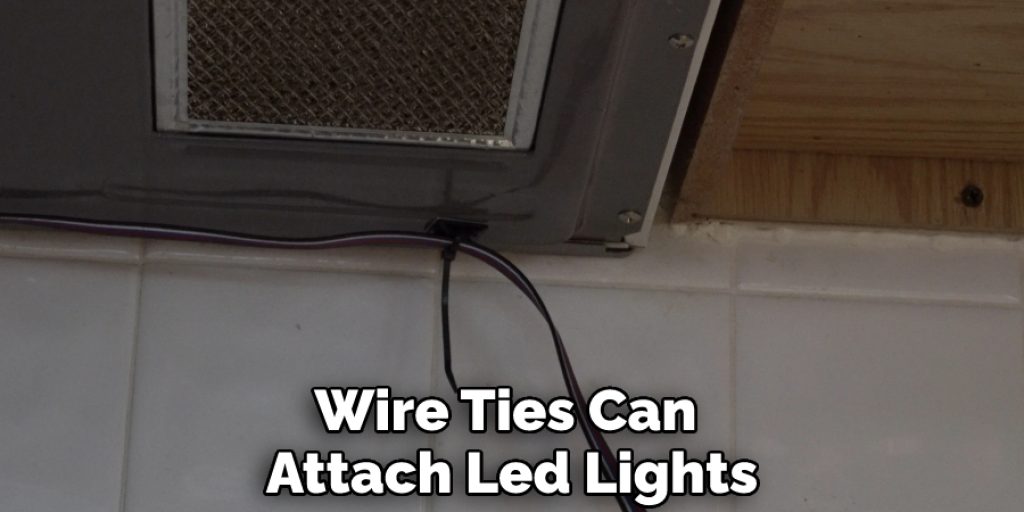
7. Use Wire Ties
Wire ties can attach LED lights in areas without space for other attachment methods. This method is not recommended for permanent applications, as the wire ties can eventually break or lose over time. If your lights are not staying in place, however, you can use wire ties to temporarily attach them until you can find a more permanent solution
8. Using LED Covers
You can use LED covers to add a decorative touch to your project. These covers are available in various colors and styles and can be attached using the same methods as LED lights. Make sure the cover is big enough to fit the entire LED light. Apply the adhesive to both the cover and the LED light. Stick the cover on top of the LED light, ensuring it is completely sealed. You can use a hair dryer to heat the adhesive and ensure the cover is firmly attached.
Required Tools & Materials
- Lint-free cloth
- Isopropyl alcohol (IPA)
- Pencil
- Ruler or tape measure
- Scissors
- LED strip lights
- Double-sided adhesive tape
Step-by-Step Guide: How to Restick Led Lights
Step 1: Locate the Area Where the Light Will Be Attached
The first step is to find the area on the LED light strip where you want to attach the new adhesive.
This can be done by measuring and marking the desired location with a pencil or similar marker. It’s important to ensure the chosen spot is stable, secure, and free from any obstructions that may block or hinder the light. Once you’ve found the perfect spot, you can proceed with carefully resticking or mounting the light in place. Double-check that everything is securely attached before turning on the power to avoid accidents.
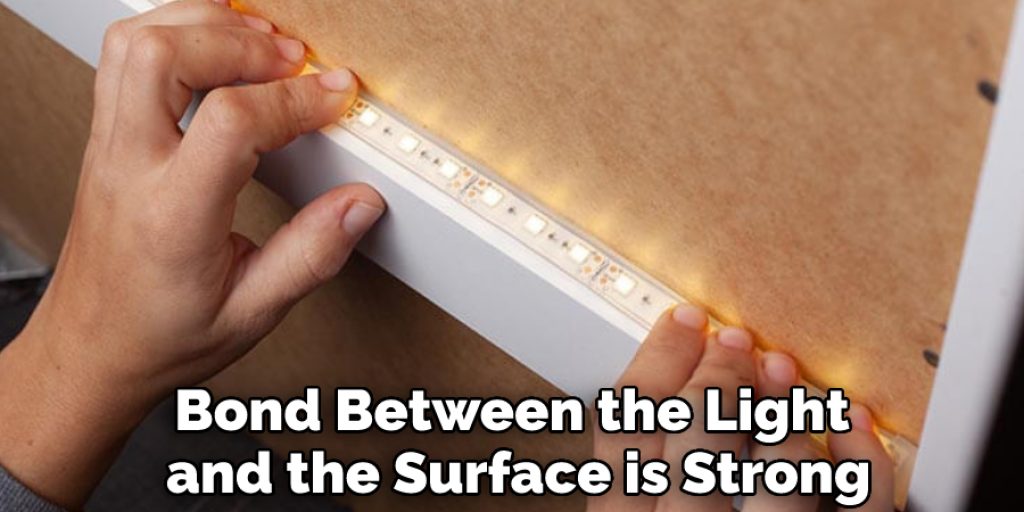
Step 2: Clean the Area
Before attaching LED lights, it is important to clean the area where the light will be attached. This will help to ensure that the adhesive bond between the light and the surface is strong. Use a lint-free cloth, mild soap, and water solution to clean the surface. If there is any dirt or debris on the surface, remove it before proceeding.
Step 3: Apply a Small Amount of Adhesive to the Back of the Led
Once the surface is clean, apply a small amount of adhesive to the back of the LED light. Be sure to use an adhesive that is specifically designed for use with LEDs. You can find these adhesives at most hardware stores or online retailers. If your LED light does not have a sticky back, you can use a small amount of super glue or epoxy.
Step 4: Place the Led in the Desired Location
After applying adhesive to the back of the LED light, could you attach it to the desired location? Be sure to press firmly so that the adhesive bond can form properly. Ensure that the LED is placed in an area where it will not be in contact with any moving parts or areas that may generate heat, as this can damage the LED. If your LED is placed in an area where it may be exposed to moisture, be sure to protect it with a waterproof sealant.
Step 5: Allow Time for the Adhesive to Cure
After attaching the LED light, allow time for the adhesive to cure. This typically takes 24 hours but may take longer, depending on the type of adhesive used and environmental conditions. Once the adhesive has cured, your LED light should be securely attached. If your LED light does not seem to stay in place, gently press it down or use a small amount of clear glue to secure it.
Step 6: Use Zip Ties or Wire Ties as a Backup
Sometimes, it may be necessary to use zip or wire ties as a backup attachment method. If you are using zip ties, be sure to wrap them around both the LED light and the object to which it is being attached. If you use wire ties, simply thread them through both holes in the back of the LED light and tighten them accordingly. Ensure that the wire ties or zip ties are not too tight, as this can damage the LED.
Step 7: Test the Led Light
After attaching the LED light, test it to ensure it works properly. You can do this by simply turning the power to the area where the LED is located. If the LED does not turn on, check the connections and ensure the power is turned on. If the LED still does not work, try replacing the batteries or contacting the manufacturer for assistance.
Now that you know how to restick LED lights, you can use them to brighten up any space in your home. With a little creativity, you can create unique lighting effects that will make your home stand out from the rest.
Final Words
Knowing how to restick led lights when they start to fall off is important. If your led lights are not firmly attached, they can come loose and cause a fall. Additionally, if the led lights are not properly secured, they can become a choking hazard for small children.
You can restick them back into place with a few simple steps and enjoy their bright light again. Be sure to clean both the surface of the strip light and the area where it will be adhered to before starting this project. Do you have any tips for resticking Led lights? Share them in the comments below!


