How to Fix Soft Spot in Floor
No one likes coming home to find a saggy, soft spot on your floor that wasn’t there before. But don’t panic yet! There are several common causes and solutions when it comes to dealing with these pesky problem spots; by taking the right steps, you can easily repair a soft spot in your flooring without having to make major renovations or replacements.
In this blog post on how to fix soft spot in floor, we’ll discuss how to identify the cause of soft spots in wood and other types of floors, as well as provide valuable tips about fixing them for good. Read on for all the details—now’s the time to tackle those tricky problem areas!
Needed Materials
Given below are some of the basic tools and materials you’ll need for repairing soft spots in your floor.
- Hammer
- Chisel
- Drill
- Wood filler/epoxy
- Sandpaper
- Replacement flooring (if needed)
10 Step-by-step Instructions on How to Fix Soft Spot in Floor
Step 1: Identify the Cause of the Soft Spot
Before you start repairing a soft spot on your floor, it’s crucial to figure out what caused the issue in the first place. The most common causes of soft spots include water damage, rotting subfloor, and inadequate support or structure. It’s essential to determine the underlying issue to fix it properly and prevent future soft spots from appearing. It’s also a good idea to inspect the surrounding area to ensure there are no other problem spots.
Step 2: Prepare the Area
Clear out any furniture or objects on the soft spot area to allow easy access for repairs. Make sure to wear protective gear like gloves and goggles while working with tools. You may also want to cover the area with a tarp or plastic sheet to prevent any mess. This is especially important if you’re using wood filler or epoxy, as they can be messy and difficult to clean up. But if you’re replacing the flooring, skip this step.

Step 3: Remove Affected Flooring
If your flooring is damaged or rotted, you’ll need to remove it first before proceeding with repairs. Use a hammer and chisel to carefully pry up any loose or damaged pieces of flooring. Be sure to remove all the debris from the area. Otherwise, the new flooring won’t lay flat. It’s also crucial to check the subfloor for any signs of water damage or rot. If there is, you’ll need to replace it. It’s always best to consult a professional for subfloor replacement.
Step 4: Inspect and Fix the Subfloor
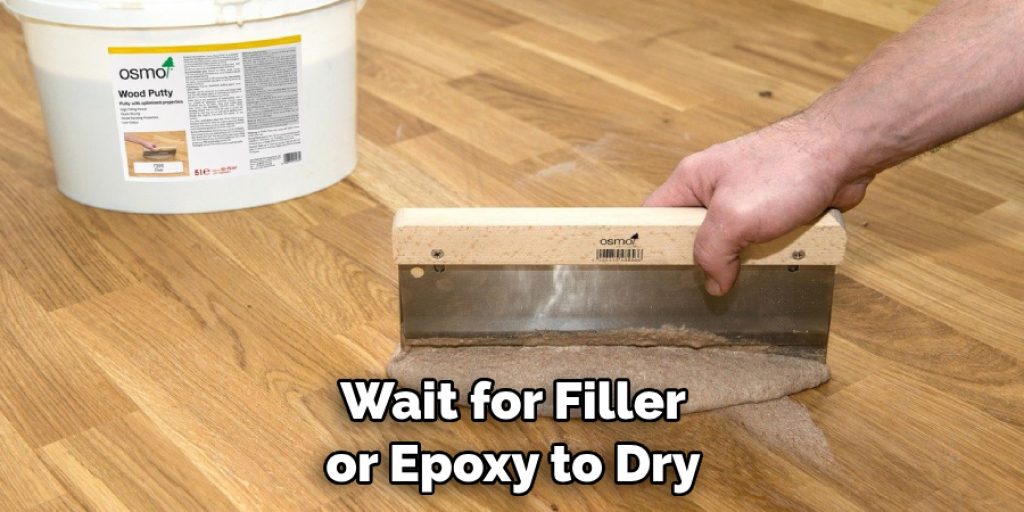
With the flooring removed, you can now inspect the subfloor for any signs of damage or rotting. If needed, replace or repair any damaged areas using wood filler or epoxy. It’s important to let the filler or epoxy dry completely before moving on to the next step.
You can also use a drill to reinforce the subfloor and provide better support. This is especially important if the soft spot was caused by inadequate support or structure. It’s best to consult a professional if you’re unsure how to proceed.
Step 5: Locate Floor Joists
Next, locate the floor joists around the soft spot. You can use a stud finder or tap lightly on the floor until you hear a solid sound. It’s crucial to work on the floor joists for better support and stability. But if you’re unable to locate them, you can add extra support beams between the existing joists. You can also consult a professional for this step. It’s crucial not to skip this step to prevent the soft spot from reappearing in the future.
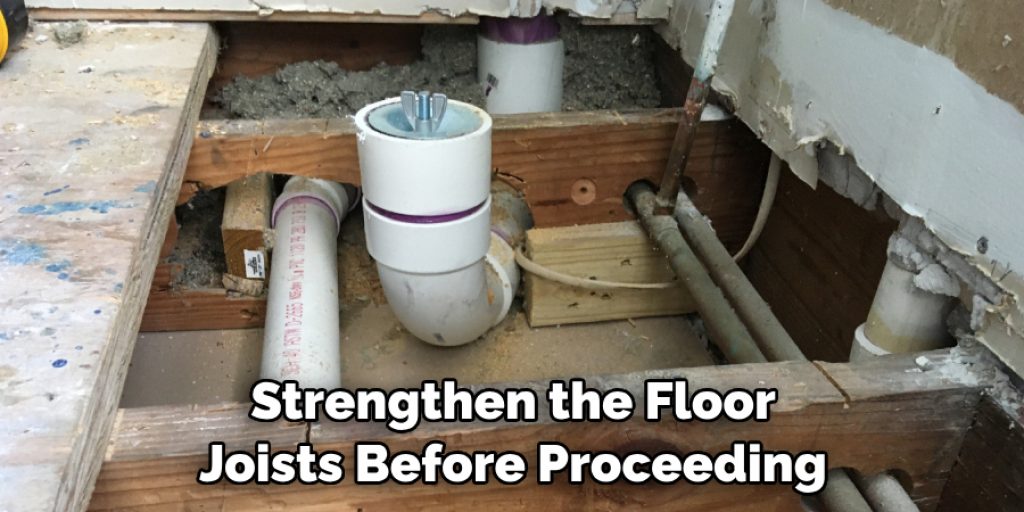
Step 6: Strengthen Floor Joists
If the soft spot is caused by inadequate support, you may need to strengthen the floor joists before proceeding with repairs. You can do this by adding additional cross-bridging or sistering boards to the joists. It’s crucial to ensure the joists are level before moving on to the next step. Although this process may seem daunting, it’s essential for long-term stability and preventing future soft spots. It’s best to consult a professional for this step.
Step 7: Fill Soft Spot
Using a drill, create small holes around the perimeter of the soft spot. This will help secure the filler or epoxy in place. Then, fill the soft spot with wood filler or epoxy and smooth it out evenly using a putty knife. This will help strengthen the damaged area and provide a solid foundation for the new flooring. Let it dry completely according to the manufacturer’s instructions. It’s also a good idea to sand down any excess filler or epoxy for a smooth surface.
Step 8: Sand Down Filler/Epoxy
Once the filler or epoxy has dried, use sandpaper to smooth down the surface and make it level with the surrounding floor. You can also use a sander for larger areas. This step will help create a seamless transition between the repaired spot and the rest of the floor.
It’s essential to take your time and sand down the area evenly for a professional-looking finish. This is especially important if you’re planning on staining or painting the floor. It’s also recommended to wear a mask while sanding.
Step 9: Replace Flooring (if needed)
If you removed damaged flooring in step 3, now is the time to replace it. Make sure to properly secure and nail down any new flooring pieces. This will help provide added stability and prevent future soft spots from appearing. It’s also essential to let the new flooring acclimate to the room temperature for at least 24 hours before installation.
This is especially important for solid wood flooring. You can also consult a professional for flooring installation. It’s crucial to take your time and do it correctly for long-term durability. It’s also a good idea to match the new flooring with the existing one for seamless integration.
Step 10: Finishing Touches
Finally, clean up the area and replace any furniture or objects that were cleared out. Inspect the repaired spot to ensure that it feels sturdy and level. It’s also a good idea to seal the area with a waterproof sealant for added protection against future water damage.

Always follow the manufacturer’s instructions for best results. But if you’re replacing the flooring, you can skip this step. Congratulations! You have successfully fixed a soft spot on your floor and prevented it from becoming a bigger issue in the future.
Following these steps on how to fix soft spot in floor will help you successfully repair a soft spot on your floor. Remember, prevention is key to avoiding future soft spots, so be sure to address any underlying issues and properly maintain your flooring regularly.
Do You Need to Hire a Professional?
While most soft spots can be fixed with DIY methods, it’s always best to consult a professional if you’re unsure or uncomfortable with the repair process. A professional contractor or flooring specialist will have the expertise and tools needed to properly assess and address any underlying issues causing the soft spot.
They can also provide guidance on proper installation techniques and ensure the long-term durability of your flooring. Plus, if the soft spot is extensive or requires significant repair, hiring a professional can save you time and money in the long run. So don’t hesitate to seek professional help if needed.
How Much Will It Cost?
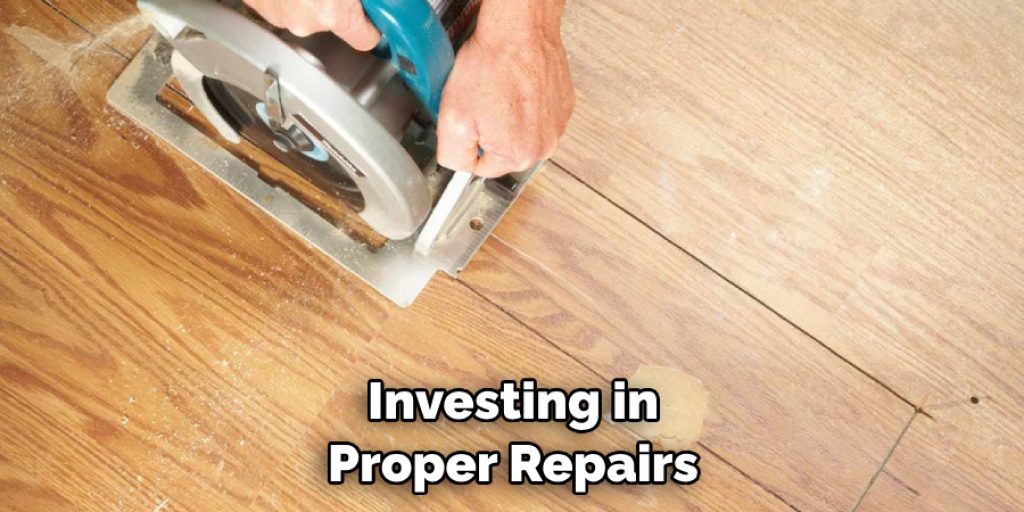
The cost of fixing a soft spot on your floor will vary depending on the extent of the damage and the materials needed for repairs. DIY fixes using wood filler or epoxy can cost anywhere from $10-$50, but may not provide long-term durability. If you need to replace flooring or subflooring, costs can range from $200-$1,000 or more depending on the type of flooring and size of the area. It’s best to consult a professional for an accurate cost estimate.
It’s also important to keep in mind that investing in proper repairs now can save you from larger and more costly issues in the future. So don’t skimp on quality materials or professional help if needed.
Tips and Tricks for Avoiding Soft Spots
- Keep an Eye Out for Water Leaks and Address Them Immediately.
- Clean Up Any Spills or Moisture on the Floor as Soon as Possible.
- Regularly Inspect Your Flooring and Subfloor for Signs of Damage or Wear.
- Use High-quality Materials When Repairing or Replacing Damaged Flooring.
Frequently Asked Questions
Q1. How Can I Identify a Soft Spot on My Floor?
A1. Soft spots often feel spongy or under pressure when you walk on them. They may also appear discolored or have visible sagging or dipping. It’s essential to identify the cause of the soft spot before proceeding with repairs.
Q2. Can I Fix a Soft Spot on My Own, or Should I Hire a Professional?
A2. If you have basic DIY skills and the required tools, you can certainly fix a soft spot on your own. However, if you’re unsure about the cause of the soft spot or don’t feel confident in your repair abilities, it’s best to consult a professional for help.
Q3. How Can I Prevent Soft Spots from Appearing on My Floor?
A3. Regularly inspecting your flooring and subfloor, addressing any issues promptly, and properly maintaining your floors can prevent soft spots from appearing. It’s also crucial to address any underlying issues, such as water leaks or inadequate support, to avoid future soft spots.
Q4. How Long Does it Take to Fix a Soft Spot in the Floor?
A4. The time it takes to fix a soft spot will depend on various factors such as the extent of damage, type of flooring, and your skill level. On average, it can take anywhere from a few hours to a couple of days to complete repairs. You may also need to wait for filler or epoxy to dry before finishing the repairs.
Conclusion
After making sure your boards are fit for the task, you should be all set to fix your soft spot on the floor. With a few simple steps and common materials, you can have your floor patch secure and ready for use. If after completing the repair job, there are still troubles with the region give a call to a professional contractor who is knowledgeable on such fixes.
While it may cost more money than doing it yourself, it’s definitely worth it, in the long run, to guarantee that the job is done correctly. Doing small projects like this around the house is also a great way of boosting confidence and learning new DIY skills without needing to buy expensive tools or materials.
So take some time now before any other serious damage to go ahead and patch up that soft spot! Thanks for reading this article on how to fix soft spot in floor.
Angela Ervin
Angela is the executive editor of DIY quickly. She began her career as an interior designer before applying her strategic and creative passion to lifestyle and home. She has close to 15 years of experience in creative writing and online content strategy for housekeeping, home decorations as well as other niche efforts. She loves her job and has the privilege of working with an extraordinary team. She lives with her husband, two sons, and daughter in Petersburg. When she's not busy working she spent time with her family.