
How to Fix Yellow Light on Verizon Router
Do you have a yellow light on your Verizon router that won’t go off no matter what you try? Don’t worry! You’re not alone! – this tech issue is quite solvable! Despite its small size, a router can still face difficulties. Here, we will discuss how to diagnose and tackle this annoying problem in detail so that you can get back up.
Hundreds of people worldwide struggle with this common problem and cannot find an effective solution. In many cases, the cause of a yellow light is unknown; however, there are still some steps you can take in order to fix it.
In this blog post, we will discuss these options and give you reliable troubleshooting tips so that you can get your router up and running again in no time! Keep reading to learn more about how to fix yellow light on verizon router!
Why is Your Verizon Router Light Yellow?
The first step in solving the problem is to identify why your router’s light is yellow. A few common reasons include:
• Poor Wifi Signal Strength: This can be caused by a faulty antenna or interference from other electronic devices.
• Router Settings: Check if any of your settings, such as the SSID or password, are incorrect.
• Hardware Issues: Your router might have a malfunctioning hardware component that needs replacing.
Once you’ve identified the source of the issue, it’s time to move onto the next step – fixing it!
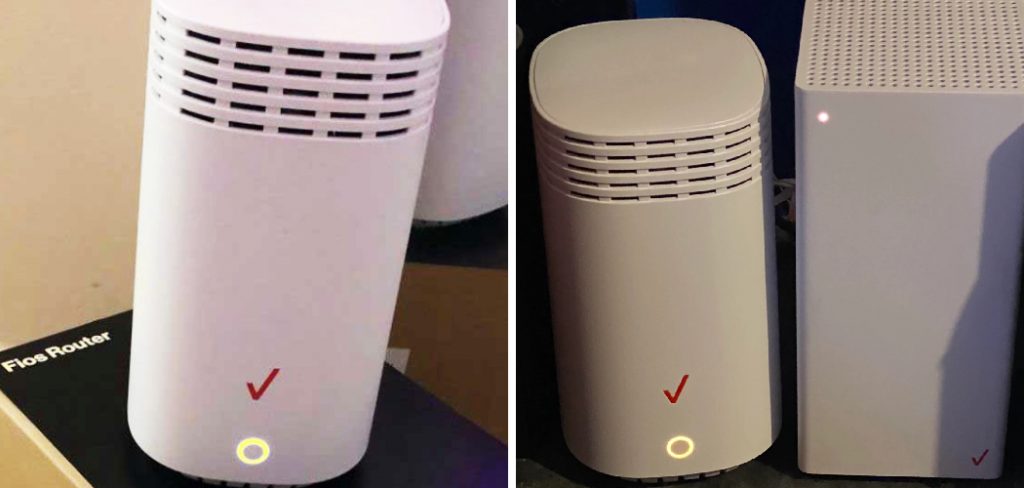
What Color is Light on Verizon Router?
The color of the light on your Verizon router will tell you the status of your network connection. Here is what each color means:
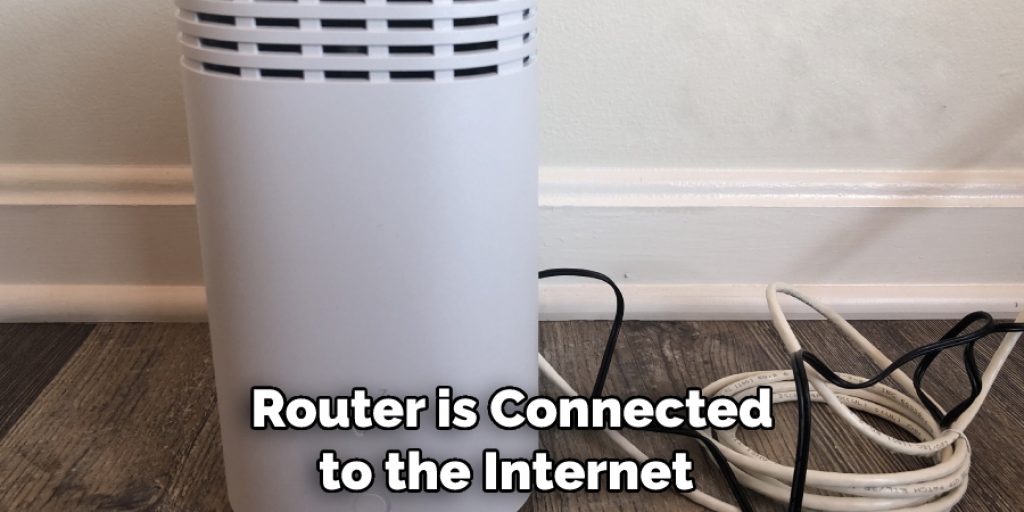
• Green Light: Your router is connected to the internet and working properly.
• Orange Light: Your router is attempting to establish a connection.
• Red Light: There is an issue with your network’s security settings or some other technical issue.
• Yellow Light: This indicates that there are some minor issues with your router, such as interference from nearby electronic devices.
Once you know why your router light is yellow, it’s time to get started on fixing the problem!
What Will You Need?
Before you start trying to fix the yellow light on your Verizon router, there are a few tools you’ll need:
- A computer or device connected to the same network as your router
- An Ethernet cable (optional)
- The Verizon My Fios app (available for Android and iOS devices from their respective app stores)
- The latest version of the router software (available from the Verizon website)
Now, let’s move on to how to diagnose and tackle this problem.
10 Easy Steps on How to Fix Yellow Light on Verizon Router
Step 1. Correctly Plug the Router:
Make sure the router is plugged in correctly. Check all the connections to ensure that everything is tightened and secure. It can be easy to overlook this simple step, but double-checking everything is important.
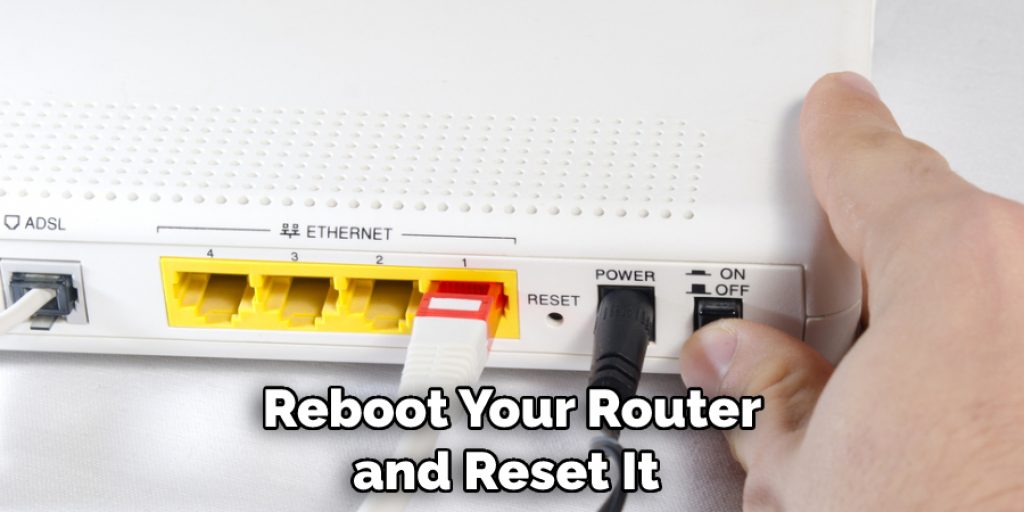
Step 2. Reboot and Reset:
Reboot your router and reset it to its factory settings. This will help you diagnose the issue better, as any changes or issues that software settings problems have caused will be wiped away. If the yellow light persists, you can move on to the next step.
Step 3. The Fios App:
The Verizon My Fios app can provide invaluable assistance when troubleshooting router issues like this one. Open the app and navigate to “Settings” > “Network” > “Router Status,” where you can find more information about what might be causing the yellow light on your router. Don’t forget to check for any updates, too!
Step 4. Check for Corrupt Software:
Check whether your router is running the latest version of its software, as outdated versions may not be compatible with current networks or connections. If the router’s software is outdated, download and install the latest version from Verizon’s website. As always, make sure to read any instructions carefully before making any changes!
Step 5. Check for Interference:
Check your home for any items that may be causing interference with the router. This could include microwaves, wireless speakers, baby monitors, etc. Additionally, make sure to check for any nearby Wi-Fi networks that may be causing interference.
Step 6. Reinstall Firmware:
If none of these steps are working, it’s time to reinstall the firmware on your router. You can find instructions on how to do this on the Verizon website or in the user manual that came with your router. Don’t forget to save any settings you may have changed before reinstalling the firmware.
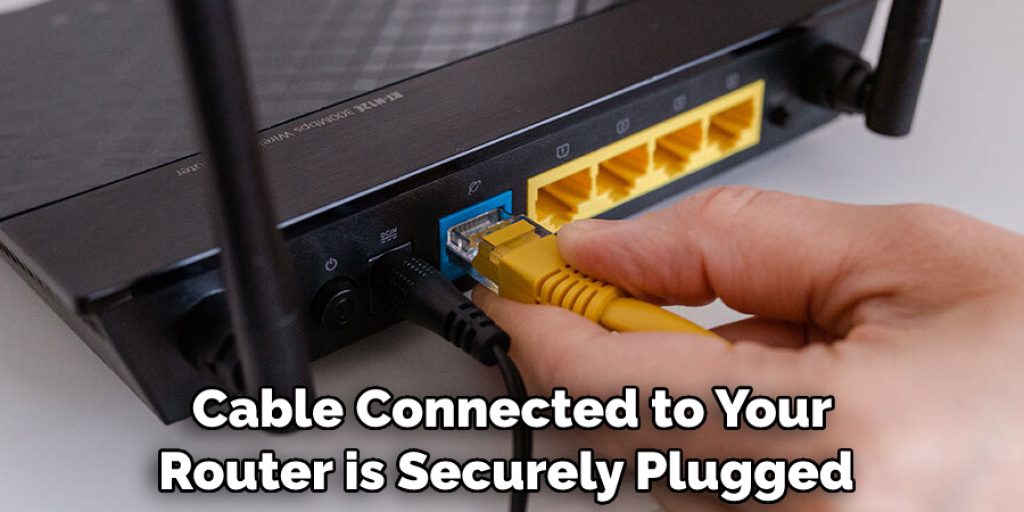
Step 7. Check Cables and Wiring:
Insufficient wiring or faulty cables can also cause a yellow light on your router’s LED display. Make sure all cables are firmly plugged in, and check the wiring for any damage or breaks. Keep in mind that some replacements may be necessary.
Step 8. Update Router Settings:
Once you’ve reinstalled the firmware, reopen your router settings and check for outdated information. Make sure to update each setting as required. Don’t Skip this step, as it can prevent your router from functioning properly.
Step 9. Check All Devices:
Check all devices connected to the same network as your router to make sure they are working properly. If any of them are not functioning correctly, it could be causing the yellow light on your router’s LED display. Otherwise, try connecting another device to the same network and see if that works.
Step 10 Contact Verizon Support:
If none of these steps have worked and you still can’t get rid of the yellow light on your router’s LED display, contact Verizon support for help! They will be able to provide additional advice and troubleshooting steps. Remember, their experts are here to help you out!
By following these ten simple steps, you should easily be able to diagnose and fix any yellow light issues on your Verizon router. Good luck, and happy troubleshooting!
5 Additional Tips and Tricks
1. Check the Ethernet Port: If the yellow light indicates a connection issue, check to make sure the cable connected to your router is securely plugged in and free from any damage.
2. Reset the Router: If resetting your router doesn’t solve the problem, you may need to update its firmware. Visit Verizon’s website for instructions on manually upgrading your router’s firmware.
3. Troubleshoot Wireless Connection Issues: If you are having trouble connecting wirelessly, try moving closer to the router or repositioning it in a different location in your home or office. You can also reset the network by turning off and on both your modem and router.
4. Check Signal Strength: If you’re still having trouble connecting wirelessly, make sure that you have strong signal strength by checking the display of lights at the back of your router.
5. Make Sure the Router is Connected to the Modem: Check that your router is properly connected to a working modem by ensuring that all cables are securely plugged in and free from any damage. If it’s still not connecting, try changing the channel or frequency on which your router operates. You can do this through the device’s settings page.
Following these steps should help you fix any yellow light issues on your Verizon router. Remember, if you’re still having trouble, consult Verizon’s support page for additional assistance and troubleshooting tips.
5 Things You Should Avoid
1. Don’t Use a Different Power Adapter: Always make sure to use the same power adapter that came with your Verizon router – using a different one might cause damage and won’t work.
2. Don’t Ignore Security Updates: Keep your router up to date by regularly checking for software updates and installing any available security patches as they come out.
3. Don’t Cover Your Router: Airflow is necessary for routers to function properly, so avoid covering them with blankets or other objects that could block air circulation.
4. Avoid Running Multiple Devices on the Same Network: If you’re having trouble connecting multiple devices to the same network at once, try splitting them into separate networks instead of running them on the same one.
5. Don’t Leave Your Router Open: Secure it by changing its default password and using a secure Wi-Fi encryption method such as WPA2 or WPA3. This will help ensure that no one is able to access your network without your permission.
Following these tips should help you get the most out of your Verizon router and avoid any potential yellow light issues in the future. If you need more assistance, consult Verizon’s support page for additional troubleshooting advice.
Conclusion
In conclusion, how to fix yellow light on verizon router can be an easy process if you are able to identify the issue accurately. If the issue is hardware-related, you should always take your device to a certified repair technician and avoid trying DIY fixes.
However, if the problem is software based, there are some things you can do yourself, such as restarting the router or checking for system updates. Additionally, making sure that your Wi-Fi connection is operating on its own frequency can also help reduce interference from other devices.
Regardless of what type of fix you may be using, having a proper understanding and access to the correct instructions and tools will be crucial in achieving success with your router repair.


