
How to Flatten Warped Paper
Introduction:
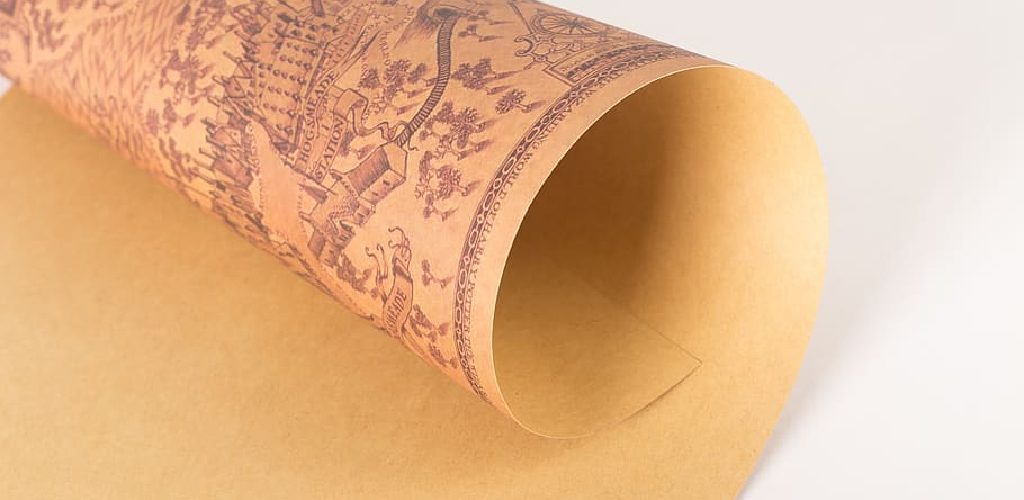
Warped paper is any sheet of bent (usually on one side) so that it no longer lies flat. This bending can result from being crumpled up in a pocket or bag or accumulated bending from handling over time. It’s always annoying when you are trying to work with something and realize your piece of paper has been bent; when it’s hard to fix this, you might be looking at a warped sheet. In this article, I will discuss how to flatten warped paper. So let us get started.
What causes Warped Paper?
All sorts of things can cause paper warping. The most common culprit is a bend in the paper; this tends to happen if your piece of paper gets crumpled up somehow (for instance, in your pocket or purse) and gets bent out of shape.
Another option is uneven moisture distribution throughout the paper – different parts of the paper absorb water differently, causing them to expand differently. This can be caused by something as simple as changing weather patterns affecting humidity levels inside an office building or classroom.
On a larger scale, you could get situations like this during monsoon season in certain parts of the world where heavy rain leads to significantly more water content in the air than normal.
Also, if you’re working from clay or paint – these can cause warping because they don’t always dry evenly (imagine a rainy day with wet pavement and concrete walls). And then there’s my personal favorite culprit: forgetting to flatten your paper before putting it under something heavy like a stack of books!
Stepwise Guide on How to Flatten Warped Paper:
Many methods will allow you to enjoy using a piece of parchment without worrying about its condition. In this article, we will explore some of these techniques and methods on how to flatten warped paper to return to its original state before changing through time or due to environmental factors. So let’s begin! How to Flatten Warped Paper? There are many ways to flatten warped paper. However, before we go into the process of how to flatten warped paper, we need to know what causes it in the first place.
Step 1: Buy Acid-Free Parchment Paper
If you want your parchment paper to last a long time, choose acid-free/alkaline-free parchment paper. This will stop the paper from degrading further by preventing oxidation.

Step 2: Avoid Long Periods in Direct Sunlight/Heat
When there is direct light or heat, it affects the natural fibers found on parchment sheets and may result in the lignin breaking down. Once this has happened, you will have a hard time flattening your warped paper. This is because if the lignin breaks down, you can end up with discoloration and warping beyond repair. It is a good idea to always handle your parchment with gloves and carefully. Once you have it on the table, you will want to use plastic wrap or wax paper over the top of it.
You should store your parchments in an area with the shade to prevent the dust and the heat from ruining them. You can also put them in plastic sleeves to keep them safe.
Step 3: Dry/Warm Environment

If you have warped paper, make sure that it is dry and kept in a warm environment (about 50℉). Parchment is made from animal skin, so it should not be dried out. Keep this in mind before storing your papers either in plastic sleeves or keeping them in folders without having a chance to air dry first.
Step 4: Iron Flat First
For older parchments, ironing while still in its original state may be an option for flattening warps in parchment paper. To ensure that you are doing this properly, flip over the sheet of paper and lay it face down with the side you want to be flattened facing up towards you. Have some parchment paper between the iron and the parchment before flattening each side.
Step 5: Use a Flat Board Underneath Parchments
While attempting to iron out warped paper, place a flat board underneath so that you can get better results. This will allow air to flow easily under your parchment sheets and give you a more even ironing surface while fanning out the fibers, so they lay flat again.
Step 6: Clean Up Any Large Tears First
If there are any tears in your parchment paper, it is best to fix them first. If there are too many tears for you to sew or tape together without causing more damage, then you should start over with a new batch using fresh, new sheets.
Step 7: Sew Blocks of Broken Sections Together
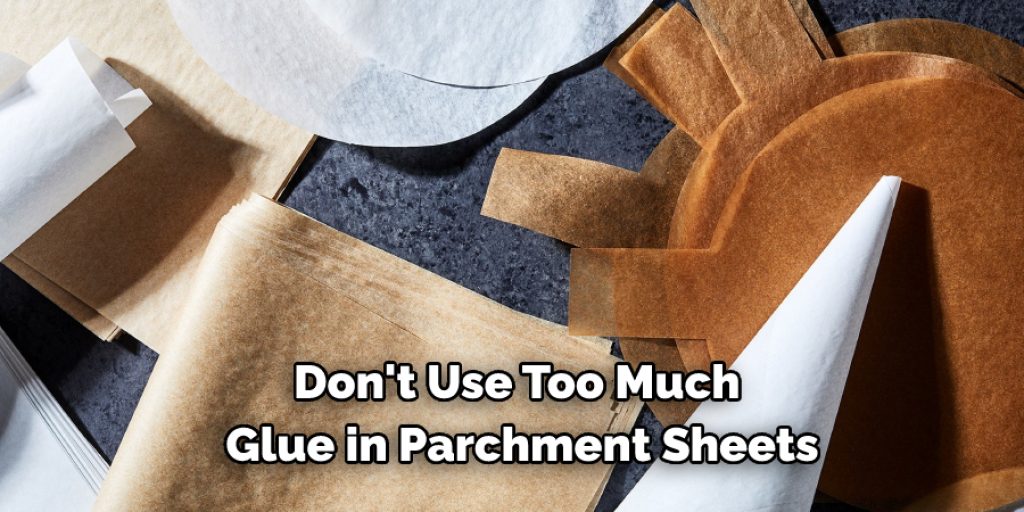
When your parchments have been damaged beyond repair, then it is time to start all over again. Fill in the missing sections by pasting pieces of paper on top before beginning to glue them together. Remember not to use too much glue since the fumes could affect your parchment sheets and cause discoloration. Also, avoid doing this in other areas like photographs or illustrations for a more professional look.
Step 8: Repair Torn Paper with Tape
If you need to make your papers flat again, you can use cellophane tape as an alternative option if there are small tears instead of trying to patch everything back together. The glue used in the tape may harm the original parchments, so be careful with this method. Make sure to use a good quality brand of cellophane tape since low-quality ones will tear up easily, leaving your papers still warped.
Precautions While Flattening a Warped Paper:
1. Never place any paper under a transparent glass or plastic
2. You must avoid direct sunlight while flattening the paper
3. Keep your hands at least 10 inches away from the hot iron to avoid getting burned (Remember: Hot is always dangerous!)
4. Always check if the temperature of the hot iron is adjustable before using it for flattening

5. Extreme caution must be taken when working with a steam iron, as it might lead to serious burns! Steam irons are not recommended because they can leave stains on the flattened surface and may even cause paper warping due to their high temperatures! This is why we do not recommend you using this method in flattening your papers/prints! However, if you do not have another choice, you can use a steam iron! Always put a cloth between the print and the iron to protect it from getting stained!
9. Finally, remember to save or preserve your prints in proper storage cabinets to avoid having them become warped again.
Can You Flatten Wrinkled Paper?
It’s possible to flatten the wrinkled paper and bring it back to its original form. There are a few methods that you can try if you want to restore the look of your wrinkled paper.
First, put the paper between two pieces of wax paper and place a heavy object on top until the paper is flattened. Ensure to put something like a clean towel underneath the paper to avoid damaging the surface below.
Place the wrinkled paper on the board and place a damp cloth on top of it. Then, run the iron over it for about 10 seconds until most wrinkles disappear. Be careful not to burn or discolor your papers!
You can also spray some water on your wrinkled papers and hang them up somewhere with good air circulation until they dry out naturally—this can take time but should help flatten out your papers nicely!
Frequently Asked Questions
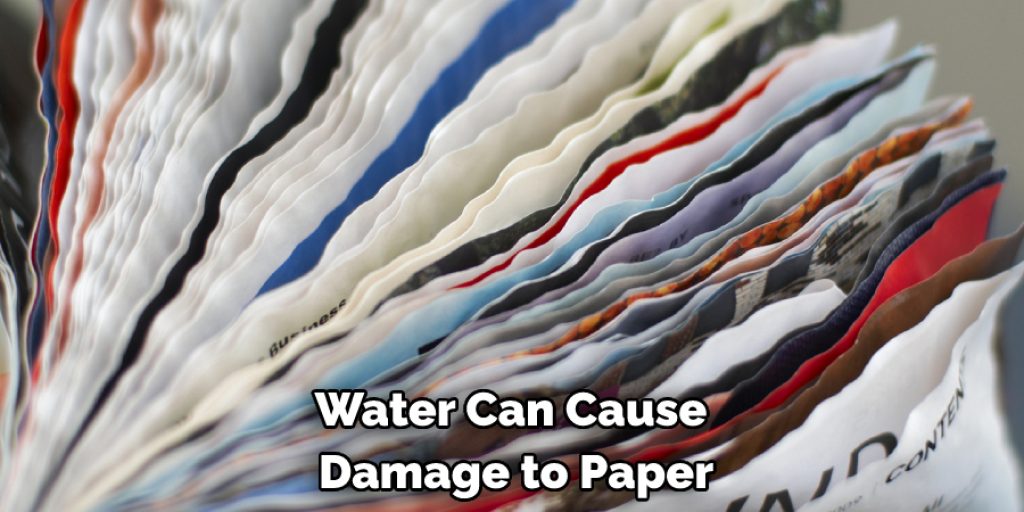
Can You Iron Water Damaged Paper?
Water can cause damage to paper and even make it brittle. So you should never iron paper with water on it, or if you do, dry the paper first before ironing. There are many ways of drying out water-damaged paper, such as:
• Lay the dampened paper on a flat surface and allow it to air dry for several hours.
• Place a small towel over the dampened area and press down firmly for 30 minutes.
• Hang wet sheets in front of a fan for about 30 minutes until they are completely dry.
Why Does My Paper Curl When I Paint?
When you use paper that is not coated, it can curl up on the edges because of the moisture in the air. This happens more often when you are painting outside. This can be fixed by using a paper towel to dry your paintbrush and then putting it back into the water after drying off any excess paint.
Can You Iron Buckled Watercolor Paper?
Many different types of paper can be used for watercolor painting. Some paper is designed to be more absorbent, and some have a heavier weight than others. When it comes to ironing, the most common type of paper used for watercolors is made from very porous rice paper. This means it will suck up the heat and give you a perfect finish every time!
Can You Iron Warped Paper?
Yes, you can iron warped paper. The ironing process is a lot like the process of steaming that many people are familiar with. This requires placing the fabric or cloth over a wet cloth and then using steam to heat the fibers, so they contract. The pressure from this heating causes them to flatten out again, creating a new flat surface on top of the wrinkled one.
The wrinkles will stay put as long as you have enough moisture in your fabric, but if it dries out, then those wrinkles will return.
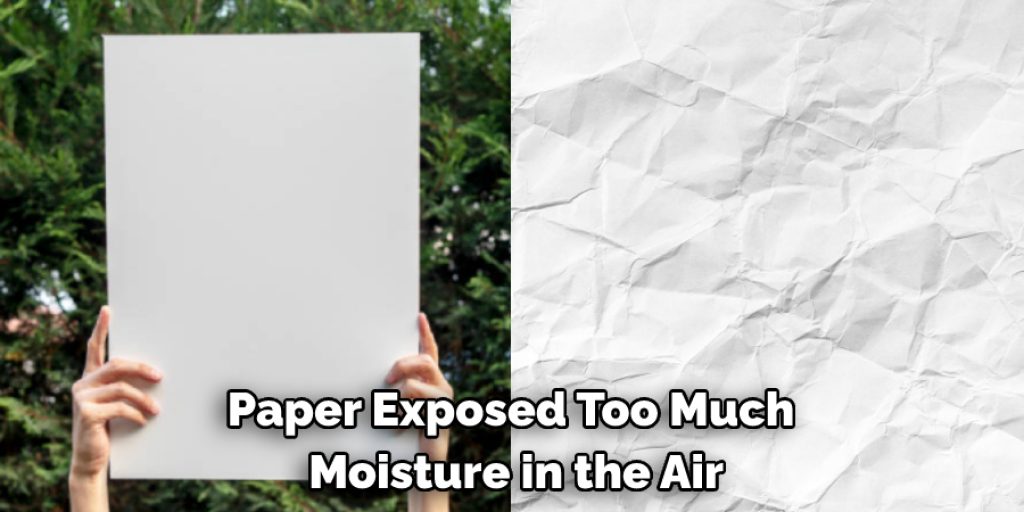
Why Is My Watercolor Paper Warping?
There could be a few reasons if you are experiencing watercolor paper warping. One reason is that the paper is exposed to too much moisture in the air. This can cause it to warp. Another reason is that it has been stored in an area with extreme temperature fluctuations or high humidity levels for a long period.
Conclusion:
I hope this article has been beneficial for learning how to flatten warped paper. Ensure all the precautions while performing the process. Thank you and have a nice day!
You may read also – How to Make a Paper Tower Without Tape
Elizabeth Davis
Elizabeth is a creative writer and digital editor based in the United States. She has a passion for the arts and crafts, which she developed from a young age. Elizabeth has always loved experimenting with new mediums and sharing her work with others. When she started blogging, she knew that DIYquickly would be the perfect platform to share her tutorials and tips. She's been writing for the blog from the beginning, and her readers love her helpful advice and easy-to-follow instructions. When she's not writing or editing, Elizabeth enjoys spending time with her family and friends.


