
How to Make Paper Leaves With Veins
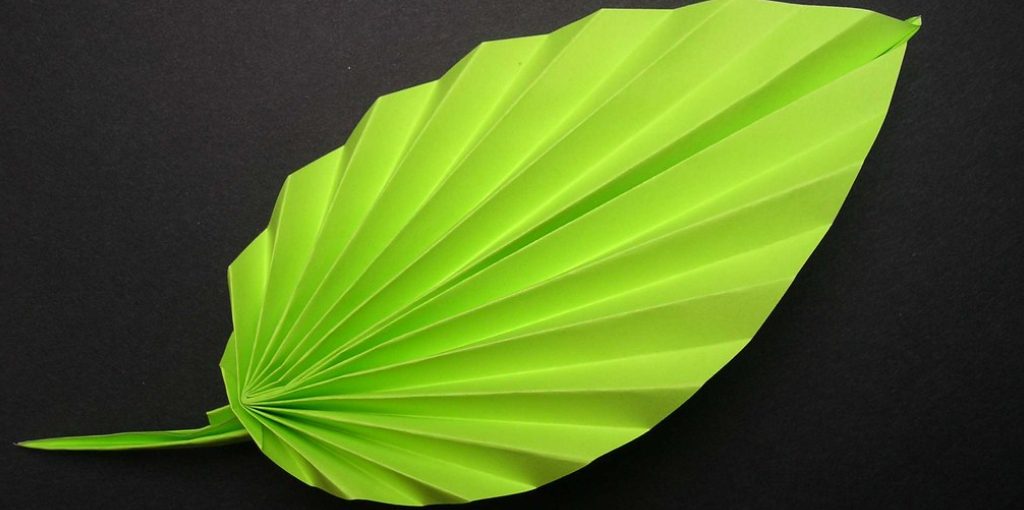
It can be hard to find paper leaves with veins on them. Luckily, you don’t need to buy them because they’re straightforward to make! This blog post will teach you how to make paper leaves with veins. First, roughly cut out the shape of the leaf from your paper and then fold it in half along its length so that it resembles a crease down the middle of your paper.
Using scissors or an X-Acto knife, carefully cut lines across both sides of your folded piece of paper about 1/2 inch apart. The closer together the cuts are, the more detailed and intricate your leaf will look! Now all you have left is unfold your leaf and admire what you’ve made! Read on to get the full guide!
10 Methods on How to Make Paper Leaves With Veins:
Method 1: Use a Leaf Mold
Before you get started, you want to have a good leaf mold lying around. Although, there are many ways to create one; here are a few ways you can make a mold:
1. Draw around a leaf onto some rubber and cut it out using a craft knife. Make your cut as straight as possible.
2. Trace a leaf onto the side of a milk jug and cut it out. You can then use this as a mold for your leaves!
3. Find some real old leaves, flatten them out into one sheet between two pieces of paper using your fingers as much as possible. Place your sheet under a stack of books overnight to press flat. Repeat on the other side.
4. Glue paper to a piece of corrugated cardboard.
5. Trace around your hand on some heavy-duty card stock, then cut out the inside of the outline. You can use this as your leaf mold!
Method 2: Use a Fruity Fruit Tea Bag
1. Take your tea bag, carefully cut it open with scissors. Make your cuts as straight as possible to prevent tearing on the leaf veins.
2. Remove the leaves from inside of the tea bag and fill them with pulp or paper scraps that you can fold up into small pieces. You want to make the pieces of paper you are using to fit into the mold in any direction.
3. When it is filled with pulp, lay another leaf on top of your teabag leaf and carefully roll it up. You want the veins in the leaves to match up as closely as possible.
4. Now, squeeze them together inside your leaf mold.
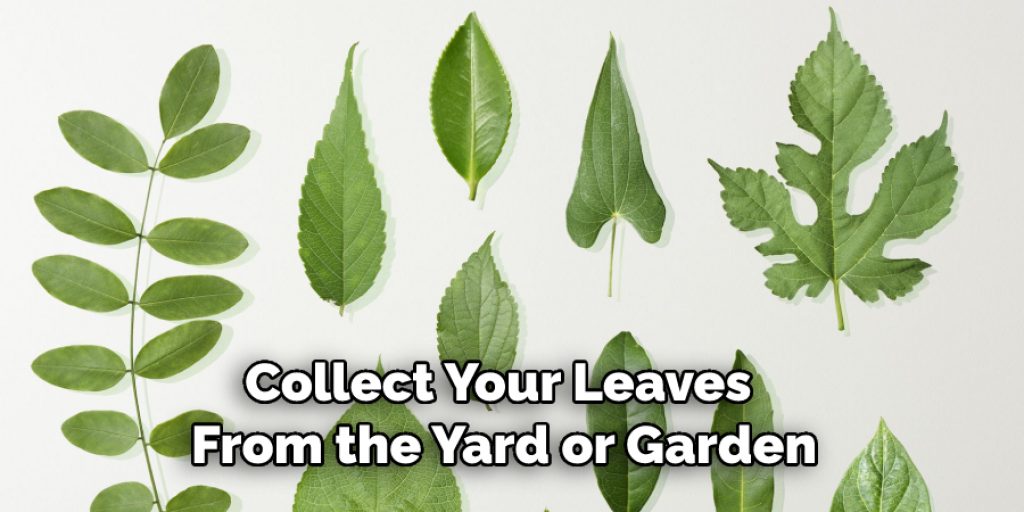
Method 3: Use Leaves From the Yard or Garden
1. Collect your leaves, choosing ones with thick veins that you like the look of. If they are too small, it will be hard to make them look like real paper leaves.
2. Cut out some pieces of Kozo paper (or other papers for pulp) on the borderline between the white and green sides of a leaf.
3. When filled with pulp, put a second leaf on top of your teabag leaf and carefully roll it up. You want the veins in the leaves to match up as closely as possible. Carefully flatten out your rolled leaves while inside your mold using a bone folder or something similar.
4. Now, squeeze them together inside your leaf mold.
5. Carefully remove your leaves from the mold, and you’re done! Let dry for a while before using or displaying.
Method 4: Use a Paper Punch for Veins
1. Get yourself a metal paper punch that makes veins in its designs.
2. Fold your paper and punch out the veins; lay them dry on a piece of parchment paper.
3. When they are dry, curl your paper into the shape of a leaf.
Method 5: Use Real Leaves for Veins
If you’re making leaves out of real leaves (which would be sculptural), place them under some heavy books to flatten things out before scooping up pulp or paper scraps with them. Place your sheet under a stack of books overnight to press flat. Repeat on the other side.
1) Place your leaf under a sheet of regular copy paper. Trace around it with an Exacto knife or blade, cutting out the inside of the outline so that you are left with two methods. It’s ok if they are not perfect by any means.
2) Use the outlines as a stencil to draw veins on your paper. You can cut out the veins with an Exacto knife or blade, but I find it’s most effective to do it freehand.
3) When you’re finished cutting and drawing, carefully scoop up pulp or paper scraps with this “stencil” and place another layer of the sheet on top of it. Next, squeeze the two sheets together inside your leaf mold using a bone folder or something similar.
4) Carefully remove your leaves from the mold, and you’re done! Let dry for a while before using or displaying.
You Can Check It Out to Age Paper Without Tea
Some Tips and Tricks:
- To get a better ‘vein’ effect, use the side of your pencil and rub it along the paper (after you’ve already cut out your leaf shape).
- This will give you more prominent veins and give your leaf an exciting texture.
- Cut along the edge of a ruler will produce straighter edges and more defined veins.
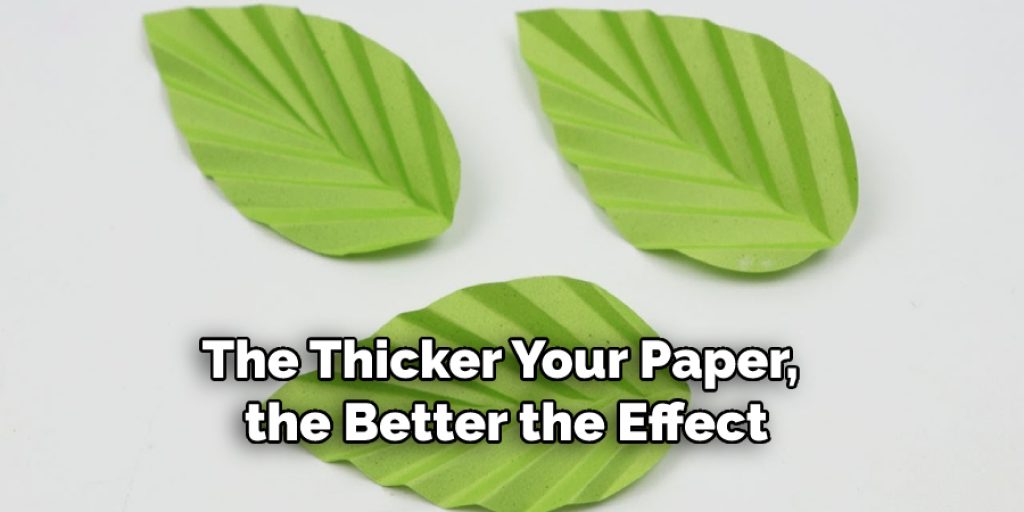
- The thicker your paper, the better the effect (but, the bigger paper is harder to manage).
- For a different texture on your leaf, try using an eraser in place of a pencil when drawing your veins.
- Try to find paper with a fair amount of detail in the veins, making it easier to cut out the leaf.
- To create a faux metallic or glazed look, mix several colors of watercolor paint on your palette and use an angled paintbrush to ‘stain’ your leaf after you’ve cut it out.
Conclusion:
The veins on a leaf are very important because they tell you what kind of plant the leaf belongs to. Now, it’s your turn! Go outside and find some leaves that have interesting vein patterns. You can use those as inspiration for creating paper versions with our simple instructions below.
We hope this blog post on how to make paper leaves with veins was helpful! Let us know how yours turned out in the comments section below or share them with your friends and family. Happy crafting!
Elizabeth Davis
Elizabeth is a creative writer and digital editor based in the United States. She has a passion for the arts and crafts, which she developed from a young age. Elizabeth has always loved experimenting with new mediums and sharing her work with others. When she started blogging, she knew that DIYquickly would be the perfect platform to share her tutorials and tips. She's been writing for the blog from the beginning, and her readers love her helpful advice and easy-to-follow instructions. When she's not writing or editing, Elizabeth enjoys spending time with her family and friends.


