
How to Frame a Shed Door Opening
A door opening is the first thing a person sees when they walk into your home. It can be an entrance to your living room, dining room, or even just a storage shed outside. Hanging a shed door frame is an essential step in completing your project. In this blog post, we are going to cover how to frame a shed door opening.
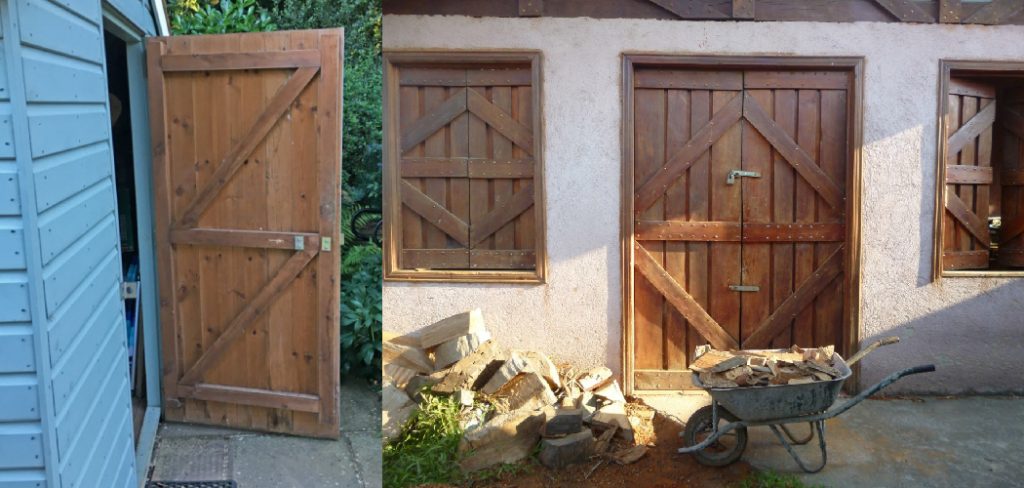
The first thing to do is measure the opening of the door, then cut your boards accordingly. Next, to hang the door frame, you will need to nail it together with three nails per board on one side and two nails per board on the other. Once that’s done, flip it over and attach hinges according to instructions included with them, or if not available, use this guide for hanging a shed door.
8 Reasons Why You Need To Frame a Shed Door Opening
1. The shed door will bear more evenly on a frame, rather than just resting on top of the header joist.
2. The frame prevents sagging and bowing, allowing for a better seal between the bottom of the door and the floor.
3. The frame provides a larger surface for gluing the rubber gasket.
4. The frame adds more stability to prevent water from puddling against the shed door, which could cause rotting on top of your wood or door frame due to rot at the bottom of your shed door. In addition, the glue will seal any leaks that may occur during rainy periods.
5. The frame helps with leveling and plumb of your shed door, which will allow the rubber gasket to make a good seal, helping prevent pests from entering.
6. A framed opening is more acceptable for most homeowners association guidelines or rules regarding sheds.
7. When you install a vinyl or fiberglass shed door, it is recommended to use a metal frame with vinyl or fiberglass doors.
8. A wooden door will require the additional support of plywood back, providing a larger surface for gluing the rubber gasket.
10 Ways on How to Frame a Shed Door Opening
1. The Frame
To begin with, the shed door frame is going to have its framing done. This might be a five-inch by seven-inch rectangle or a three-inch by four-inch rectangle. These are not standard sizes, but they can depend on what size you want or what size your jambs are.
2. The Jamb
The jamb is the vertical side of your shed door frame, so here you can use 2x4s or 2x3s for the jambs. If they are wider than two inches, it might be better to use metal studs because these shed door frames need to be sturdy.
3. The Header
This is the top part of your shed door frame, and it works just like a standard wall header would work in that there are top studs that are six inches shorter than the jamb. Some plates run horizontally across this, just above the opening where you will eventually put your window or door. On the frame, the header is offset six inches.
4. The Bump Out
This bump-out is created using standard size studs that are two-by-fours and works to create space at the bottom of your door frame so that weather can’t get inside your home. This bump-out is easy to do, and it is simply a matter of putting on some sheets of plywood or particleboard to create this space.
5. The Rough Door Opening
The rough door opening is made after you put up the first row of studs and need to know how big your doors will be. It is straightforward to do as all you need to do is measure from the inside of the wall to the outside of your door’s casing, and this will tell you how large your shed door opening needs to be.
6. The Studs
The studs are just a series of vertical support beams that will go across the top and bottom of your shed door frame. Each corner should have two studs, and you will often see these with horizontal support pieces. These are strong when they are correctly secured into place.
7. The Top Plates
The tops of the studs are called top plates, and here you can end up using plywood or metal depending on what you want to use for your shed door opening. Either way, this top plate will cover the entire length of your door frame.
8. The Bracing
When framing a shed door opening here, every stud gets bracing. This means that there are twelve inches of bracing at the ends, four inches on top of the plates, and six inches on the sides between each stud for a total of twenty-two inches of bracing.
9. Buttons
The buttons will be a bit confusing, but they will make a lot of sense in the end. These button pieces are two-by-fours that run horizontally across the studs and create another row of support for your shed door opening. The only thing that might get confusing is what side goes up and what side goes down.
10. Hangers
The hangers are meant to hold your header in place, and these are often metal pieces that will go between the studs and then screw into place on both sides of what you are trying to frame. They might need nails as well.
Some Tips and Suggestions
1. Cut the bottom of the door frame out with a circular saw to allow for some insulation. It is advisable to use some heat-resistant tape on either side of the open area before installing the actual insulation material, such as glass wool or fiberglass.
2. Do not use foam insulation, as it will become soft when heat is applied. The heat-resistant tape will help prevent any fire from the heat of the solar tubes used in the future.
3. It would be best to frame out a double door opening, but if you only have room for one door, build it with an X pattern in the center of the plywood so that you can cut a hole for a sliding glass door.
4. For doors shorter than 8 feet, add another piece of wood to support the extra length. Leave this different piece of wood exposed on the outside. This will allow you to screw the door directly to the 2x4s, reducing any rattle or jiggle in the doors when they are closed.
5. Make sure there is enough space between each window for sliding glass windows. The thickness of 4 pieces of plywood, each 8 feet long and 2 feet high, is almost exactly 1 inch. This means that there will be a 3/4-inch gap between each window for sliding glass windows.
6. Remember to add insulation around the double door opening to reduce heat loss.
You also Read: How to Repair a Door Frame With Wood Filler
How Do You Make a Header for a Shed Door?
Framing timber for a shed door is relatively straightforward. For the header, you usually create a simple 45 degree cut on three sides of the wood with an angle grinder or miter saw, then nail it into place with 12d galvanized nails. Once that’s secure, you can tack in any vertical framing to keep it sturdy and straight, usually done with 8d galvanized nails.
How Do You Frame the Floor Joists?
Framing floor joists for a shed door can be done in several different ways. To begin with, you’ll want to measure the height of your new door and cut a couple of 2×4’s to fit around it at this height. If you’re unsure, just mark and miss a couple of boards that look like they might work and try them out.
You should then lay the 2×4’s horizontal across the opening, with enough hanging over to create a decent overhang on either side of your door. You can then measure and mark the center on either side and do that for both sides before nailing them into place on both sides of the door.
Conclusion
The framing on a shed door opening should be done in a way that will allow for the most space possible. This may mean going outside of traditional guidelines, but it is worth considering what you have to work with and how much room your doors need and whether or not there are any other structures around the area where you plan to place them.
A good rule of thumb would be to measure from one side of the door across to another side so that you can determine if your layout needs adjusting before ordering supplies. You want to make sure when you install hinges on the ends of your frame, and they are angled towards each other. If not, it will look bulky. We hope this blog post on how to frame a shed door opening has been helpful. Let us know your thoughts in the comments below!


