How to J Channel a Window
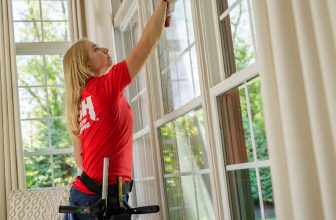
J channeling a window is an essential skill to have as a professional or DIY home renovator. It provides a secure, weatherproof seal around the edges of windows and prevents water, dust, and debris from infiltrating the home. J channeling also serves as a good aesthetic accent, helping to give your windows a clean and uniform look. With the right tools and materials, you can learn to j-channel a window in just a few simple steps.
There are several advantages to j channeling a window. First, it is an easy and cost-effective way to modernize the appearance of any window. It gives a more streamlined look without replacing the window or trimming completely. Secondly, it can increase the window’s energy efficiency by providing an additional seal and layer of protection against the elements. In this blog post, You will learn in detail how to j channel a window.
Step by Step Processes for How to J Channel a Window
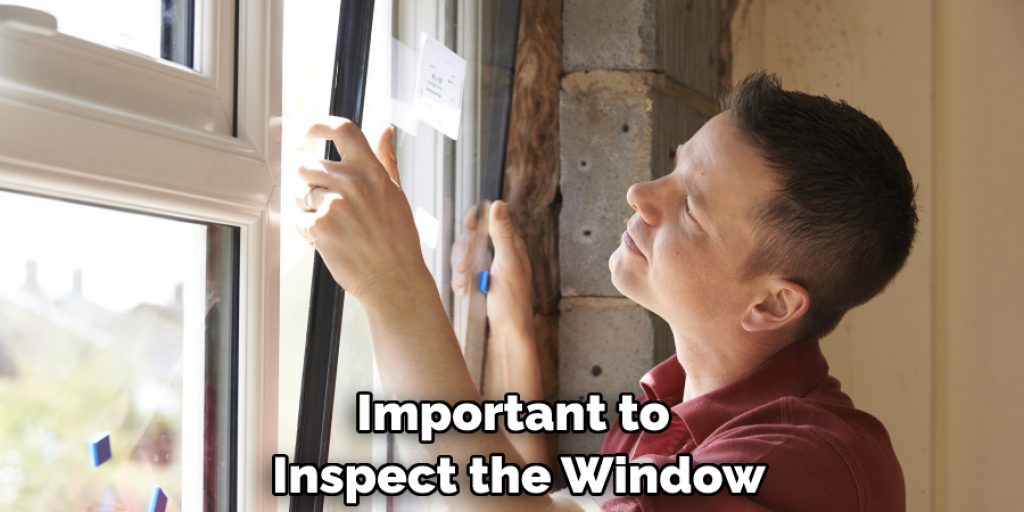
Step 1: Inspect the Window
Before starting to J Channel your window, it is important to inspect the window. Look for any cracks or damage that may compromise the strength and performance of the J Channeling process. Measure the window frame’s height, width, and depth so that you know exactly how much J Channel you need to purchase.
Step 2: Purchase the J Channel
After measuring the window, head to a hardware store and purchase enough J Channel for your project. Be sure to buy more than you need in case of mistakes or unexpected changes during installation. Cut the J Channel pieces to fit your window using a miter saw or hacksaw. Don’t forget to factor in any expansion gaps you may need.
Step 3: Test Fit the J Channel
Before putting in place permanently, it is important to test fit the J Channel first. This will save you time and energy later on if there are any necessary changes. Applying a sealant or caulk around the window frame before installation will help with water resistance and air infiltration.
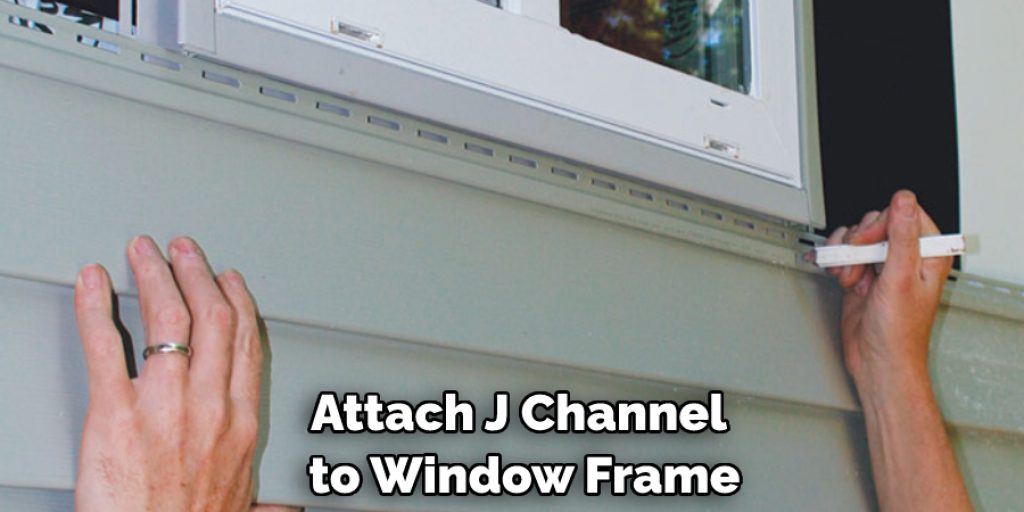
Step 4: Attach J Channel to Window Frame
Once all pieces are cut, attach the J Channel to the window frame with nails. Make sure to leave enough space for expansion and contraction. Apply caulk or sealant to all of the joints between the J Channel and the window frame. This will help with water resistance and air infiltration.
Step 5: Test Fit Window Sash
Before permanently putting it in place, test fit the window sash. This will ensure that the J Channel has been installed properly and there are no gaps or inconsistencies. Once everything is in place, nail the window sash into the J Channel for a secure and permanent installation. Make sure that nails are placed firmly and securely.
Now you know to J Channel a window! With these steps, you can easily install the channel around your windows for extra insulation, water resistance, and air infiltration.
Safety Tips for How to J Channel a Window
- Wear safety glasses to protect your eyes from debris or splinters that may be produced when cutting the J channel.
- Ensure the window frame is securely fastened into place before installing the J channel around it.
- Measure twice, and cut once when cutting the J channel accordingly for a proper fit on the window.
- If using a power saw, a proper size blade or jigsaw with a low setting should be sharp before starting the project.
- Keep fingers away from the blades at all times when cutting.
- Use clamps to keep the J channel in place while installing around the window frame to avoid mishaps.
- Always have a first-aid kit nearby in case of an accident or injury.
Following these safety tips ensures that your J channel window installation will be done correctly and safely. Proper preparation allows the job to go smoothly without any accidents or incidents.
How Do You Properly Maintain the J Channel After Installation?
After the J channel has been successfully installed around a window, it is important to maintain its condition. Properly maintaining the window’s J channel will ensure that water and air are kept out of your home and will help preserve the window’s life. Here are a few tips on how to properly maintain your J Channel after installation:
- Inspect the J channel regularly for signs of damage or deterioration. This can include areas that have become cracked, dented, or otherwise compromised. If any damage is noticed, it should be addressed immediately to prevent further water and air infiltration issues.
- Ensure that all seams are properly sealed with a high-quality sealant. This will help prevent moisture from entering and ensure that the J channel and window remain in good condition.
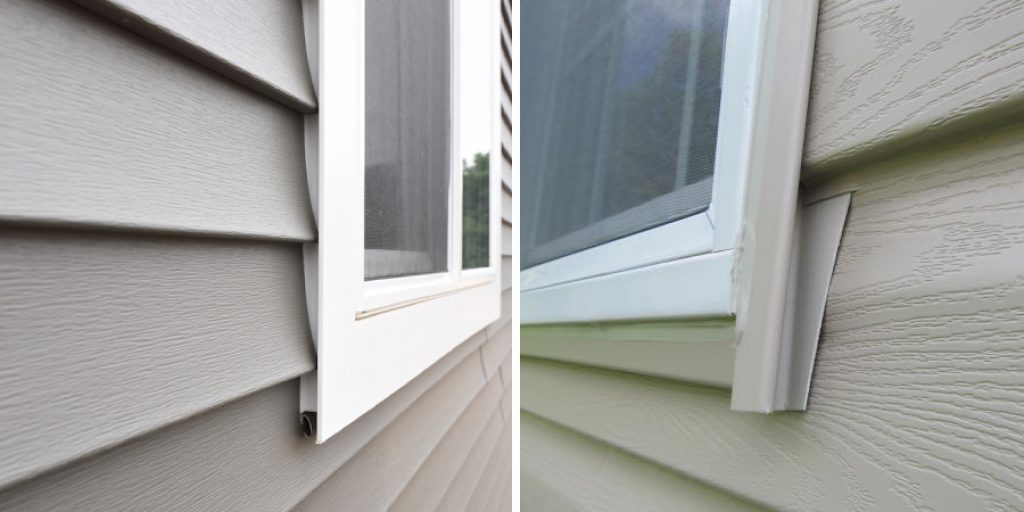
- Check for gaps or spaces in the joint between the J channel and the window frame. These can often be addressed by applying more sealant to fill them in if needed.
- Make sure that the J channel remains clean and free of debris or dirt buildup. This will help ensure the proper functioning of the window and its associated components and prolong the life of the J channel itself.
Following these tips can help you keep your windows in good condition for years to come. Maintaining your J channel is an important part of proper window care and can help prevent costly repairs or replacements in the future.
What Type of Maintenance Should Be Done on the J Channel to Ensure a Secure Fit Around the Window?
The J channel should be inspected and cleaned regularly to ensure a secure fit around the window. The tracks of the J channel should be checked for any dirt or debris that may have accumulated and wiped clean with a damp cloth.
Use a soft-bristled brush to remove any stubborn dirt or grime from the track if necessary. Additionally, check for any signs of rusting or corrosion. If the J channel does have some corrosion, use a rust-removing product to clean it and then apply a protective coating such as paint or sealant.
If the J channel is not securely attached to the window frame, use a screwdriver or drill to realign it so that it remains firmly in place. Additionally, check the seals around the window to make sure there are no gaps or leaks where air can escape. Finally, inspect the J channel for any wear and tear, such as cracking or warping, and replace it if necessary.
Are There Any Common Mistakes to Avoid When J-channeling a Window?
When J-channeling a window, it’s important to pay attention to the details. It’s easy to make mistakes if you’re not careful, so here are a few things you should keep in mind:
- Make sure the channel is level and plumb (vertically) on both sides of the window frame – not tilted or crooked. This will help ensure the window is properly sealed and won’t leak air or water.
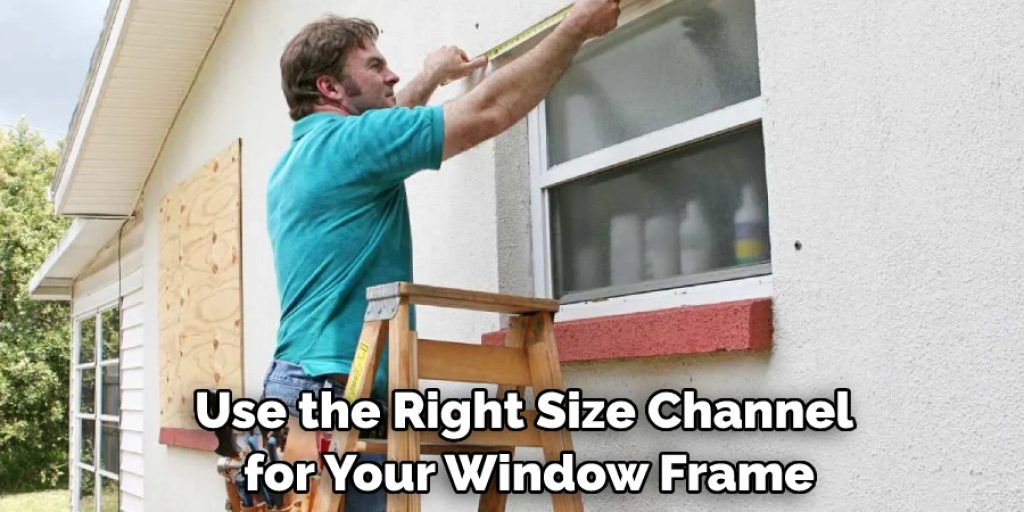
- Use the right size channel for your window frame – a too-small J-channel can leave gaps around the window, while an overly large one may not fit securely against the wall.
- Don’t forget to caulk the channel – this will help keep moisture out and create a seamless seal around your window.
- Make sure you attach the channel securely at all points and use screws instead of nails where necessary for extra strength.
By following these tips and taking your time with each step, you can help ensure your window is properly J-channeled and sealed for years to come.
Are There Any Environmental Considerations When Using J Channel Around Windows?

When using J Channel around windows, there are a few environmental considerations to take into account. Depending on the material used (vinyl, aluminum, or rubber sealant), they may contain chemicals that could be considered hazardous to the environment and must be handled with care.
The material may warp when exposed to moisture and cause gaps in the seal which would let in air and water. It is important to research local weather patterns, potential flooding risks, and the types of materials available before installing a window with J Channel around it.
Considering these environmental considerations can help ensure the best outcome for your window installation. Another consideration to think about is energy efficiency.
Although J Channel around windows may provide a good seal, it will not necessarily increase the insulation of the window and could potentially reduce it. You may need to consider investing in additional weatherproofing materials, such as caulk or foam insulation strips, to ensure maximum energy efficiency.
What is the Best Way to Paint or Finish the J Channel After Installation?
After installing the J Channel around your windows, you’ll want to ensure it looks its best with a fresh coat of paint or finish. To do this, start by cleaning the surface of any dirt and debris with a damp cloth. If you use an oil-based primer, apply it with a brush or roller to the dry surface and let it cure. Then, apply latex or acrylic paint with a brush or roller, ensuring the coating is smooth.
If you’re going for a wood finish instead of paint, sand down any rough spots on the J Channel before proceeding. Apply an oil-based primer, and allow it to dry. Then, use a brush or sponge to apply two coats of stain to the J Channel. Once each coat has dried, seal the surface with multiple layers of clear varnish for extra protection and shine.
Conclusion
In conclusion, j-channeling a window is an easy and cost-effective way to create a modern look. It’s perfect for those who want to update the look of their home without breaking the bank. It’s also quick and straightforward to do, making it an ideal choice for first-time DIYers.
All you need is some j channel and a few basic tools, and you’ll be able to create a stylish update for your windows in no time. So if you’re looking for an affordable way to give your home an updated look, consider j channeling as the perfect solution. I hope this article has been beneficial for learning how to j channel a window. Make Sure the precautionary measures are followed chronologically.
Angela Ervin
Angela is the executive editor of DIY quickly. She began her career as an interior designer before applying her strategic and creative passion to lifestyle and home. She has close to 15 years of experience in creative writing and online content strategy for housekeeping, home decorations as well as other niche efforts. She loves her job and has the privilege of working with an extraordinary team. She lives with her husband, two sons, and daughter in Petersburg. When she's not busy working she spent time with her family.