
How to Paint Door Trim Molding
Introduction
A door trim molding is the section of wood, metal, or plastic that becomes part of a wall and covers the gap between two framing pieces. It adds an extra layer to any doorway and creates more structural support for the wall. The most common type of door trim is made from wood or plastic, painted with a particular color scheme that fits in with a home’s decoration.
When people think about painting their doors, they often think about painting just the front surface; however, it is important to consider adding decorative elements to all surfaces surrounding your door. Painting the trim alongside your entryway will allow you to add some personality while at the same time extending its life span. For this reason, today, I will discuss how to paint door trim molding so that you can get the best possible outlook for your home decoration.
Step-wise Guide on How to Paint Door Trim Molding
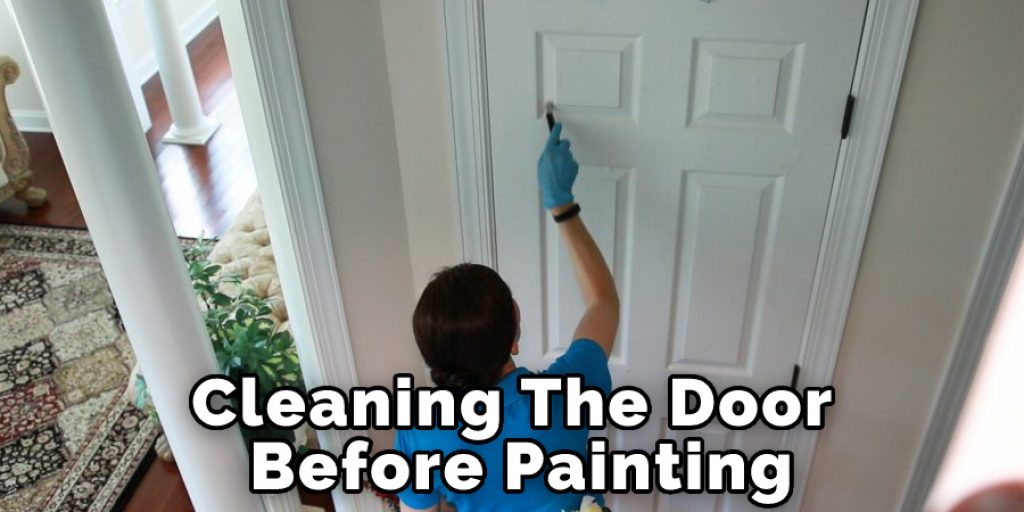
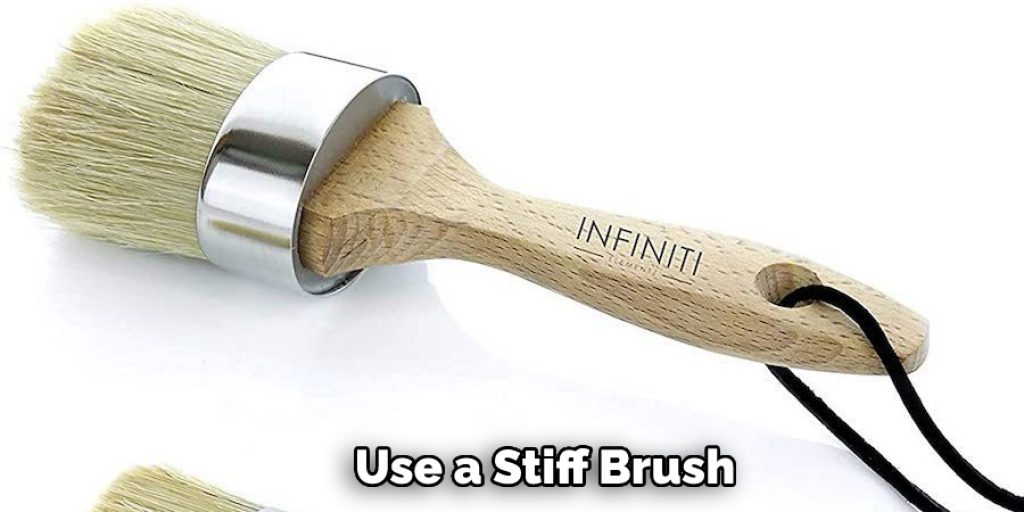
- Very first, start with thoroughly cleaning the wood trim to set it all set for painting. Next, use a stiff brush to remove any loose dirt and grime deposits from the wooden trim.
- After this, you need to apply primer on the surface of the wooden trim, taking care to coat every area to make sure that there are no dry spots left anywhere. Allow the primer to dry completely before applying paint or stain to protect wood against moisture loss, warping, etc.
- Now, you can now choose either latex-based paints/ stains or oil-based ones as per your requirement or personal choice as they both work well on wood surfaces. Still, you should be careful while selecting one of these since different paint types don’t apply smoothly onto their compatible surfaces and will result in peeling off of the paint coating or finish on the wood.
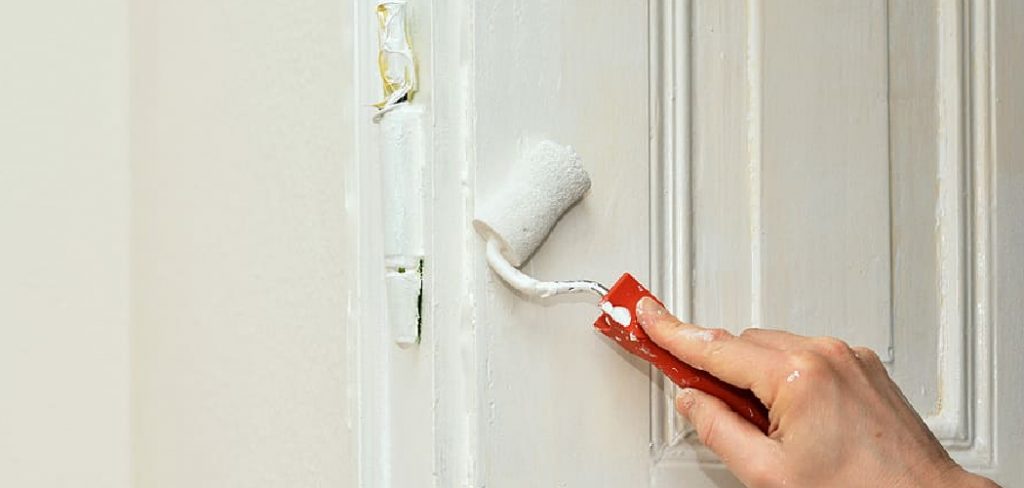
- Pick up a roller brush and then dip it into the chosen paint/ stain, apply it carefully over each area of the wooden trim using short even strokes and letting out excess paint as you go along. Try to do this without applying too much pressure onto the coat not to have dry spots. Just be careful while doing this that there is no pooling of unevenly distributed coat anywhere since this could damage the appearance of your painted door molding.
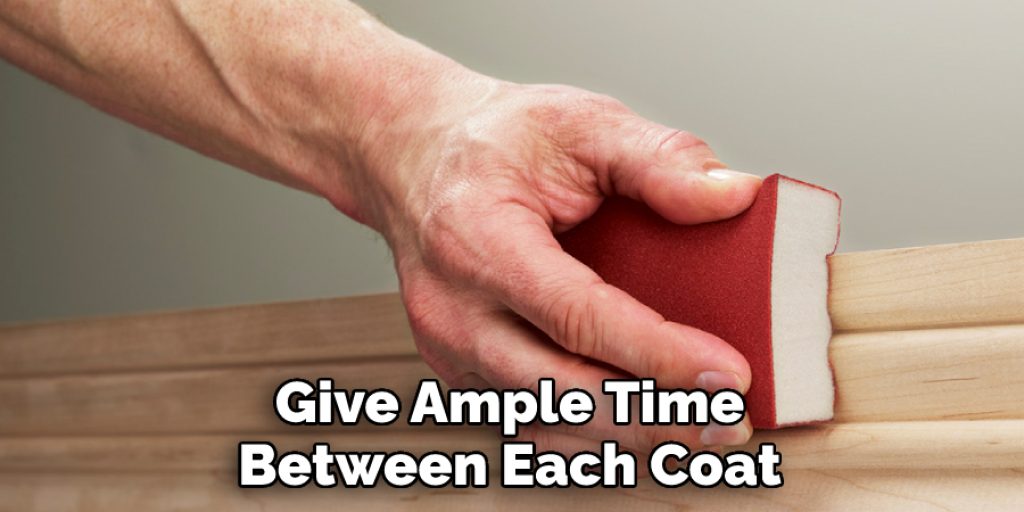
- Now leave this for some time to dry, and then again give a gentle hand sanding using 150 grit sandpaper to remove any uneven areas and then dry.
- Now, you can add a second coat of the same paint/ stain over your door trim; however, this time, you may want to use a sponge roller instead of your brush to avoid brush marks left behind by paint or stains as you apply them onto your wooden door molding.
- Again, after allowing several hours for drying purposes, you could use up fine grade sandpaper with 400 grit on it or even wood polishing pads along with floor polish to give an expertly polished look towards the newly painted door trim, which point your work will be done. You would have successfully painted the exterior doors without scratching the older coating of paint or lacquer.
- Lastly, if you want to maintain the new coating of paint over your wooden door trim, just remember to clean it every few months with a mild soap solution and water and apply stain conditioner onto it occasionally to keep its appearance fresh and glossy.
Safety Tips While Learning How to Paint Door Trim Molding
- Always wear rubber gloves when painting since the oils used by paint for smoothening dry surfaces can damage your skin badly and cause infections. Also, avoid breathing in fumes from paint as much as possible while applying it towards your wooden door trim so that inhaled toxins do not harm you adversely over time.
- While sanding, use safety goggles on your eyes to prevent any dust from damaging your eyes or entering your body.
- Stick to proper safety procedures for handling a saw and avoid bodily harm while cutting outdoor trim molding.
- Always wear protective clothing and gloves when using a spray gun or any other chemical application tools while painting since they can cause allergies, skin irritation, etc., .on contact with the human body.
Check It to Learn to Fix Paint Chips on Wall Without Paint.
Frequently Asked Questions
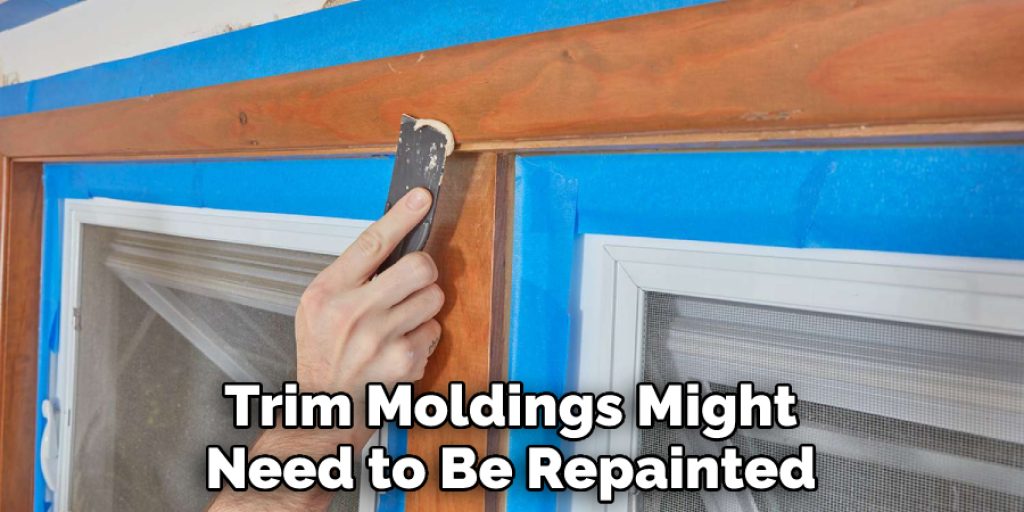
Why Door Trim Moldings Require Painting?
The door trim moldings might need to be repainted because the old paint is coming off or has started to chip in places. If you look at old doors closely, you might see some chipped areas on the door trims or even whole panels that have been scraped off.
It’s not uncommon for builders to take a hammer and knock off any protruding edges or corners that extend beyond their desired dimensions. This usually results in damage to both sides of the trim—the side facing out (visible) as well as whatever faceplate is covering up once was on top of it all along. These things happen over time regardless of who replaces them and can be very frustrating to deal with.
What Kind of Paint is Best for Door Trim Moldings?
Before painting door trim moldings, you need to ask yourself what kind of paint best suits your needs. You should consider oil-based paints if you want something durable that will last a long time.
These are usually much thicker than latex-based paints, which takes more time and effort for the painter to apply and allows them a longer drying period. On the other hand, latex paints wear off easier and still tends to peel over time. So it’s up to you whether you want something long-lasting or looks good for a short time.
What Kind of Supplies Will do I Need For Applying Door Trim Moldings?
You will need the right type of paint and enough of it. You will also need to thin the paint (or use pre-mixed paint that doesn’t need to be thinned). You will need some disposable rags to clean up any areas where you accidentally get paint on something.
If possible—and if your door trim molding area is accessible enough—you may also consider using an air compressor hose as well as an angled brush attachment instead of a paintbrush. This will help cut down on the amount of time and effort you will need to apply just a few thin coats of new paint properly.
What Kind of Ways Can I Improve the Quality & Longevity of Door Trim Moldings?
Doors can last a long time if you take care of them. Things like moisture can make them not last as long, so it’s important to try to keep your home dry. You can do this by having air conditioning or by doing things like not showering too much.
If you are not going to repaint door trim molding after it’s been scraped off or chipped down to the wood, then you should consider sanding down the surface a bit to ensure that there is good adhesion with whatever paint type you use.
To have a good trim, you should get up early one morning and give yourself plenty of time before leaving for work. With enough time and effort, your trim will look great and last longer.
How Can I Paint Door Trim Molding Using Spray Paint?
- First, make sure that you are inside the house in an isolated room where paint fumes do not accumulate and spread anywhere else. This will help you avoid inhaling paints toxins, resulting in serious health problems down the line due to their prolonged exposure within your respiratory organs or even the bloodstream itself, causing more harm than good at times.
- Spray the door trim using a paint sprayer and cover all its surfaces thoroughly without leaving any areas unfilled with paint. Take your time while spraying so that you do not get chances of over-spraying at any points of your wooden door trim which may cause unwanted drippings or even make it too thick in some places, making it unattractive naked eye. Also, if you feel like applying multiple coats, then give ample time between each coat for drying before moving on to the next coat of your desired finish paint color.
- After painting, let the door dry properly till it gets fully set or hardens up completely before using it again or closing that room off from other parts of your house, most preferably for 2 days so that paint used for door trim can get fully dry and set properly.
Conclusion
I hope the process mentioned above will surely help you learn how to paint door trim molding with ease. Also, ensure proper safety while performing the task. Thank you, and have a good day!
Angela Ervin
Angela is the executive editor of DIY quickly. She began her career as an interior designer before applying her strategic and creative passion to lifestyle and home. She has close to 15 years of experience in creative writing and online content strategy for housekeeping, home decorations as well as other niche efforts. She loves her job and has the privilege of working with an extraordinary team. She lives with her husband, two sons, and daughter in Petersburg. When she's not busy working she spent time with her family.


