
How to Get Rid of Bubbles in Polyurethane
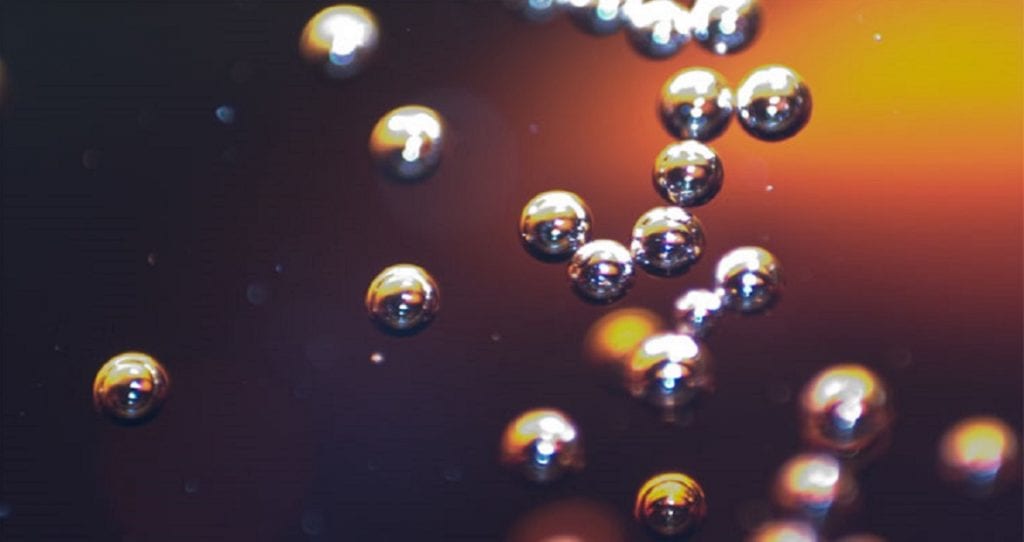
Woodworking is not finished until you have given a proper coating of polyurethane to the surface. This makes the surface look glossy, and also, the surface becomes much smoother. But sometimes bubbles develop on the surface of the furniture, which generally happens due to the insufficiency of the seal coat. For this reason, today we are going to show the technique of how to get rid of the bubbles in polyurethane, this will be much helpful for the craftsmen.
Procedure
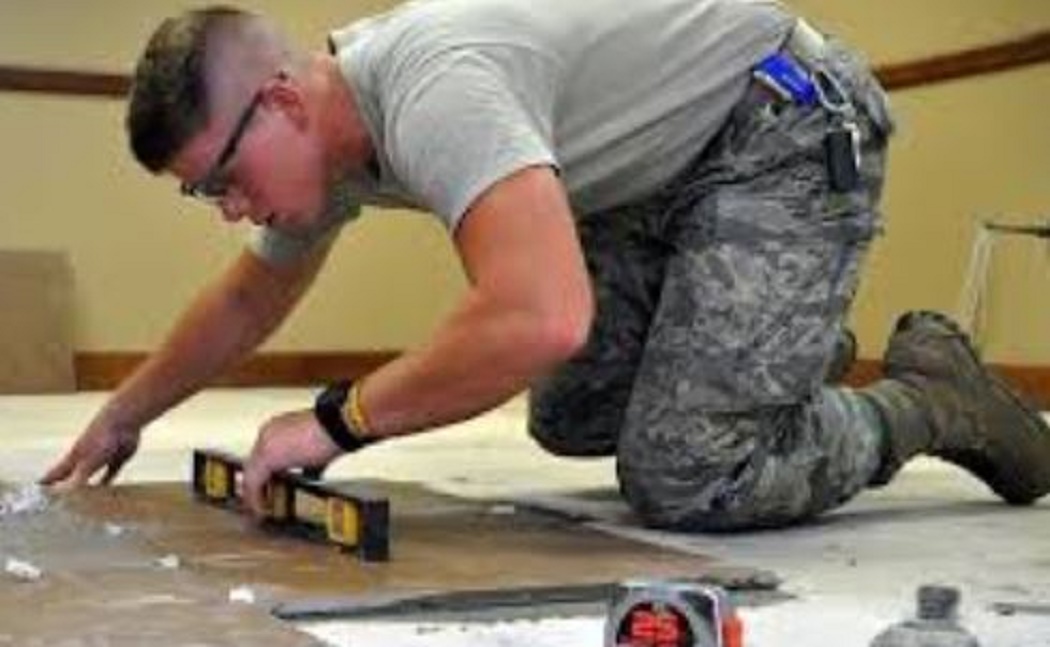
Getting rid of the bubbles that have been formed in polyurethane is much comfortable. You have to follow some necessary steps to get the job done. We will be discussing these chronological steps for your better convenience, and this will be much effective for you. Make sure that you have a clean work surface where you will be working on. If the work surface is not clean, it might be possible that your work gets ruined with dirt and dust. You can clean the work surface by wiping it off with a wet cloth or paper towel.
Step One
The first step of the process is gathering the required elements for the procedure. At first, you will need the sander machine. This machine is known as the best one for making the surface of any furniture smoother. The extra our growths are washed of the gentle rolling of this device. Then we have to take 320 Grit and attach it to the sander. 320 Grit is the most common one used, and you can also change it according to your preference.
Step Two
In this step, you have to take the sander and start sanding, but before that, you must ensure the performer’s safety. In this case, you have to wear personal protective equipment like headphones, goggles, and face shields. These are important because a considerable amount of sawdust is created while using the sander, and there is also a creation of sound, continuous exposure to which can cause damage to the performer’s ear. Sanding is a process in which it is not recommended to wear loose clothing or jewelry as they can get stuck into the sander.
Step Three
Now you have to continue the sanding, an important aspect that you should be well aware while applying this machine is the state of the bubble. There is always a ring formed encircling the balloon. You have to make sure that the bubble and the ring are eliminated from the table. In this case, you have to continue using the device until the rings are removed. the sanding will be done using the sandpaper which should be also replaced every time it will be worn out. There are different types of sandpapers available in the market, so you have to use the one that is used for ironing.
Step Four
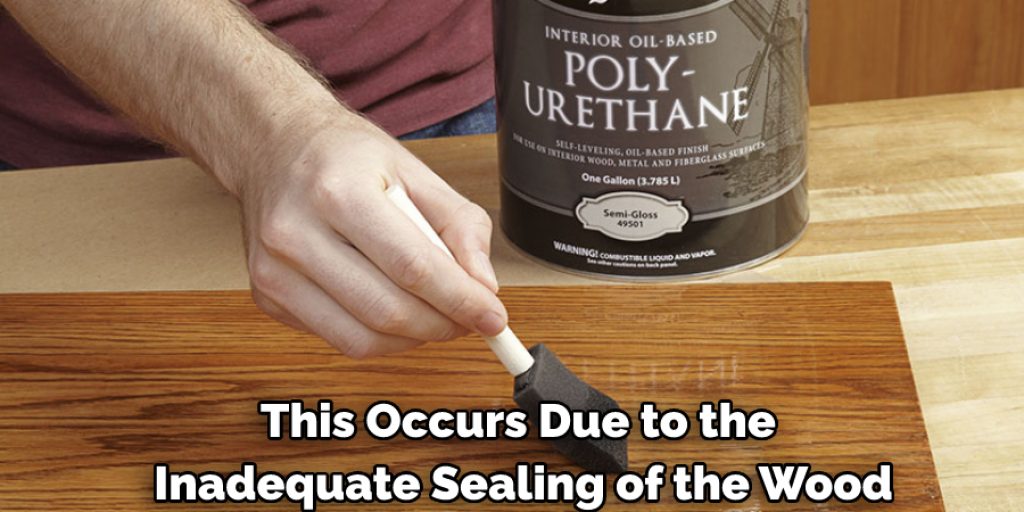
Once the sanding is completed, you will observe that the rings are gone, but there are always a couple of white spots created in the place of the rings. This occurs due to the inadequate sealing of the wood. This can be fixed by using the air compressor. The air compressor will be used to blow out all these holes, and then you have to go for the last step.
Step Five
Now you have to take epoxy and fill the holes with epoxy, and this is the last step of the process. After pouring the epoxy, you have to take a squeegee and then spread the epoxy all over the area. After the epoxy is dried, we will again apply the sanding machine all over the table, and thus the bubbles will be removed, and the surface will be smooth. After all these steps, the repairing process of your acrylic table is completed. We hope that this guide will help you to repair your acrylic table in a better way.
Conclusion
Lastly, we hope that the process we have mentioned here to reduce the bubbles in polyurethane has been much helpful for the beginners to learn. This can easily benefit artisans. By this technique, you can enhance the aesthetic value of the furniture. Happy crafting! Have a beautiful day!! You may also like to read,
Check it out to learn to thin water-based polyurethane.


