
How to Glue Cork to Wood
Introduction
Corkboards are popular for their usefulness, and that’s why they are widely in different projects. But the problem with the ready-made versions is that they come in a particular size. You may need to cut them out and glue them to acquire the perfect shape.
How are you going to do that? You can cut them easily with any sharp items but gluing them requires a few considerations. In this article, I will show you the exact techniques of how to glue cork to wood. Corkboards are popular for their usefulness, and that’s why they are widely in different projects.
But the great thing about the ready-made versions is that they come in a perfect size. You can cut them out and glue them to acquire the perfect shape. How are you going to do that? You can cut them easily with any sharp items but gluing them requires a few considerations.
In this article, I will show you the exact techniques of how to glue cork to wood. A glued corkboard can become a particular spot for sticking the notes. You can also add some greeting cards there. So, learning the technique is quite crucial. Okay, let’s have a look at the processes.
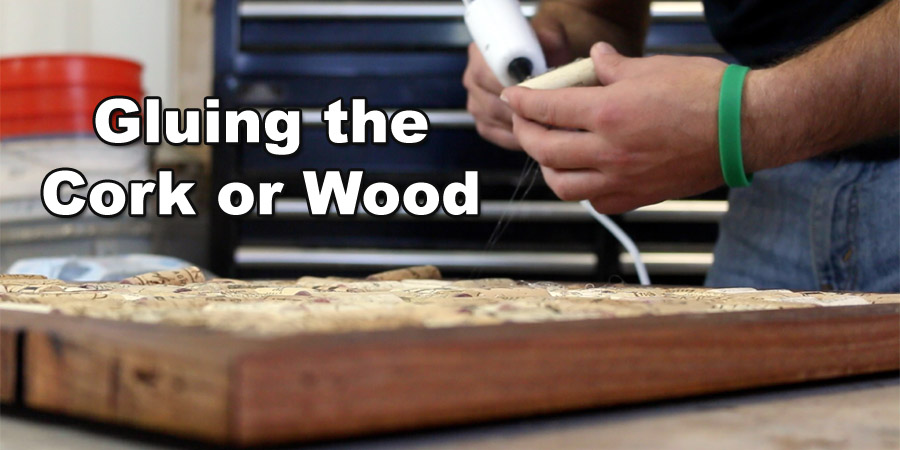
Processes on How to Glue Cork to Wood
Process One:
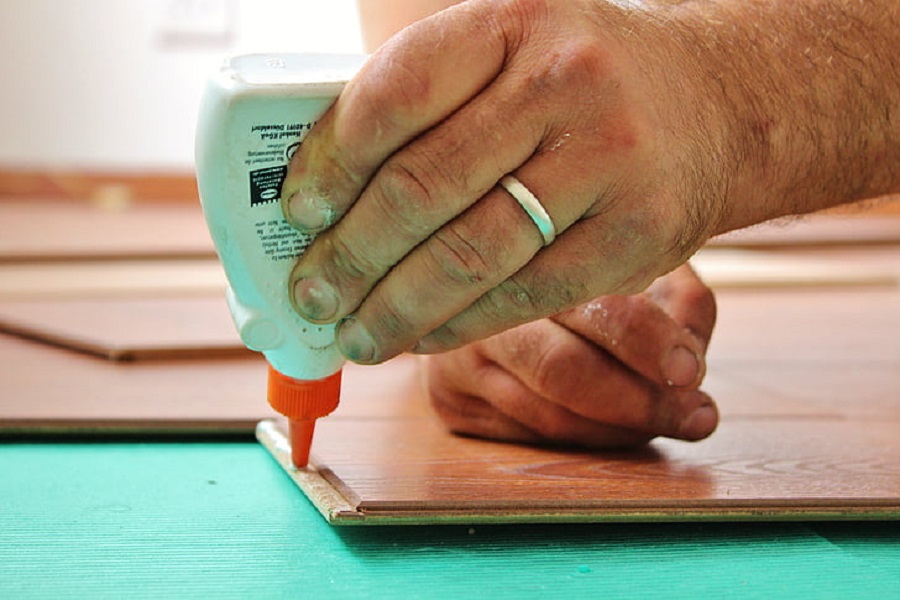
The first step is to select the cork or, in some cases, a piece of wood. If you are using a block of cork, then it will need to be planed thinner so that when applied to the top surface of your project board and clamping pressure from above forces out any air bubbles between the two materials.
The sole off-cut should be glued into the end grain cutting board with only glue on one edge. This will allow you to see how glass reacts under pressure during application, as it has such an unusual shape for clamps.
To proceed, evenly apply glue along one edge; this is where the cork or wood will be glued, so it needs to correspond with your clamping material on top (to avoid any air bubbles).
There are many ways to preserve insects and spiders, but my favorite is using a freezer. This method is super simple and easy to do, and anybody can do it. You don’t need any tools to do it. All you have to do is have a freezer and have some jars or containers put the insects into the jar or into a plastic bag and then put them into the freezer. They’re gonna stay in there for quite a while.
It should dry clear, but if not, then time to mix up some more. The next step is to gently lay your cork or wood on top of the glue, ensuring that it’s in a position where there are no air bubbles between the two pieces. You can use metal clamps at this point, but I prefer to wait until after 24 hours have passed when a stronger bond has formed.
We want more than just surface contact, so we’ll need something like these ratchet straps from my workshop tool chest, which will be able to handle strong clamping pressure without ripping up any plastic surfaces.
A quick-release clamp would also work well here since you don’t want anything too tight around delicate edges, which might crack over time due to stress concentrations (I’m looking at you, laminated trim boards). Now that we’ve got the two pieces of cork or wood firmly in place using a metal ruler to draw lines around it for your clamp points.
Process Two:
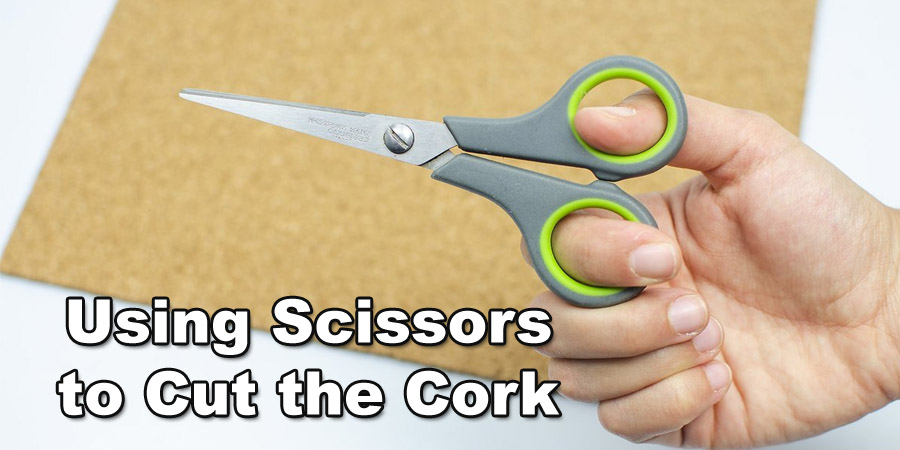
First of all, you have to cut the cork with scissors based on the required shape. Then take some wood glue and apply it at the back of the cork properly. Make sure to spread the glue evenly. You can use a disposable foam brush for this.
Now, apply the glue on the sides.
In this case, you may see some unwanted air bubbles. You have to move them out from the surface. So, take a rolling pin and remove the air bubbles from the surface.
Your corkboard is almost ready. You have to clamp the corkboard with the plywood and let it dry for 24 hours. That’s it. Hopefully, you have understood the above process.
Final Thoughts
Follow the directions for your glue to learn how much of each product you will need. Keep an eye on the time and temperature, as it can affect the strength of adhesion. If desired, you may also apply a second coat after 24 hours have passed (72 is recommended). Thank you and have a nice day!
You May Read Also. How to Glue Clay Pots Together
Elizabeth Davis
Elizabeth is a creative writer and digital editor based in the United States. She has a passion for the arts and crafts, which she developed from a young age. Elizabeth has always loved experimenting with new mediums and sharing her work with others. When she started blogging, she knew that DIYquickly would be the perfect platform to share her tutorials and tips. She's been writing for the blog from the beginning, and her readers love her helpful advice and easy-to-follow instructions. When she's not writing or editing, Elizabeth enjoys spending time with her family and friends.


