How to Hammer Rebar Into the Ground
If you are working on a construction or home improvement project involving concrete, you will likely need rebar. Rebars are metal bars used to reinforce concrete, and they can be inserted into the ground before the concrete is poured. Don’t worry if you don’t know how to hammer rebar into the ground.

This guide will teach you everything you need to know. A few steps need to be taken when hammering rebar into the ground. By following these simple steps, you can ensure that your rebar is installed correctly and will withstand the loads exerted on it. Read on to learn more information!
What is Rebar?
A rebar is a type of reinforcing steel bar that is used to provide additional strength and support to concrete structures. It is made of high-strength steel and has ridges or patterns on its surface to increase its bond with the surrounding concrete. Rebars come in different sizes, shapes, and grades depending on the specific needs of a construction project.
You may also come across the term “reinforcing rod,” which is often used interchangeably with rebar. However, they refer to the same type of material and serve the same purpose.
Why Do I Need to Hammer Rebar Into the Ground?
As mentioned earlier, rebar is used to reinforce concrete structures. When it comes to ground reinforcement, rebar is essential to prevent cracking and settling of the concrete. By hammering the rebar into the ground, you are essentially creating a strong foundation that will help distribute the load evenly and prevent any potential damage.
Moreover, if you are working on a project involving vertical structures like walls or columns, you will need to install a rebar on the ground to provide additional support against lateral forces. It is crucial to hammer the rebar deep enough into the ground for it to effectively serve its purpose. The required depth will depend on the specific project and soil conditions, so it is essential to consult with a professional or follow local building codes.
Tools Needed
Before you start hammering rebar into the ground, make sure you have all the necessary tools. Here is a list of equipment you will need:
Rebar (of Appropriate Size and Grade for Your Project):
As mentioned earlier, rebar comes in different sizes and grades depending on the specific needs of your project. Make sure you have the right type of rebar to ensure it provides adequate reinforcement.
Gloves:
Working with metal bars can be dangerous, so make sure to protect your hands with a sturdy pair of gloves.
Hammer:
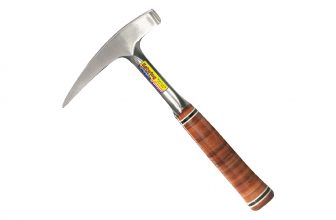
A regular hammer should suffice for smaller projects, but you may need a sledgehammer for larger and more heavy-duty tasks.
Tape Measure:
To ensure the rebar is hammered to the correct depth, you will need a tape measure or ruler to measure the length.
Safety Gear:
It is always a good idea to wear safety glasses and ear protection when working with power tools or heavy equipment.
12 Effective Ways How to Hammer Rebar Into the Ground:
1. Use a Sledgehammer:
Sledgehammer through the desired hole of your rebar and position it in place on the ground (or wall, or roof, or any surface at all). Next, bring down a heavy hammer onto the end of the steel bar protruding from the initially punched hole while another individual holds it upright. Repeat this process until the rebar inside of the ground is sturdy enough to hold its weight. Ties can be used in conjunction with a hammer to tighten a steel bar’s grip on a surface but should only be used after the rebar has been properly hammered into said surface.
You can purchase or rent a sledgehammer from most hardware stores, and it is usually the best tool for the job when dealing with larger rebar sizes and harder ground.
2. Use an Iron Wedge:
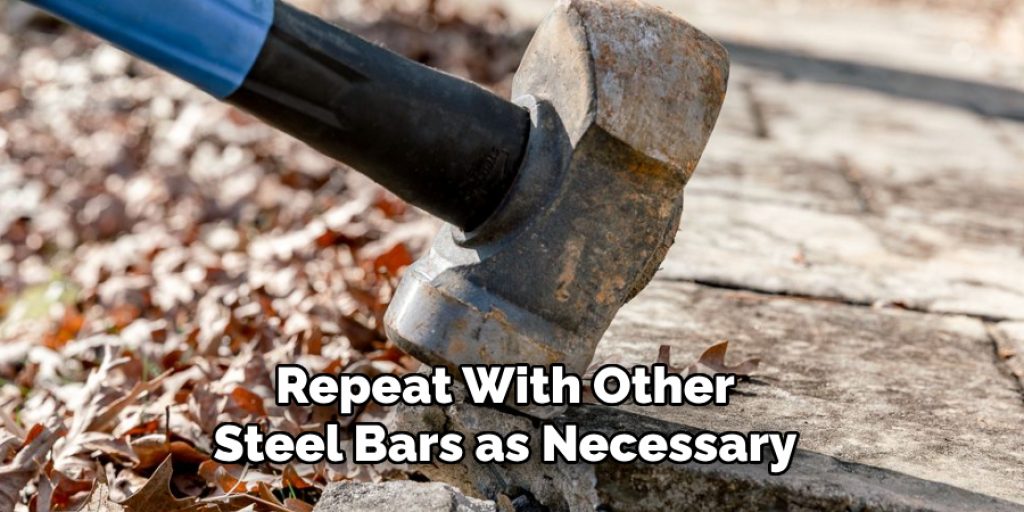
Secure the rebar into the ground (or, again, wall or roof), then take an iron wedge and drive it into the crevice between two steel bars to act as a lever. Use this leverage to pull on one of the steel bars while still holding down the other so that the bar does not slip out of its hole. Repeat with other steel bars as necessary.
The iron wedge is a simple and effective tool that should be in every construction worker’s arsenal, especially when dealing with rebar. You can buy or create your iron wedge with a simple tutorial. Just be sure to use it safely! Wear gloves when handling iron wedge tools.
3. Use a Screwdriver:
Take an iron bar and fasten it into place using screws or bolts, then take a screwdriver and unscrew the bolts loosening the grip of one side of the steel bar so that you can pull it out. Another way to perform this same step is by using a drill to bore out the holes in the rebar and then pull them out. This method is not very effective and can be dangerous if not done correctly, so it is generally recommended as a last resort.
But if you have all the necessary tools, this method is a good way to get the job done quickly and efficiently. Just be sure to practice safety precautions when handling power tools.
4. Use a Paddle Bit:
Bore into or drive screws into two steel bars that are acting as one (either by hammering embedded screws into both ends of said steel bars or bolting together two separate pieces), then take an iron bar and fasten it into the hole you’ve just drilled. Next, take a paddle bit or drill bit to bore out one of the holes so that you can use your leverage to pull on one steel bar while still holding down the other.
It is essential to use appropriate safety gear when handling power tools, such as a paddle bit or drill. You can purchase these tools from most hardware stores.
5. Use an Angle Grinder:
Stand two rebar pieces upright on either side, where they will be hammered into the ground, and connect them with iron bars. Then, take an angle grinder and cut off the exposed parts of each where they rest on the ground. When you’ve done this, remove all connecting metal bars and set them aside.
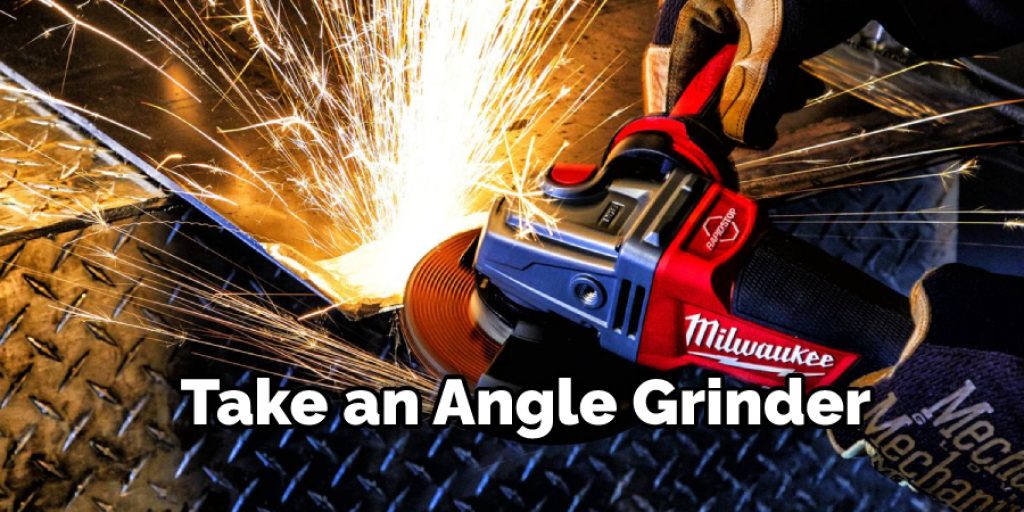
The goal of using an angle grinder is to remove any excess material from the rebar pieces, making it easier to hammer them into the ground. Just be sure to follow proper safety precautions when handling an angle grinder.
6. Cut to Size:
Cut your rebar pieces to size using either a hacksaw, grinder, or angle grinder where they jut out of the ground. After doing this, hammer them down to secure them in a place where they protrude from the surface you hammered them into. You can also use a sledgehammer or iron wedge to help drive them deeper into the ground.
Cutting rebar to size is an essential step in any construction project involving vertical structures. Make sure to use appropriate tools and wear safety gear when handling sharp objects like a hacksaw or grinder.
7. Use a Jackhammer:
Use an iron bar to wedge your rebar underneath, where it will be hammered into the ground (or wall or roof), then take a jackhammer and hammer the rebar all the way through. Take your time doing this wildly if you are hammering the iron bar into a wall or roof to make sure that it can hold its weight.
Renting or purchasing a jackhammer is recommended for larger or more challenging projects. Make sure to follow all safety precautions when handling such powerful tools. Otherwise, it can be dangerous.
8. Use an Electric Drill:
Take your metal rod and screw it into place with screws or bolts, then take either a paddle bit or drill bit to bore out the holes of your rebar. Next, take another metal rod and screw it into place inside of the hole you’ve just drilled, then tighten against the said rod with bolts or screws until both are secure.

The electric drill is an excellent tool for precise drilling and can be used to help secure rebar in place. Just make sure to wear protective gear and handle the drill with care. A clamp is also recommended to hold the metal rod in place while drilling.
9. Use a Saw:
Use either an electric saw or hacksaw to cut off any protruding steel bars from the bottom of their hole, then fasten them into place with screws or bolts. If you hammer your rebar into the ground, position them upright at the bottom of their hole and bolt/screw them into place. This method is not recommended for larger rebar sizes.
Using a saw can be an effective way to cut the rebar to an appropriate length for your project. However, it is essential to follow proper safety procedures when handling sharp tools like saws. You can also purchase or rent an electric saw for larger projects.
10. Use a Heavy Object:
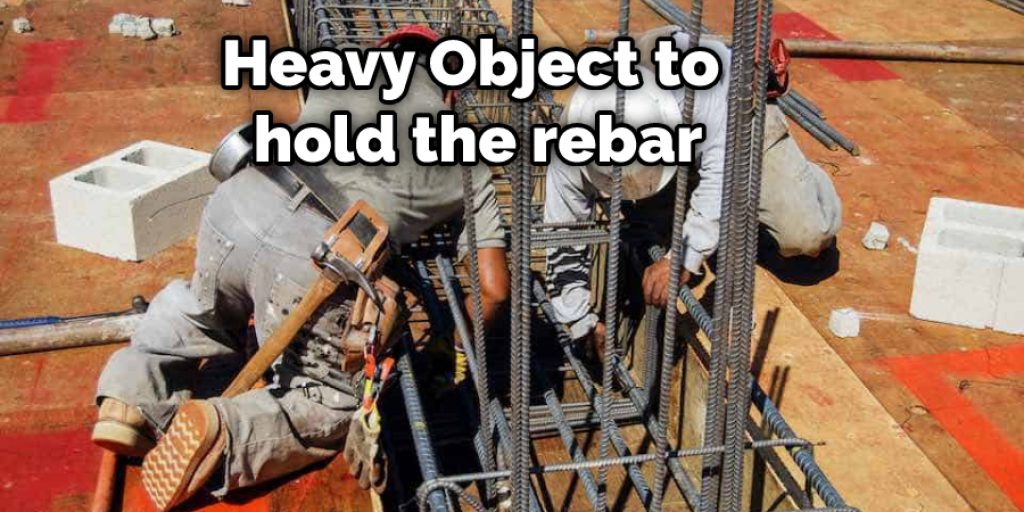
Find a heavy object (such as another piece of rebar or brickwork) and use it to hold the rebar in place while you hammer away at it with either a sledgehammer or your preferred wall-pounded object. Do this until the rebar is stable enough to hold its weight, then drive it into the ground or wall so that it can do just that.
But be sure to use caution when using heavy objects to secure rebar, as they can be challenging to control and may cause injury if not handled properly. It is recommended to wear proper safety gear and use a sturdy object.
11. Use a Welding Torch:
For more heavy-duty projects, you can also use a welding torch to fuse the rebar together. First, make sure you have all the necessary protective gear and are familiar with welding safety procedures. Then, heat up the ends of two rebar pieces until they are red hot, then press them together to create a strong bond.
Using a welding torch may be necessary for more extensive or complex projects involving rebar. However, it is crucial to handle this tool with care and follow proper safety procedures to avoid injury or damage.
12. Use a Hydraulic Press:
For the most challenging projects, you can use a hydraulic press to bend and shape rebar as needed. This machine applies pressure to the rebar, allowing you to manipulate it into different shapes without risking injury or damage. Make sure to have proper training and safety gear when using a hydraulic press.
Using a hydraulic press can be an effective way to shape rebar for unique projects that require curved or angled structures. However, this method should only be used by professionals or individuals with proper training and equipment to avoid accidents.

Following these various methods, your rebar should be secure and ready to use for any construction project. Just remember always to prioritize safety and wear appropriate gear when handling power tools and sharp objects. With the right techniques, you can easily manipulate rebar to fit your specific building needs.
Some Tips and Suggestions:
Here, we have given some tips and suggestions on how to hammer rebar into the ground.
1. Wear safety goggles. The rebar can fly up after being hit with the hammer, or it could go down into the ground and hit you in the face. It could also bounce back and hit you in another part of your body.
2. Use a sledgehammer. They are much easier to swing and make less of an impact on the ground when you hit them. Using a mallet or some other hammer won’t have as much power to drive the rebar into the ground.
3. If you can’t pound the rebar in anymore, that means there’s rock underneath it. You will need to dig around the rebar base until you can fit your shovel or pickaxe under it and pry out the rock.
4. Make sure to go deep enough with your rebar. If you are planting it in the ground intending to grow a fence or something, you need to make sure it goes deep enough so that no matter how high your fence is, there will be plenty of rock under it for stability.
5. If you need to, you can use an axe in place of a sledgehammer when pounding rebar into the ground.
6. When pounding them in, make sure they face the correct direction. If they face down (pointing into your soil), everything in that area will grow downward and be harder to weed and remove. The same thing applies if you plant them facing upwards.
How Do You Hold a Hammer When Using It to Hammer Rebar Into the Ground?
When you are working with rebar, everything metal needs to be ground down. This is because when you put a metal rod into the ground, it will immediately begin corroding. Allowing it to corrode before burying it will mean a much cleaner and smoother final product. The inevitable rust won’t have as many places to collect and discolor the metal.
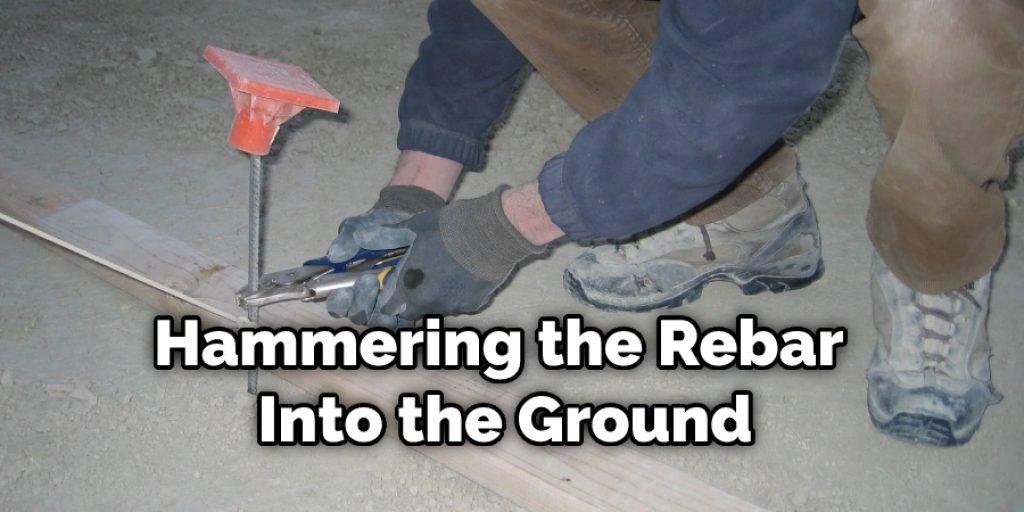
Before carrying out the first steps of hammering the rebar into the ground, you should ensure that your gloves are on and that there is a firm surface beneath you. In addition, ensure that all bystanders are well away from the dangerous area onto which you intend to pound metal rods. With all preparations made, please pick up the first piece of rebar, hold it firmly in your dominant hand and bring the hammer onto its end.
Frequently Asked Questions:
Q: Can You Use a Hammer to Pound Rebar Into the Ground?
A: Yes, it is possible to use a hammer to pound rebar into the ground. However, there are also other methods available that may be more efficient and safe depending on the project. You should also ensure proper safety precautions when using a hammer to avoid injury.
Q: How Deep Should Rebar Be in the Ground?
A: The depth at which you should bury rebar depends on the type of project and local building codes. It is generally recommended to have at least 1/3 of the rebar’s length buried underground for stability. However, it may vary depending on factors such as soil conditions and weight-bearing requirements. It is best to consult with a professional or local building authorities for specific guidelines.
Q: Can You Use Rebar Without Concrete?
A: Yes, you can use rebar without concrete in certain projects that require the strength and durability of steel reinforcement. However, it is not recommended as concrete provides additional stability and structural support for the rebar. It also helps protect the rebar from corrosion.
Conclusion:
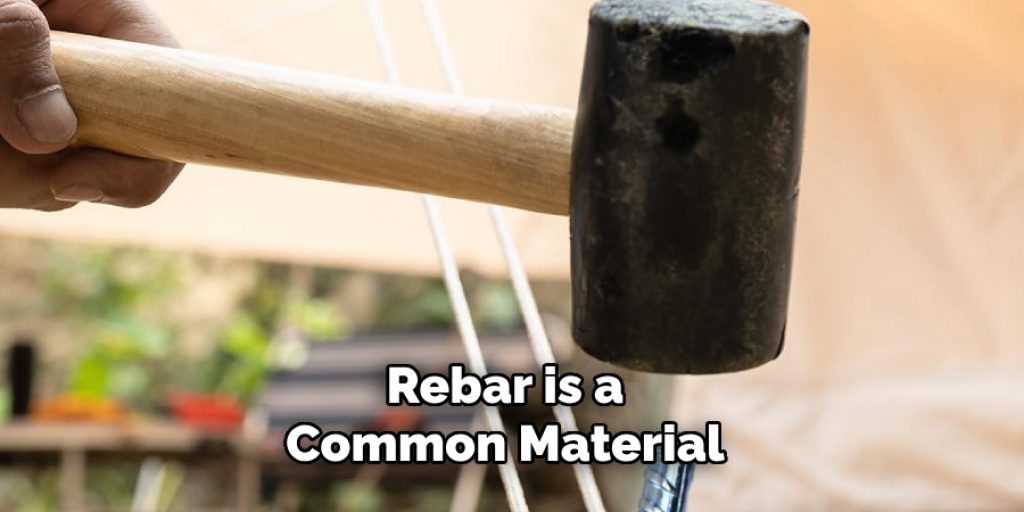
Rebar is a common material used in construction and utility projects. It can be challenging to hammer rebar into the ground, but some tips might make this process easier. First, use a metal hose clamp as an anchor point for your rebar stake before you start pounding it down with the sledgehammer. Then, after anchoring your first piece of rebar, move on to another section, and do not forget about those other sections!
Hammering several pieces at once will help keep them aligned while they go deep into the ground. Another great tip is to make sure you hit the rebar at a 90-degree angle. It will not go as deep if you hit it off-center and might even become crooked. We hope this blog post on how to hammer rebar into the ground has been helpful. If you have any questions or want to know more, then feel free to comment below!


