
How to Hang Grow Lights
Are you looking for a way to grow plants indoors? Installing grow lights can provide an ideal environment for your indoor garden. Here’s how to hang grow lights.
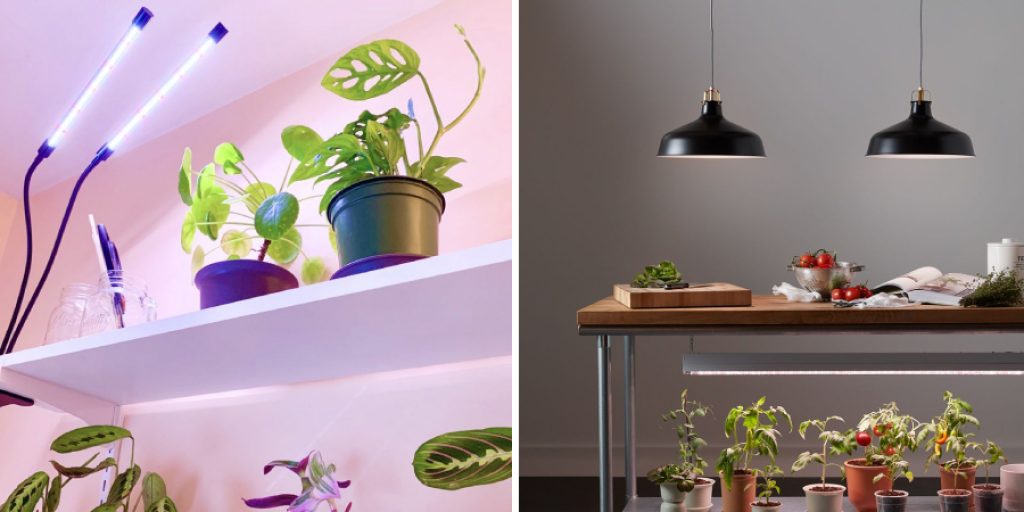
If you love plants yet don’t have much access to natural sunlight, hanging grow lights can solve your problem perfectly. These versatile pieces of equipment come in a variety of styles and can be used on their own as a light source or even as unique covers or decorations for other items. With so many possibilities, it’s no wonder why this simple yet effective invention continues to make its way into homes across the globe.
In this article, we’ll discuss everything you need to know about selecting and installing hangable grow lights – from choosing the right size and shape for your needs all the way through setting them up securely: to giving your treasured greens optimal lighting!
What Will You Need?
Before you get started, here’s a list of materials and tools to ensure that the process runs smoothly:
- Grow lights
- Extension cord(s)
- Hanging hooks and chains (optional, depending on your light type)
- A drill or screwdriver
- Safety glasses/goggles (optional, but recommended!)
- Ruler/measuring tape
- Ladder or stepstool (depending on the height of your ceiling and how high up you want to hang the lights)
Once you have everything ready, it’s time to move on to the installation process.
10 Easy Steps on How to Hang Grow Lights
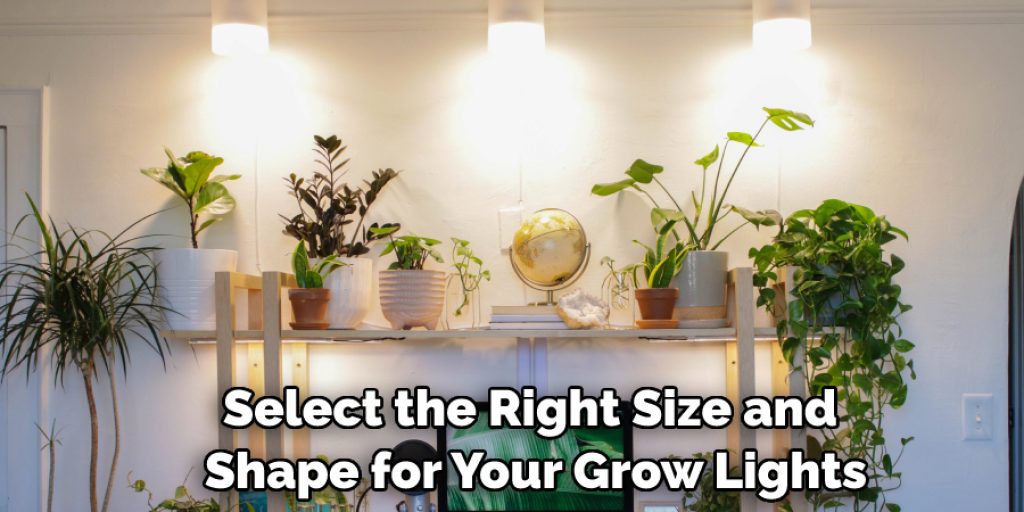
Step 1. Selecting the Right Size and Shape
Once you’ve got everything ready, it’s time to select the right size and shape for your grow lights. The size is important because too large a light may lead to excessive heat in the grow room, while too small a light won’t be able to supply sufficient amounts of light for your plants. You’ll also want to make sure that the shape of your lights is appropriate for hanging purposes (in other words, not too heavy and doesn’t require additional support).
Step 2. Assembling the Lights
Depending on the type of grow lights you purchased, some assembly may be required before you start hanging them up. Be sure to read all instructions thoroughly before beginning and follow safety precautions closely! Don’t forget to wear goggles for extra protection.
Step 3. Measuring the Area
Using your measuring tape or ruler, measure how far apart you would like your lights hung in relation to one another (for optimal light coverage). Try to keep them at least 6 inches apart for even light coverage. It will also help to mark off the area with a pencil, marker, or a piece of tape – whatever suits your needs best.
Step 4. Installing the Hooks
Once you’ve decided where to hang your lights, it’s time to install the hooks or chains to secure them. You’ll want to be sure that they are securely attached and can hold up the weight of your lights without compromising any of the wires. If you’re using screws, be sure to pre-drill the holes with a drill or screwdriver before inserting them.
Step 5. Hanging Up Your Lights
Once you have all your hooks in place, it’s time to hang up your grow lights! Be sure to attach securely with caution, depending on how heavy the lights are – consider using an anchor if necessary for extra security. Be careful not to pull any of the wirings while attempting to hang the lights.
Step 6. Connecting Wires & Extending Cords (if necessary)
Once your lights are securely hung up, it’s time to connect the wires and extend cords if necessary. Be sure that any extensions you purchase are rated for outdoor use, as this will help ensure that they can withstand whatever weather comes your way. Additionally, make sure that all connections are secure and free of any fraying before connecting to a power source.
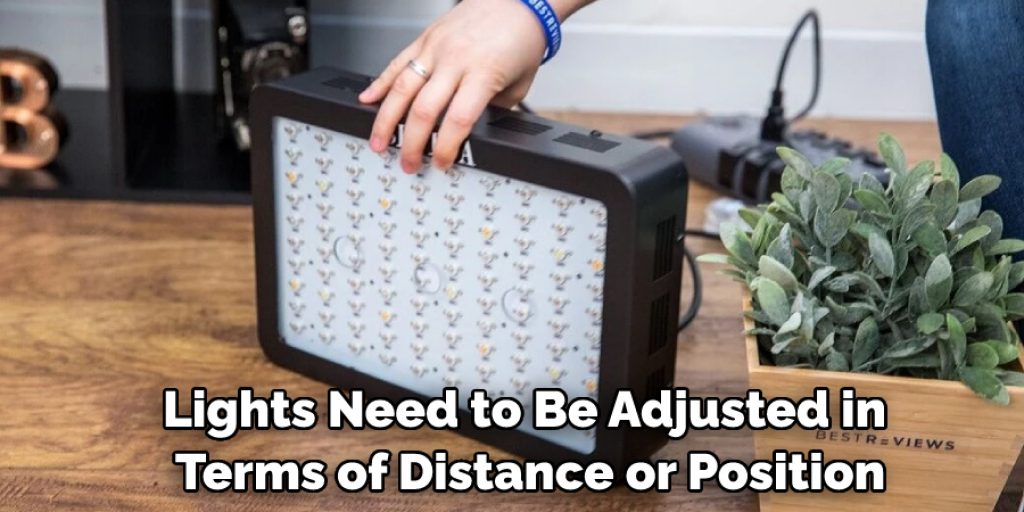
Step 7. Adjusting the Distance & Position of Lights
If you find that some of your lights need to be adjusted in terms of distance or position – now is the time to do so! Depending on how much control you have over their placement, make sure they are evenly distributed (so they can provide optimal light coverage) and at the right height (depending on what type of plants you’re growing).
Step 8. Turning Lights On & Testing Them Out
It’s finally time to turn your lights on and test them out! Be sure to leave the lights running for at least an hour or two before you call it quits so that you can observe if there are any issues. Otherwise, you should be good to start your growing process!
Step 9. Final Checks & Evaluations
Once all the tests have been carried out and everything looks good, it’s time to give your new setup a final check-up! Ensure that all wires are securely tucked away and out of harm’s way and that all connections are properly secured. Additionally, be sure to inspect (and replace, if necessary) any worn-out parts or tools used during the installation process.
Step 10. Enjoy Your New Lighting Setup
And that’s it! You’ve successfully installed your new grow lights, so now all you can do is sit back and enjoy the fruits of your labor. With these steps, you should be well on your way to enjoying a successful harvest and healthy plants!
By following these steps, you can easily hang your grow lights in no time! With the right setup and maintenance, you’ll be able to have a reliable source of light for your plants that will help them thrive.
5 Additional Tips and Tricks
- Get the right lightweight chain to hang your grow lights. Make sure that it is strong enough to hold the weight of your light fixtures without sagging or dropping too low.
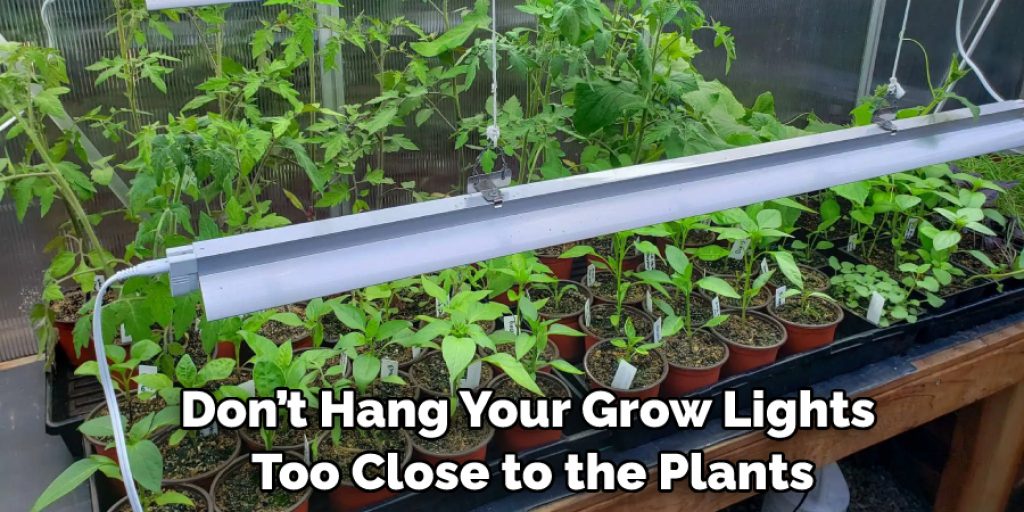
- Hang your grow lights at the appropriate height for the type of plants you are growing. Too close to the plants can cause them to burn, while too far away will prevent sufficient light from reaching them.
- Place your lights on a timer so that they turn off and on automatically at specific times of day, giving your plants their ideal amount of light exposure each day.
- Make sure to position multiple fixtures in order to spread out light evenly across all areas of your garden or hydroponic system.
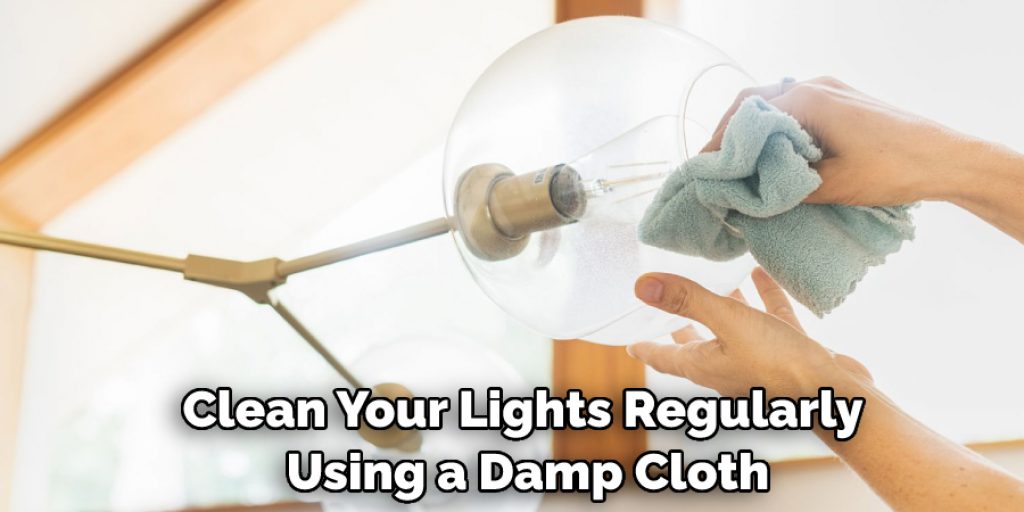
- Clean your lights regularly using a damp cloth and check cords and mounting equipment often to ensure they are secure and safe for use near water sources or in a moist environment.
With these tips, you’ll be able to easily hang your grow lights and ensure that your plants get the light they need. Have fun growing!
5 Things You Should Avoid
- Avoid using metal chains to hang your grow lights as they may be too heavy and cause the light fixture to sag or fall.
- Don’t hang your grow lights too close to the plants, as this can cause them to burn.
- Don’t place your lights in direct sunlight or any other source of heat for extended periods of time, as this can lead to overheating and damage.
- Avoid using extension cords with your lights, as these may not be able to handle the power
- needed for larger fixtures.
- Never leave any electrical equipment around open water sources or areas where moisture might be present, as this could be a safety hazard.
Following these tips will help you ensure that you are safely and properly hanging your grow lights to perform optimally and provide a great environment for healthy plant growth!
Is It Safe to Sit Under a Grow Light?
The short answer is that it depends on the type of light you choose and how close you are sitting to the fixture. If you choose a low-level heat emitting grow light, such as an LED or fluorescent bulb, it should be safe to sit under the light for extended periods.
However, if you have a high-intensity discharge (HID) light, it may be too hot for prolonged exposure. It’s best to keep your distance from HID lights and avoid direct contact with growing lamps. Refer to your owner’s manual or consult a professional for more safety tips regarding grow lights.
With these tips in mind, you can confidently hang your grow lights, knowing that they will provide the best environment for your plants to thrive!
Conclusion
All in all, hanging grow lights is an easy job that can give you a tremendous boost in green thumbing. After carefully mapping out your space, gathering the necessary tools, and properly suspending your lighting apparatus, you’ll be more than ready to tend to your beloved young plants confidently.
Quality LED grows lights can put your plants on the fast track toward thriving while saving electricity and increasing energy efficiency at the same time. Setting up this extra illumination may take a bit of time, but it’s well worth it when you see the impressive results- and it doesn’t have to be complicated or expensive, either!
Hopefully, the article on how to hang grow lights has been helpful in guiding you through this process. Enjoy your newfound green thumb! Happy growing!


