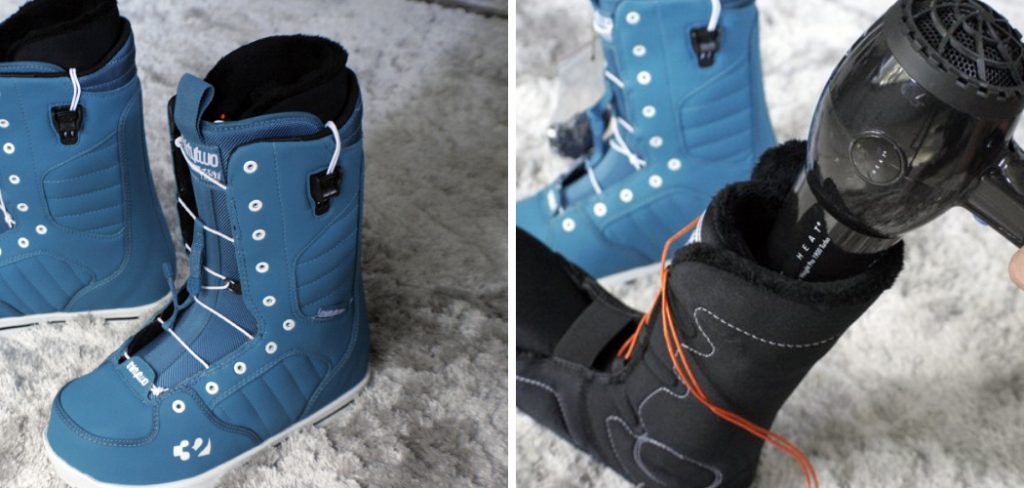
How to Heat Mold Snowboard Boots
Snowboard boots are designed to fit snugly and comfortably on your feet, but this can be difficult if you have a unique foot shape or size. Heat molding the snowboard boot allows it to achieve the best possible fit for your individual needs so that you can move around and perform better when riding. This process is quick and easy, so it’s worth taking the time to do it.
Heat molding snowboard boots can provide a much better fit than buying off-the-shelf. Heat molding your snowboard boots help to customize the boots, so they are tailored to individual feet, offering a more comfortable and supportive ride that is designed for you. Not only does heat molding offer more comfort, but it also offers increased performance and control. In this blog article, you can find step-by-step instructions on how to heat mold snowboard boots.
Materials You Will Need
- A heat gun
- Protective gloves
- Timer
- Boot liners
- Snowboard boots
- A paperclip to keep the boot tongue open while heating
- A cloth or towel to protect the footbed of your snowboard boots from the heat gun.
- Heat moldable foam inserts
- Optional: a boot heat molding machine
- Optional: boot baking oven (recommended for high-end boots)
Step-by-step Instructions for How to Heat Mold Snowboard Boots
Step 1: Inspect the Boots
Before attempting to heat mold your boots, inspect them closely for any defects. Look for cracks, worn-out laces, or other signs of wear. If you find anything that looks like it needs to be repaired, do not proceed with the heat molding process until it is fixed.
Step 2: Prepare the Boots
Once you have inspected the boots, prepare them for the heat molding process. Make sure that your boots are clean and dry before you begin. If necessary, wipe down the inside of the boot with a damp cloth to remove any dirt or residue. Preheat your oven to a temperature between 250°F and 350°F (121°C and 177°C). It is important that you do not exceed the recommended temperatures, as doing so could damage your boots.
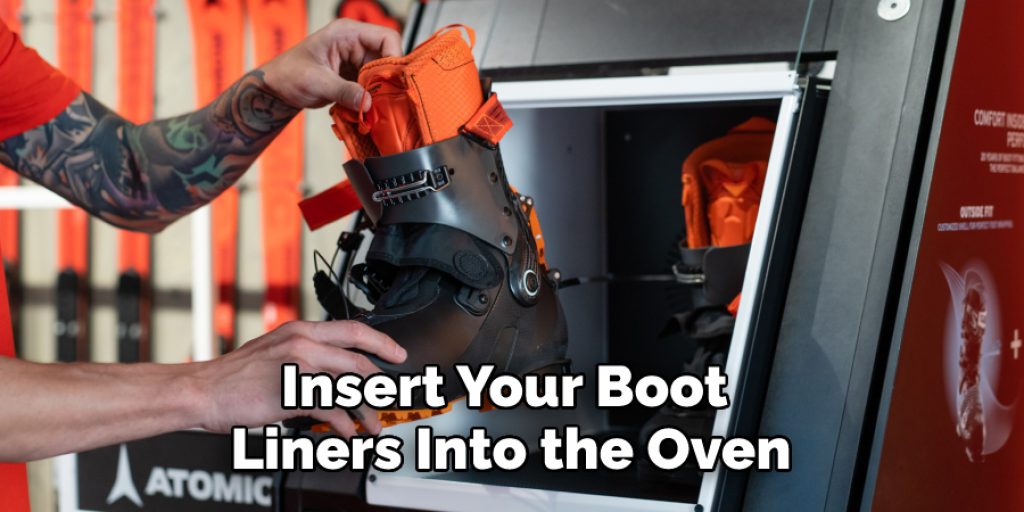
Step 3: Insert the Boot Liners into the Oven
Once the oven has finished preheating, carefully insert your boot liners into the oven. Make sure to place them on the center rack and keep them far away from the oven’s walls to avoid any heat damage. Close the oven door and let your boot liners heat up for 10 minutes. Monitor your boots closely during this time, as they should not be left in too long, or it could cause permanent damage to the liner.
Step 4: Remove the Boot Liners from the Oven
After 10 minutes, carefully remove your boot liners from the oven and set them aside safely. Be sure to use an oven mitt or other protective clothing when handling hot surfaces. Place your feet into the heated boot liners and lace them up. Make sure to position your foot in a comfortable and relaxed manner, as this will ensure that the heat molding process is effective.
Step 5: Wear the Boot Liners for 15 Minutes
Once you have laced up the boot liners, wear them for 15 minutes. This will allow the heat to mold your feet, creating a custom fit that is designed for you and your specific needs. After wearing the boot liners for 15 minutes, take them off and let them cool down. It is important that you do not try to remove the boot liners while they are still hot, as this could cause skin burns.
Step 6: Repeat the Process
Once your boot liners have cooled down, you can repeat the heat molding process if necessary. Be sure to only heat up your boot liners for 10 minutes per session and take breaks between sessions so your feet can cool down. Following these steps will ensure that you have the best possible heat molding experience and help to create a custom fit for your snowboard boots.
Safety Tips for How to Heat Mold Snowboard Boots
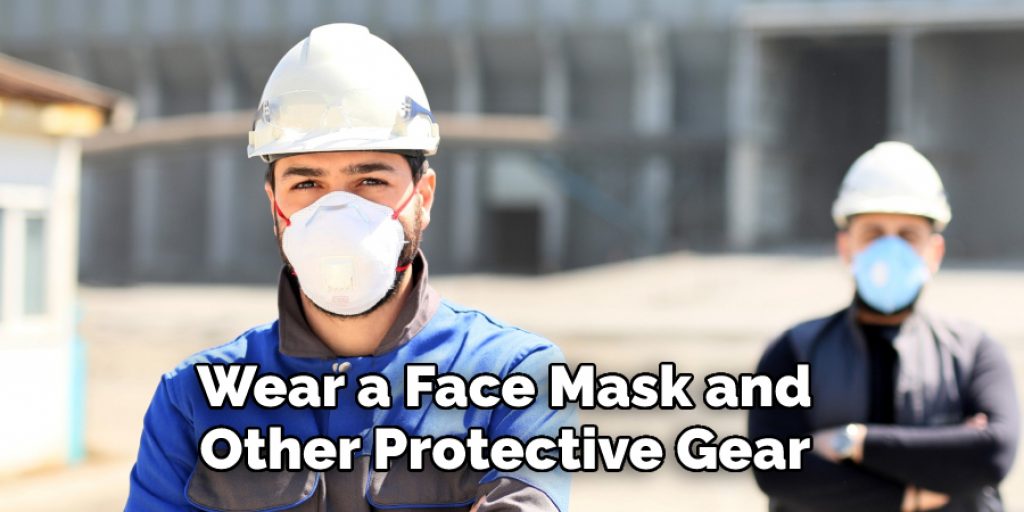
- Wear a face mask and other protective gear when heating the boots to avoid inhaling any fumes or chemicals.
- Ensure your area is well-ventilated to prevent any potential health risks associated with heat molding snowboard boots.
- Check the oven’s temperature before turning it on and adjust it according to the manufacturer’s instructions.
- Place the boots in the oven and set a timer for the recommended amount of time, usually 5-10 minutes.
- When the timer goes off, carefully remove the boots from the oven with heat-resistant gloves or an oven mitt.
- Once removed, immediately place your feet in the boots and lace them up.
- Allow the boots to cool down with your feet still inside before taking them off.
Following these safety tips can help ensure that you heat mold your snowboard boots safely and successfully.
How Long Should the Heating Process Take?
The amount of time required to heat mold snowboard boots typically depends on the specific type and brand of boot you are using. Generally, it takes about 10-15 minutes for a boot to warm up enough for molding.
Once the boots have heated up, you should leave them in the oven for an additional 5-10 minutes to ensure that the material has softened enough for shaping. After this time, it is important to take extra caution when removing them from the oven as they can become very hot.
Once the boots have been removed from the oven, you should quickly and carefully put them on and begin molding. The amount of time needed to shape your snowboard boots will vary depending on how comfortable you need them to be. On average, the boot takes around 30 minutes to cool and harden in the shape you desire.
How Often Should You Heat Mold Your Snowboard Boots?
Ideally, you should heat mold your snowboard boots every three to four months or whenever the fit feels uncomfortable or loose. This will help restore the comfort of the boot, as well as the boot’s proper shape, size, and structure.
It is also recommended to heat mold your snowboard boots before every major season to ensure they are ready for all the riding that you’ll be doing. From jumps and tricks to backcountry runs, having comfortable and properly fitted snowboard boots will make all the difference in your riding experience.
Molding your boots with heat is essential to ensuring comfort and support during your snowboarding activities. So, make sure to keep up with regular heating and molding to get the best performance out of your gear.

How Do You Clean and Store Your Heated and Molded Snowboard Boots?
Once your snowboard boots are heated and molded, it’s important to know how to care for them properly. Before putting them away, make sure they are completely cooled down by leaving them out in a cool, dry area.
You should also give the boots a good cleaning using a damp cloth and mild soap to help remove any dirt or residue that may have been left behind from the heat molding process. Make sure to pay special attention to the liners and laces of your boots, as moisture will most affect them.
When it comes time to store your heated and molded snowboard boots, make sure to keep them in a cool, dry place, away from any direct sunlight. This will help prolong the life of the boots and keep them in their best condition while they’re not being used.
By cleaning and storing your heated and molded snowboard boots properly, you can ensure that they last for many years to come. With proper care and maintenance, you can enjoy the comfort and performance of your snowboard boots for years to come.
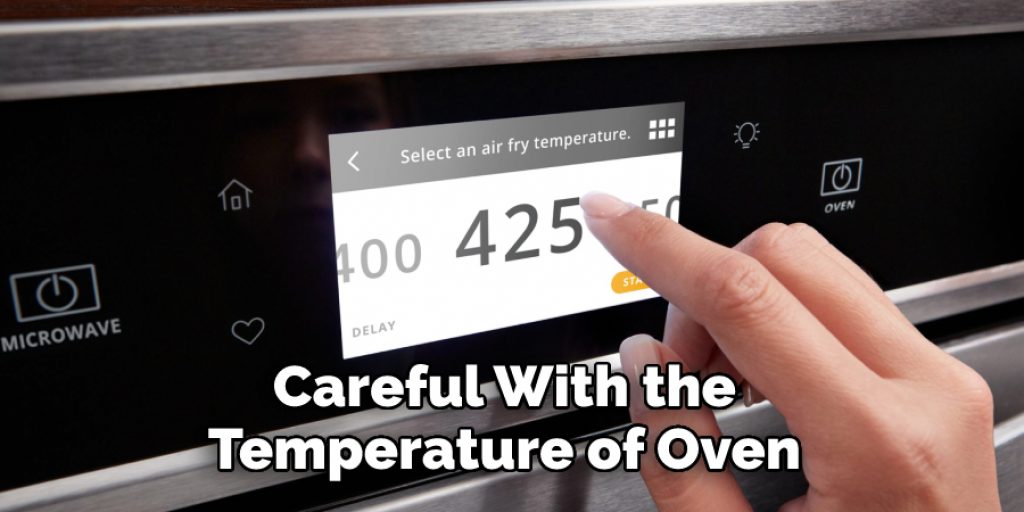
How Should You Adjust the Temperature of the Oven While Heat Molding Your Boots?
It is important to be careful with the temperature of your oven while heat molding your boots. Too much heat and you risk damaging the material; too little and it will not form properly. Generally, you should set the temperature between 170–175°F (77–79°C). You can also experiment with slightly higher temperatures if needed.
When the boots have been in the oven for a few minutes and have softened, remove them with an oven mitt and put them on your feet. The material should be flexible enough to allow you to walk around while they are still warm. You may need to adjust the temperature of the oven if you find that the boots are too stiff or too soft.
Once the boots have cooled and taken the shape of your feet, you can let them cool completely before using them to snowboard. Heat molding is a great way to create a more comfortable and customized fit for your boots. With this method, you’ll be able to get out on the slopes with greater ease and confidence.
Are There Any Special Techniques That You Need to Use When Heat Molding Your Snowboard Boots?
Yes, there are a few special techniques that you should use when heat molding your snowboard boots. First and foremost, it is important to ensure that the boot fits comfortably before heat molding.
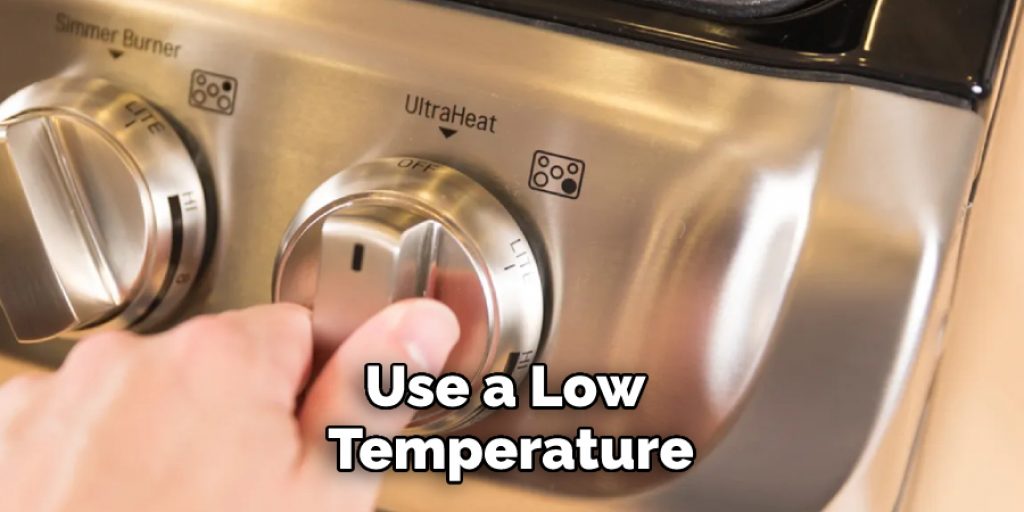
If the boot is too tight or loose, it will not provide an optimal fit after the process. Secondly, when heating the boots, it is important not to overheat them as this can cause serious damage. It is best to use a low temperature that gradually rises so that the boot can gradually become more malleable without causing any harm.
Additionally, removing the boots from the heat source is important before they become too soft. Otherwise, they will be difficult to shape and may not retain their shape. Lastly, it is important to ensure that the boots are heated evenly and carefully to fit properly when the heat molding process is complete. Following these tips will help you get the perfect fit for your snowboard boots.
Conclusion
The main disadvantage of heat molding snowboard boots is that if the temperature gets too high, it can damage the boot material or cause irreparable injury to your feet. It also takes a bit of practice and time to shape and form the boots for a perfect fit properly. Additionally, heated boots may not be as comfortable or durable as boots that have been properly fitted to your feet by a professional.
In conclusion, heat molding your snowboard boots is a great way to ensure a comfortable, custom fit. Make sure you know the right temperature and form your boots before proceeding with the process. You should also take extra safety precautions, such as wearing gloves and protective eyewear. I hope reading this post has helped you learn how to heat mold snowboard boots. Make sure the safety precautions are carried out in the order listed.
Angela Ervin
Angela is the executive editor of DIY quickly. She began her career as an interior designer before applying her strategic and creative passion to lifestyle and home. She has close to 15 years of experience in creative writing and online content strategy for housekeeping, home decorations as well as other niche efforts. She loves her job and has the privilege of working with an extraordinary team. She lives with her husband, two sons, and daughter in Petersburg. When she's not busy working she spent time with her family.