
How to Build Support for Wall Oven
Construct supports for the wall oven can differ due to the scale of the appliance; in addition to this, certain fundamentals are the same in each wall oven storage. They have very above and just below oven storage capacity, which could be modified to form components. The wall-oven support is 30-inch broad in the step-by-step procedures described beneath whereby the customer may adjust as needed.
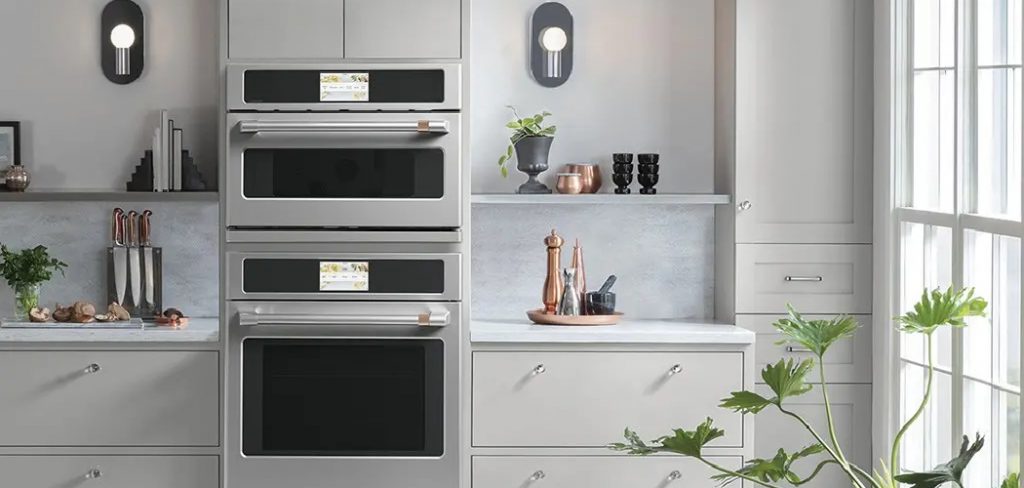
A wall oven is commonly constructed to work inside a small number of measurements of the unit. That is why it is necessary to track the entrance of the panel and correlate it to the oven measurements in the supporting documents. In certain instances, the opening might have to be widened. The upper is room for cabinet storage with additional gates. The base is a panel with a drawer. Our oven is held in the center.
The height of an oven determines the thickness of the middle rail. Another means of achieving the most value from an appliance is by making another built in a cabinet. Construction of a wall oven cabinet will depend on the size of the oven, but some essentials are accurate per each wall oven panel, which is constructed. They both have a processing room along with each oven and could be modified to the needs of the customer.
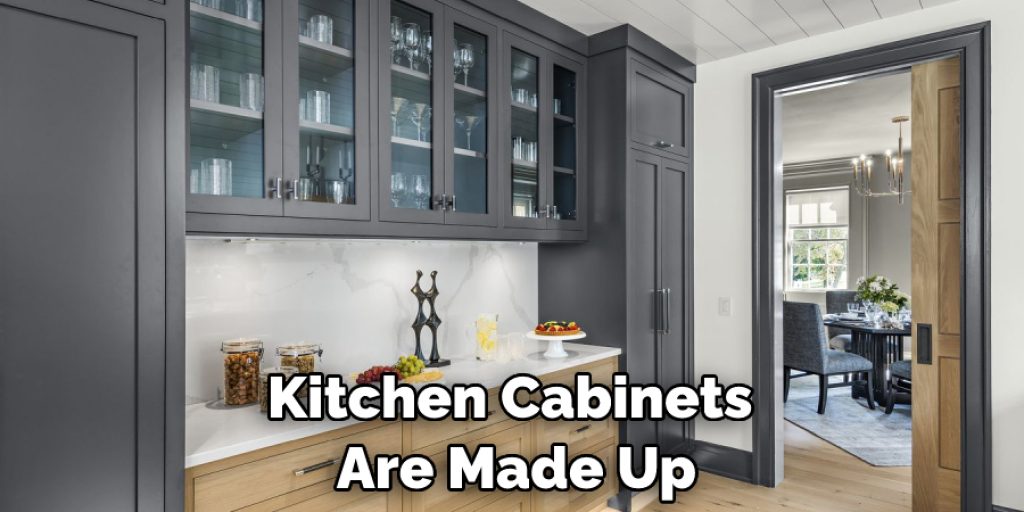
Many kitchen cabinets are made up of four or five-lined shelves with a faceplate. Accessories portion of the case is your preference. Nails, threaded inserts, screwdriver for the pocket. All these techniques I’ve used but the pocket fasteners are quick and keep quite well. Faster is an excellent thing in the life of having to work timber production.
Instructions
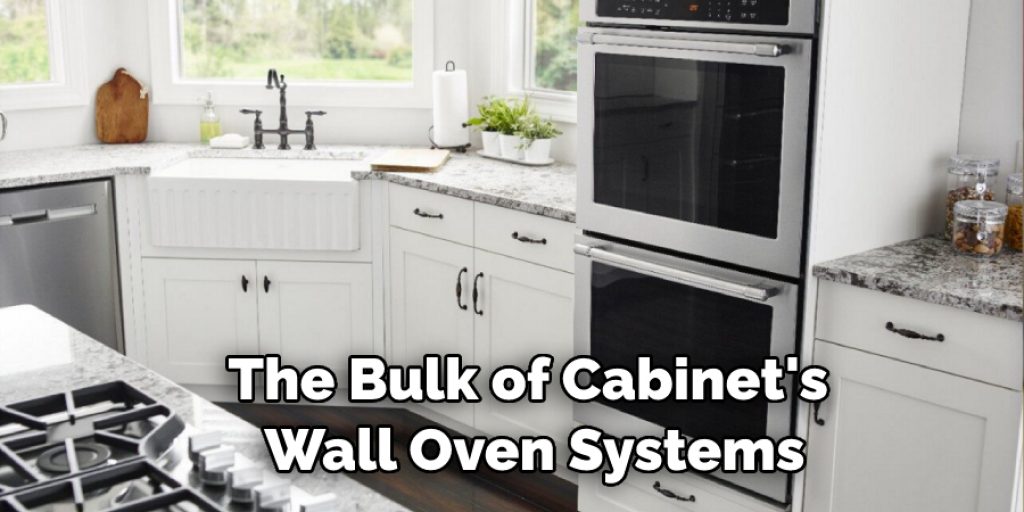
- The bulk of cabinet’s wall oven systems weigh 36 in comprehensive to the exterior breadth and 84 in long.
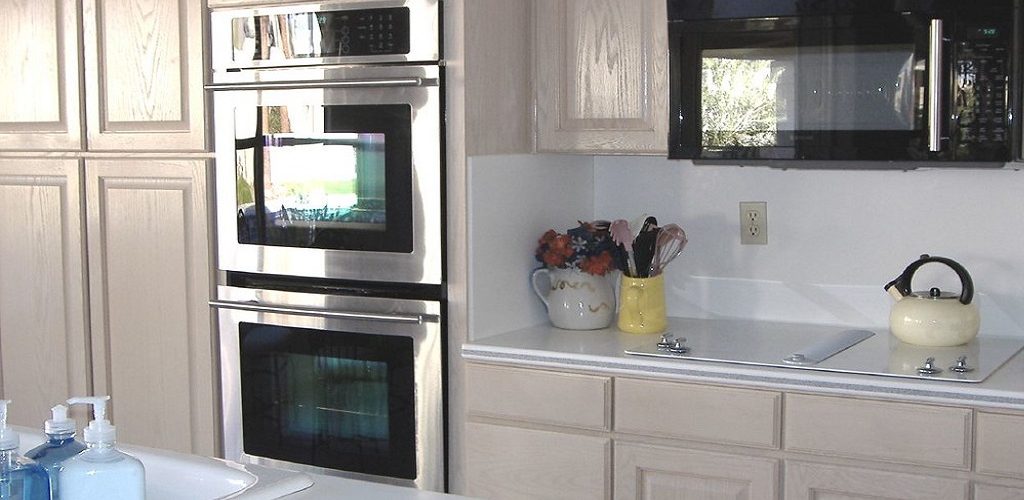
- Wall oven installations are height-varying, so test the cut sheet manufacturers. Look out for electric and package positions!!
- Using whatever fits the perfect surface for you. I prefer plywood with maple as it stains and coats well. Below is a Construct illustration.
- Begin the process with the two 84 in end panels positioned on the work surface. Begin counting from one side and create a label on around 4 inches as well. For the perpendicular party, recreate this. Position the framework squared on the lines, then create the intersecting sections.
- It would, in effect, end in a 4-inch area for one of the solid wood edges. From the other portion, repeat the same procedure and then split the pieces with the support of skill saw.
- Implement the adhesive to the location of behind slits, and then use the container nails to safeguard the four by 19-inch parts. Use a wet towel to wipe up some extra adhesive.
- Now draw the measurement from the plywood’s topside, and then create points at 28 and 73. Place the shaping squares on the ends, and put a distinction around the finish board size. The reader should label an X on the right-hand side of the row that will serve to demonstrate where the racks should be set up.
- Using drywall hooks, add the adhesive to several of the longer sides of the shelf bases and connect them with two of the 23-by-28 racks. Such two racks are, in fact, the cabinets in the middle. Using the finished nails to add the adhesive onto the 23-inch sides of the shelves, place them on the rows and protect the finish boards.
- Now turn over the wall-oven cupboard in a manner, so the toe-kick clip faces in a downward motion. Implement the adhesive to the corners, position the 30 by 80 inches plywood on the cupboard and fasten this with the support of container nails. Side kitchen cupboards are your isolated, darker, and perhaps most distant kitchen room.
- It is not where far-used, far-appreciated coffee cups or China is to be found. It’s in which you can discover seaside products from years earlier, instead.
- It is the angle of the dreaded blind cupboard. It’s discovered in both homes and shower rooms — somewhere with cabinets and kitchens since that’s where shelves reach edges.
- Place the two side face plate sections on the level surface and leave the longer sides adjoining. Count in one hand, so create a 28 to 73 inches label. Then put the framework squared correctly on the labels, and put a distinction over the two pieces breadth. Now implement adhesive onto the lower part rail end corners and also on several of the straight lines. Place the 1-by-2 at the very base of the unit, and is the toe-kick point and even at the near outer end. Use corrugated connectors to protect the parts. Quickly clear some of the extra adhesives with a wet towel.
- The adhesive is spread on the finish ends of the existing poles, then put on the outlines marked in the initiation phase. Use corrugated clamps to repair them.
- Flip the oven-cabinet wall over anyway, so the toe kick faces up on either side. Extend the adhesive to the toe-kick clip side, put the four by 30 inches plywood over it, and afterward fasten it with the finishing nails. Use absolute best drywall bolts to place the four by 4 inches block straight behind the toe kick and protect it with the lower part of the back shelf. No puncturing into the edge of the back rack is appropriate. Continue driving in the block two end nails into toe kick.
After this, implement the adhesive towards the front corners of the wall oven cupboard and put the face screen thereon. You are using finishing nails to connect the framework to the panel. Position all of the points of the screw, and cover the gaps with the putty of timber. For Single Oven Microwave panel, this cabinet is designed for a single oven and distinct oven component constructed in.
The specified rail and rack generate a dividing wall between both the two structures. If you’d like to detach the middle fixed railing and shelves and build a wide gap between the top and lower shelves, this unit may also be included in a combined microwave device. The benefit of this is that underneath you have a bigger closet, and much less room lost.
You may read also – How To Modify Wall Oven Cabinet


