
How to Hook Up a Inverter
Inverters are devices that convert DC power to AC power. This makes them an essential piece of equipment for anyone who wants to use solar energy to power their home or business. This article will show you how to hook up a inverter and get it up and running. We’ll also provide tips on choosing the right inverter for your needs. So, whether you’re just getting started with solar power or looking for a new inverter, read on for all the info you need!
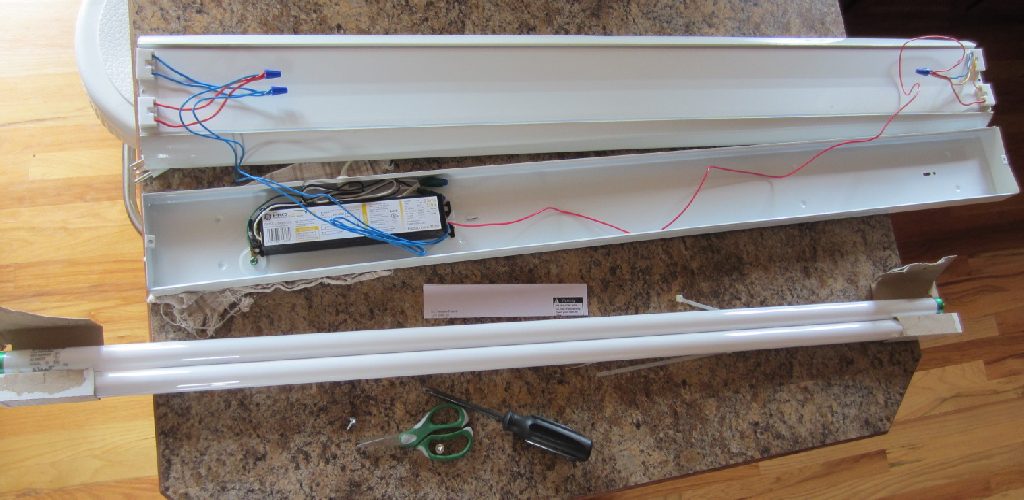
Things You’ll Need:
To hook up an inverter, you’ll need a few basic pieces of equipment. You’ll need an inverter, of course, a battery bank and some cables. You’ll also need a charge controller to keep your battery bank charged up. And lastly, you’ll need some solar panels to generate the electricity to run your inverter. So, before you get started, make sure you have all of these things on hand!
How to Hook Up a Inverter Step by Step Guide
Step 1: Place The Power Inverter:
The first step is to place the power inverter. The inverter should be placed near the battery, close to where you will be running your appliances from.
Be sure to allow some space between the inverter and the battery. This will ensure that the inverter can properly cool down.
Do not attach the inverter to the battery. Step 3 will show you how to connect the inverter to the battery properly.
Step 2: Tackle The Fuse:
The next step is to tackle the fuse. This is a crucial step, as it protects your inverter and home from any potential damage in the event of an overload. Locate the fuse box in your home and identify the fuse that corresponds with your inverter.
Once you’ve located the fuse, remove it and replace it with one that has a higher amperage rating. For example, if your inverter is rated for a 10 amp fuse, you would want to replace it with a 20 or 30 amp fuse. Again, consult your inverter’s owner’s manual for the correct amperage rating.
Step 3: Connect The Battery Cables:
The next step is to connect the battery cables. One cable will go from the battery’s positive terminal to the inverter’s positive terminal. The other cable will go from the battery’s negative terminal to the inverter’s negative terminal.
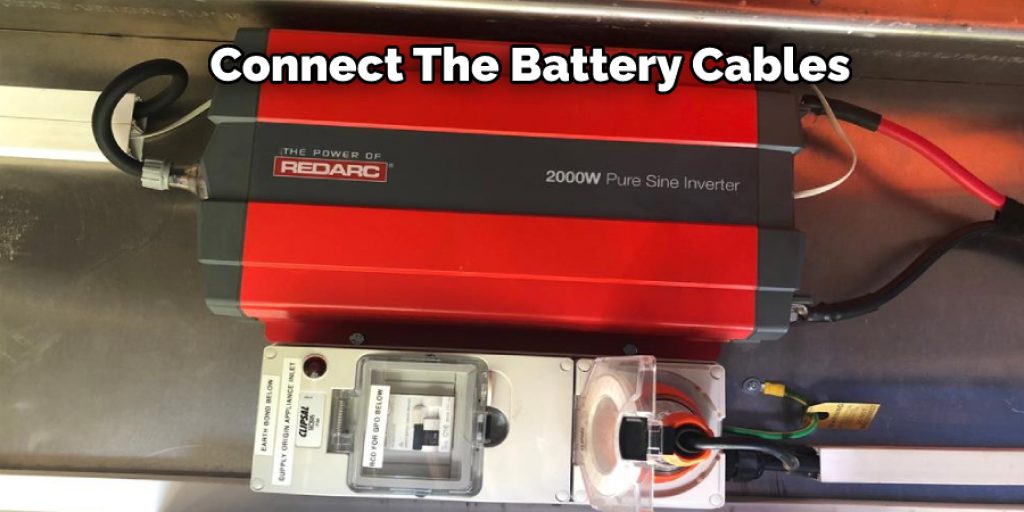
It’s important to make sure that these cables are correctly connected, or else you could damage your equipment. Be sure to follow the manufacturer’s instructions to connect the wires.
Step 4: Recheck Your Connections
Now that you have everything hooked up, it’s time to test your work. First, turn on the inverter and make sure there is power coming through your devices; if everything is working properly congratulations! You’ve successfully hooked up an inverter. If not, troubleshoot the problem and try again.
It’s also good to check your connections periodically, especially if you’re using a heavy-duty inverter. Ensure the wires aren’t loose and that the connections are still tight. This will help ensure that your inverter stays in good working order and that you don’t lose power.
Step 5: Complete the Installation:
Now that the inverter is connected, you’ll want to complete the installation by mounting it to something sturdy. In most cases, it’s best to use a metal bracket to hold the inverter in place. But, again, be sure to follow the instructions with your inverter for proper installation.
Once the inverter is installed and connected, you’re ready to start using it! Just plug your devices into the inverter’s outlet, and you’ll be good to go if you want to know more about how to hook up a inverter, keep reading.
How to Install a Car Power Inverter
A car power inverter is a device that allows you to convert the DC power from your car battery into AC power. This can be useful for powering appliances or charging devices while on the go.
There are some major considerations when hooking up a car power inverter:
Portable device power requirements:
When choosing a car power inverter, it’s important to consider the power requirements of your devices. Some inverters are more powerful than others, so you’ll need to make sure that the inverter you choose can handle the wattage of your devices.
Most appliances have a wattage rating listed on the label. You can find this by multiplying the voltage (V) by the amperage (A). This will give you the wattage (W) of the appliance.
For example, if an appliance has a voltage rating of 110V and an amperage rating of .5A, then the wattage rating for that appliance would be 55W (110V x .5A = 55W).
Inverter installation locations:
There are a few different places you can install a car power inverter. Some people choose to install the inverter in the trunk of their car, while others choose to install it under the hood.
If you choose to install the inverter in the trunk, ensure plenty of ventilation. You don’t want the inverter to overheat.
If you choose to install the inverter under the hood, make sure that it is in a safe location and will not come into contact with any moving parts.
Power inverter wiring issues:
If You Are Having Problems With Your Power Inverter, There Are a Few Things You Can Check:
- Make sure the inverter is properly plugged into the car battery.
- Make sure the inverter is properly grounded.
- Make sure the wires from the inverter are properly connected to the appliance or device you are trying to power.
- Make sure the wattage rating of the appliance or device you are trying to power is within the limits of the inverter.
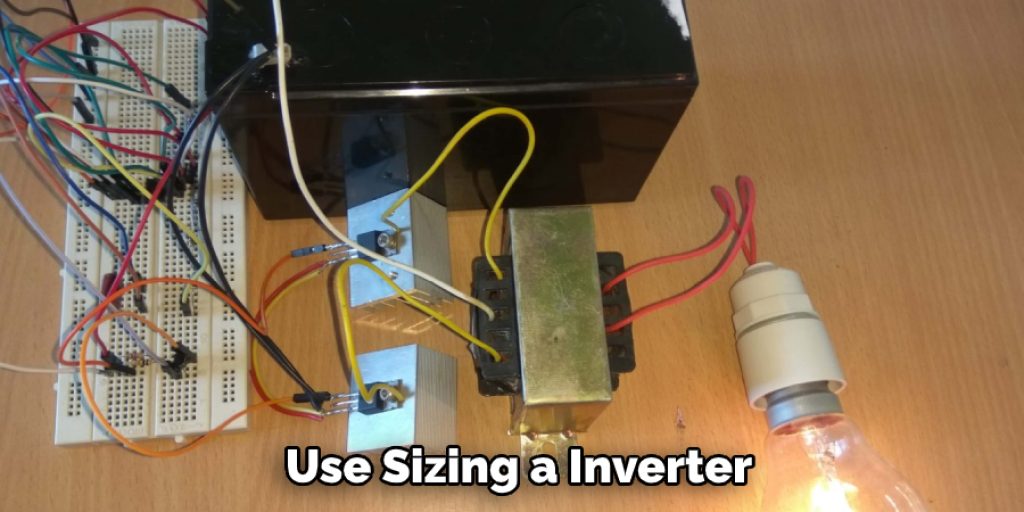
Power Requirements vs. Alternator Output:
When sizing an inverter, it is important to know the power requirements of the equipment being powered and the alternator’s output. The power requirements of the powered equipment should always be greater than the alternator’s output. This will ensure that the inverter does not overload the alternator and that the equipment will be properly powered.
Portable Device Power Requirements:
Portable device power requirements can vary depending on the device. However, most portable devices require between 12 and 18 volts of direct current (DC). To determine how much power is needed, multiply the voltage by the amperage. This will give you the wattage required for your portable device.
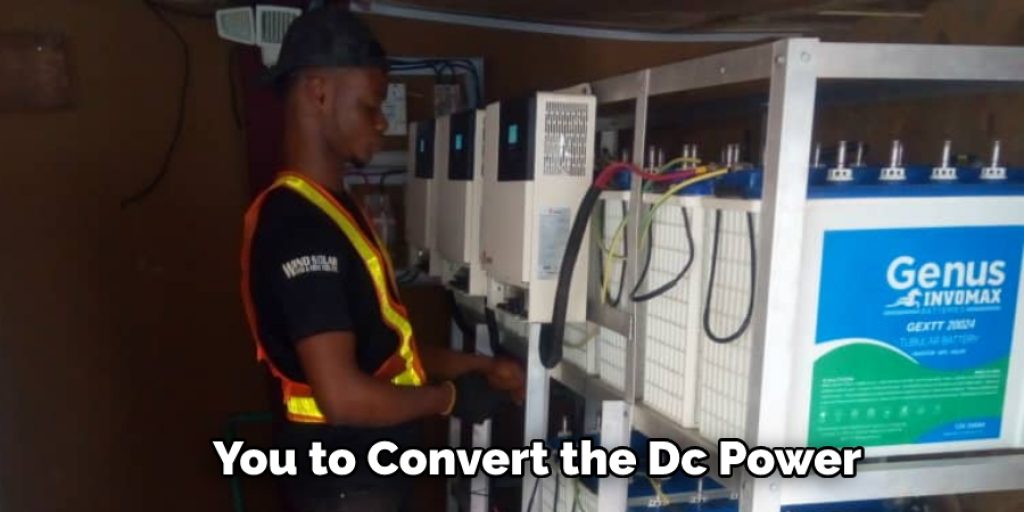
Alternator Output and Power Inverters:
The alternator’s job is to produce an electrical current for the battery to run the accessories and charge the battery. The power inverter takes the 12-volt direct current (DC) from the battery and converts it into a 120-volt alternating current (AC). This will allow you to run standard household appliances off your vehicle’s battery.
Car Inverter Locations:
If you are using a car inverter, it is best to have it close to the battery. The closer the inverter is to the battery, the less load will be placed on the battery. This will help to extend the life of your battery.
Temporary Car Inverter Installation:
If you are using a car inverter for the first time, it is best to read the manufacturer’s instructions carefully. Most car inverters come with instructions that will guide you through the installation process.
Generally, the installation process will involve connecting the inverter to the battery and then running some cables from the inverter to the devices you want to power. The cables can be run through the car’s interior or exterior, depending on your preference.
Once everything is connected, you can test the inverter by turning on the devices connected to it. If everything is working correctly, you should see a change in the amount of power used by those devices.
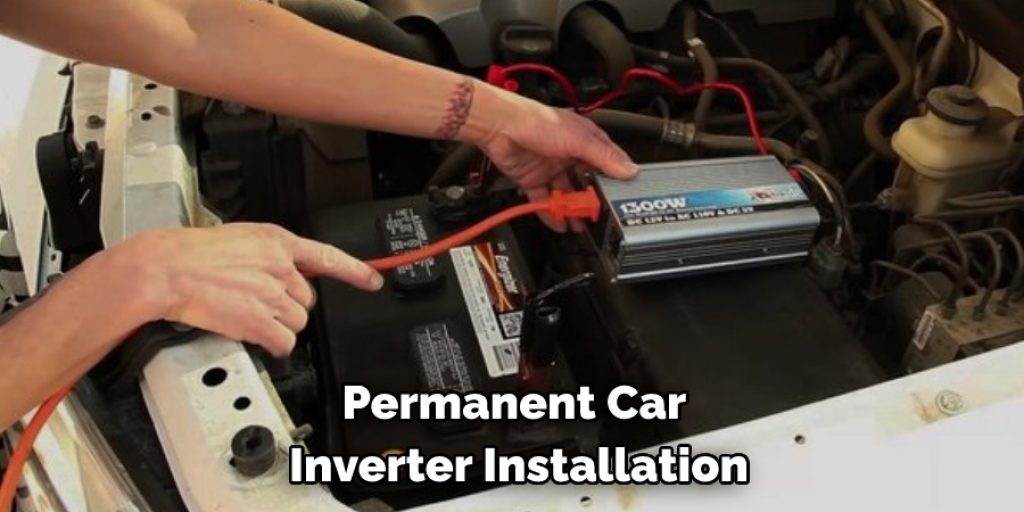
Permanent Car Inverter Installation: In-Line Fuse:
To install a permanent car inverter, you will need to install an in-line fuse. This will protect your car’s electrical system from an inverter failure.
Permanent Car Inverter Installation: Fuse Box:
If you are installing a permanent car inverter, the next step is to connect it to the fuse box. The inverter will need its fuse, which should be a minimum of 10 amps. Locate the fuse box and find an empty slot that can accommodate a 10 amp fuse.
If there is no empty slot, you will need to replace an existing fuse with a larger one. Once you have found an empty slot or replaced an existing fuse, insert the 10 amp fuse into the slot and close the cover of the fuse box. Keep reading for more information about how to hook up a inverter.
Frequently Asked Question
Can I Connect an Inverter Directly to A Battery?
Yes, you can connect an inverter directly to a battery.
Do I Need a Fuse Between Battery and Inverter?
Depending on the inverter’s maximum current rating, you may need a fuse between the battery and the inverter.
What Size Inverter Do I Need?
What size inverter do you need? First, you’ll need to find an inverter with a rating equal to or greater than the wattage of your devices.
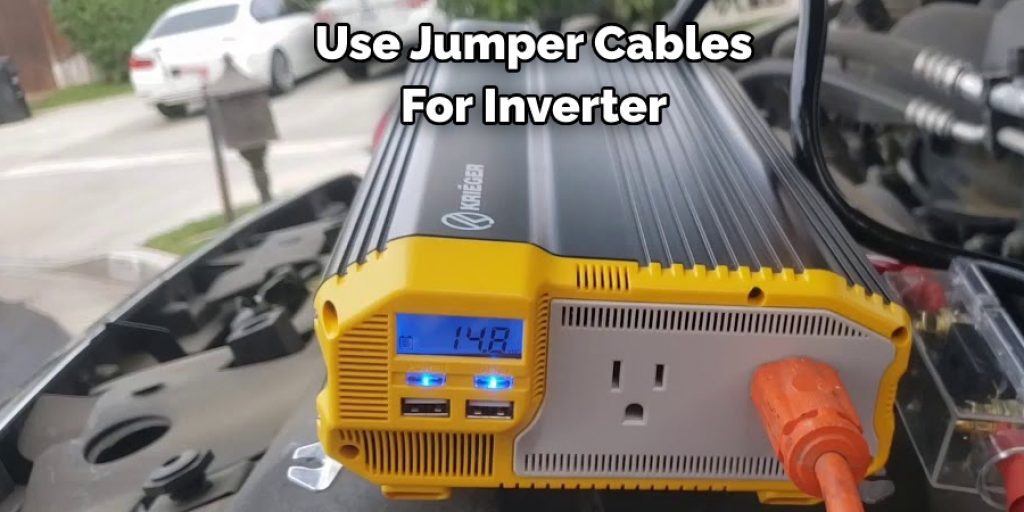
Can I Use Jumper Cables for Inverter?
Yes, you can use jumper cables for an inverter.
Concluding
So, there you have it! The basics of hooking up an inverter. Remember to always consult with a professional before beginning any electrical project and take all necessary safety precautions when working with electricity. Have fun and be safe out there! Thanks for reading our post about how to hook up a inverter.
You can check it out to Hook up A Bose Soundbar


