How to Make Your Own Crochet Labels
Introduction:
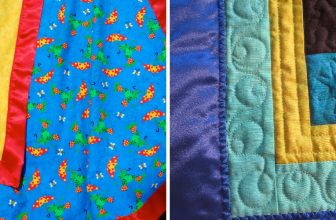
The crochet labels can give your fabric works a new identity, so you should learn how to make your own crochet labels at home if you used to sell your homemade fabric items.
You can obviously order them from online stores and customize them as you want, but that will cost you some money. Don’t worry; I will show you some simple techniques in this article with which you can make your own crochet labels easily. So, without any delay, let’s dive in.
Required Materials:
- A printer (with ink)
- Paper
- Scissors, a ruler, and a glue stick. Optional materials:
- Ruler for cutting paper strips or fabric into rectangles to use as labels.
- Needle and thread for sewing the labels onto your projects.
Processes on How To Make Your Own Crochet Labels:
Process One
First, decide how big you want your labels to be. The most common size is around three inches wide by two or three inches tall (depending on the type of project with these labels).
However, if you are making a label for a hat and only need to fit in one inch, go ahead with this smaller measurement. Next, cut out strips of paper or fabric about an eighth inch wider than the desired width of your finished product.
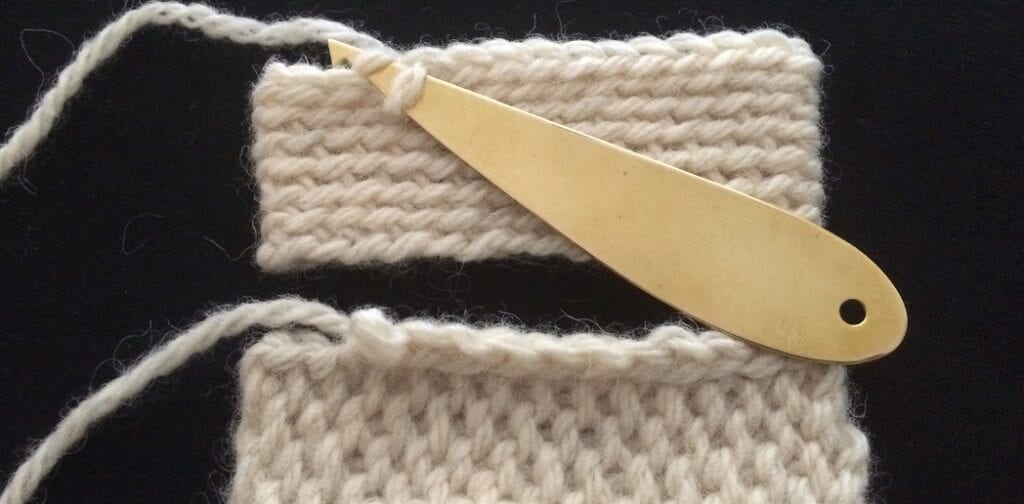
Next, fold each strip of fabric in half lengthwise so that they measure twice as long as what you would like them to be when unfolded later on; pin into place at either end so they won’t unfold themselves while working. Now take scissors and snip the top edge off of the fabric, and then unfold.
It’s time to put all of your creativity into this step! Pick up a piece of scrap paper or use the backside of a sheet from one side of plain printer paper (the white part), and draw out what you would like as an idea for each label design.
Take that finished sketch with you when heading to the craft store so it will be easier for you to find matching items in their respective departments.
Check it out to learn – How to Start a Crochet Business
Process Two
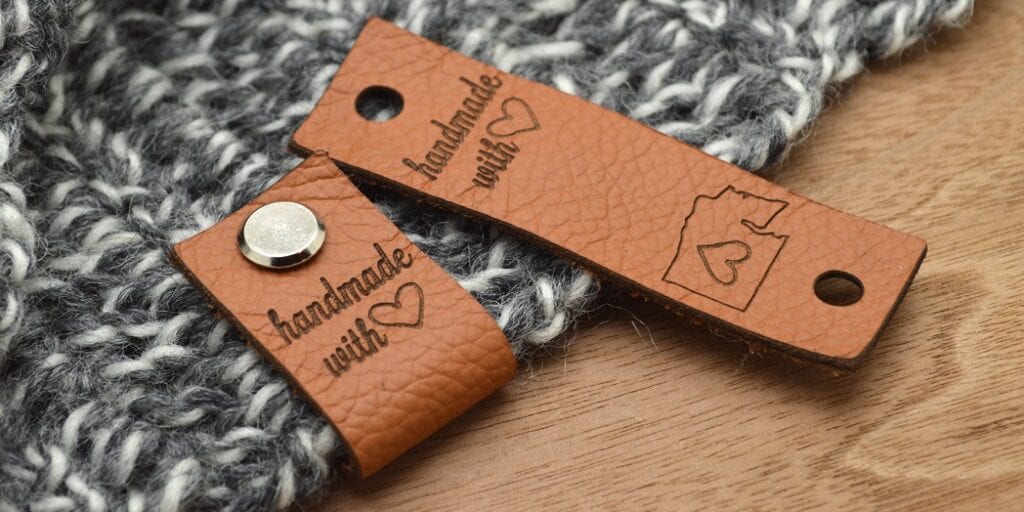
For this project, you are gonna need some stamps. You can buy them from Amazon; they are not pricey and can be used for a long time. I also have a mallet and want to use X’s and O’s because XOXO will determine my products.
I have taken a leather strap and then held the X on the leather, ensuring they are straight and even. Then I start using the mallet and hit stamp with it. Once I use the X, I will put O next to it. You have to follow the process based on the name that you want to put. Okay, now I have completed my XOXO pattern.
Next, I will cut the leather nice and straight and the equal sides. Make sure to trim the corners too. After that, I will use the leather punch with the smallest setting and punch holes into my leather label. That’s it; the leather label is ready. Sew the label with your crafts and enable them with their original identity.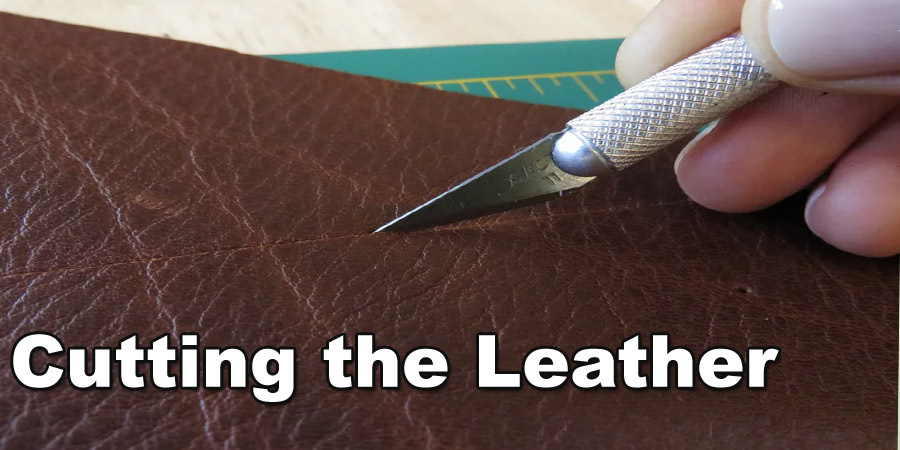
Precautions:
- Crochet labels must be washed and dried before they are applied to a piece of clothing. This will remove excess sizing on the label for ease of application and any residue from the manufacturing process or storage methods.
- Always put your hand through loops when removing crochet labels to avoid damaging them – they can get caught on other parts of clothing during removal if you pull at one corner.
- When sewing new edges into the crocheted fabric, always use nylon thread because cotton threads would unravel over time due to their natural tendency to shrink with wear (called pilling).
You Can Check It Out To Make Holes in Fabric for Crochet Edging
What Are The Uses of Crochet Labels?
One of the most popular and practical uses for crochet labels is to mark your items with their size. This way, when you’re trying on clothes in a store, it’s easy to find something that fits without having to try everything on!
Crochet labels are also good for labeling personal belongings like books or movies. You can write down what each thing is and any other information you might want, such as who gave the item or where it was purchased.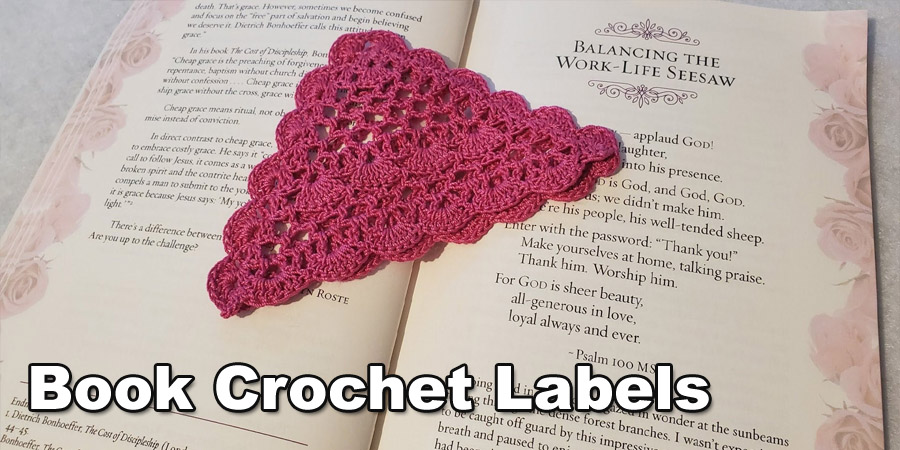
When all of those details are written out clearly, even if someone else picks up one of your things by mistake, they’ll know not to take it because there will be no guesses about whether this belongs to them.
Conclusion:
We have come to the last section of our article, and we hope that the processes we have stated here will help you choose the best one for your crochet label. Thank you, and have a good day.
You may read also –
Nancy Behan
Nancy is an embroidery artist, fashion blogger and a full time editor at DIY quickly. Nancy edits the fashion section on DIY quickly, focusing on the embroidery and cross stitch articles, alongside with fabric and other costume design elements. She graduated from the University of Michigan with a Bachelor of Arts in Art History. She loves to work on her own projects, read books and watch romantic movies in her spare time.