How to Install a Built-In Grill
Introduction
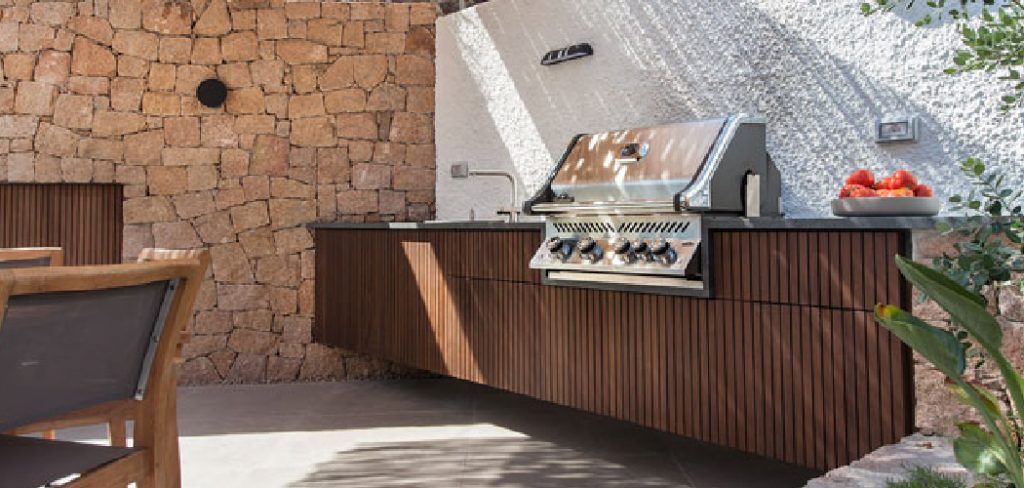
Most of us like to have a backyard grill party at the weekends. This is an excellent way to interact with the neighbors and have an amicable relationship with friends and family. But sometimes, when a new set of grill machines is bought, it gets tough for the person to install it. For this reason, today, we will show you a straightforward process of installing a built grill, this will be much beneficial for beginners, and the installation will also be sturdy.
Procedure
Installing a backyard grill can be a simple process if you follow some basic steps. First, consult the grill’s instruction manual to familiarize yourself with the process. Next, gather the necessary tools and materials. Finally, follow the instructions carefully to complete the installation.
• Step One
At first, you need to open the box and check the equipment. The company will provide many things for the installation of the grill set. There will be adhesive, then gloves. You will also get an instruction manual. The company will also provide the necessary anchors. There will be a vented box and pre-cut pieces. The person’s essential duty is to read the instruction manual properly before starting the work and check all the accessories
.• Step Two
Once you have checked all these, you shall start working. At first, you have to prepare the base for the installation. Then you have to place the stone around the frame. Then you have to install the grill structure that the company has provided. You must attach the frame of the frill to the stones at the base using a strong adhesive. The adhesive should be used for all the layers consecutively, and you must ensure that the layers are appropriately aligned.
• Step Three
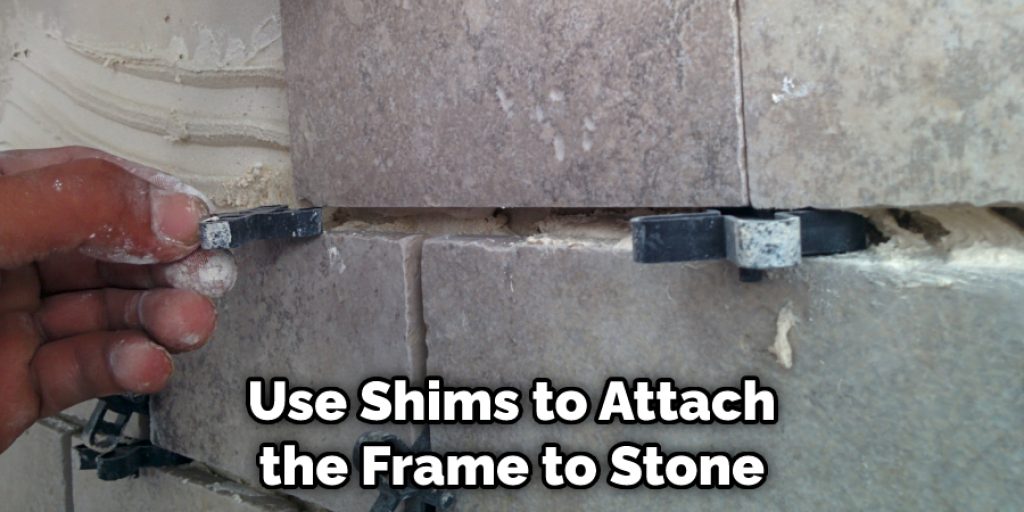
Next, you must use the shims to attach the frame to the stones. After you have placed the frame, you have to take the electrical equipment that the manufacturer has provided and unscrew it. Next, you must install the electrical equipment as the instruction manual and lay the other stone layers over it. Now you have to install the electrical control panel on the stone. You can use drill bits for this process.
•Step Four
After you have installed the controller, you have to pay down the accent band, and then you have to lay the stones while keeping the grill machine’s gap. Next, you have to place the countertop above the top layer of the rocks. You must keep one and a half inches of overhang at the back of the countertop, and the front will be flushed with the stones. Then you have to place the grill unit and attach it to the electric controller.
You Can Check It Out To Clean a Flat Top Grill
Final Thoughts
In conclusion, we hope that the technique mentioned here will help install your new grill kit. This process will greatly benefit beginners, and the DIY skills will be highly elevated. Thank you for your precious time. Have a nice day!!
Angela Ervin
Angela is the executive editor of DIY quickly. She began her career as an interior designer before applying her strategic and creative passion to lifestyle and home. She has close to 15 years of experience in creative writing and online content strategy for housekeeping, home decorations as well as other niche efforts. She loves her job and has the privilege of working with an extraordinary team. She lives with her husband, two sons, and daughter in Petersburg. When she's not busy working she spent time with her family.