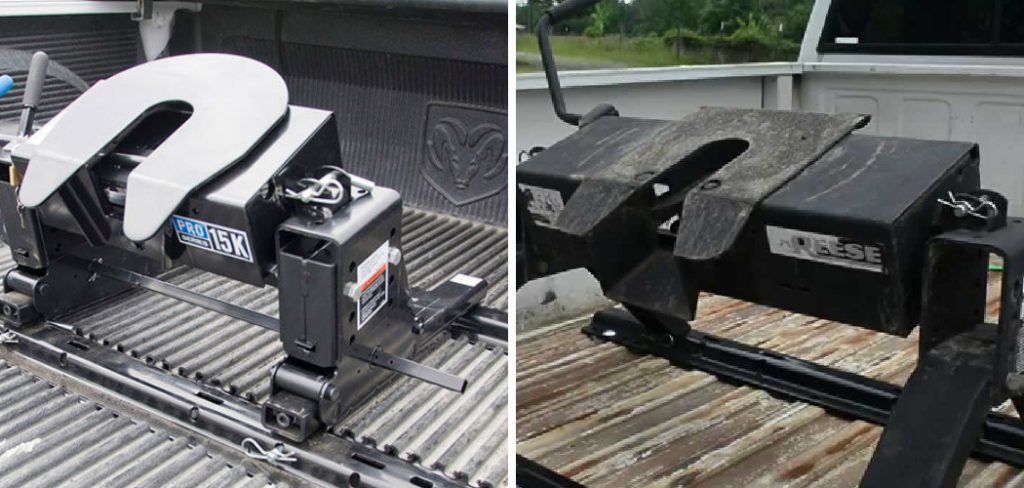
How to Install a Fifth Wheel Hitch
Installing a fifth-wheel hitch into your vehicle can provide you with the highest towing performance, stability, and safety level. If you have an RV or large trailer that you plan on towing, then installing a fifth-wheel hitch is one of the best ways to ensure that it is secured properly.
Having the correct installation of a fifth-wheel hitch will also provide you with a smoother ride, as the fifth-wheel attachment distributes the weight of your trailer more evenly across your vehicle’s chassis.
The main advantage of a fifth-wheel hitch is its stability. Since the hitch attaches directly to the vehicle’s frame, it provides superior control and maneuverability when hauling heavier loads. Fifth-wheel hitches also provide additional tow capacity since they are designed to distribute weight evenly between the two vehicles.
Additionally, they reduce stress on other components, such as the axle and brakes, making them an ideal choice for towing and hauling. In this blog post, You will learn in detail how to install a fifth wheel hitch.
How Should You Prepare the Mounting Area for the Fifth Wheel Hitch?
Once you have the fifth wheel hitch and all the required tools, it’s time to install it. Start by preparing the mounting area on your truck. Clear any debris from your truck’s bed and ensure there are no obstructions in the way of the installation.
Then, measure out where you want to place your hitch and mark the area with a pencil or tape measure. You’ll need to use the appropriate drill and screws to secure the mounting brackets in place. Check that they are firmly installed, as they will be the foundation of your hitch.
Once all the mounting brackets are secure, you can attach the fifth wheel hitch onto them. Ensure that each part is securely attached and there are no gaps between the brackets and your hitch. You might need extra hardware like nuts and bolts to ensure everything is properly secured.
Tools You Will Need
- Socket Wrench Set
- Open End Wrenches
- Chalk Line and Chalk Powder
- Ratchet Set
- Ladder
- Masking Tape
- Torque Wrench
- Drill Bits with Pilot Holes
- Hammer
- Wood Blocks
Step-by-Step Processes for How to Install a Fifth Wheel Hitch
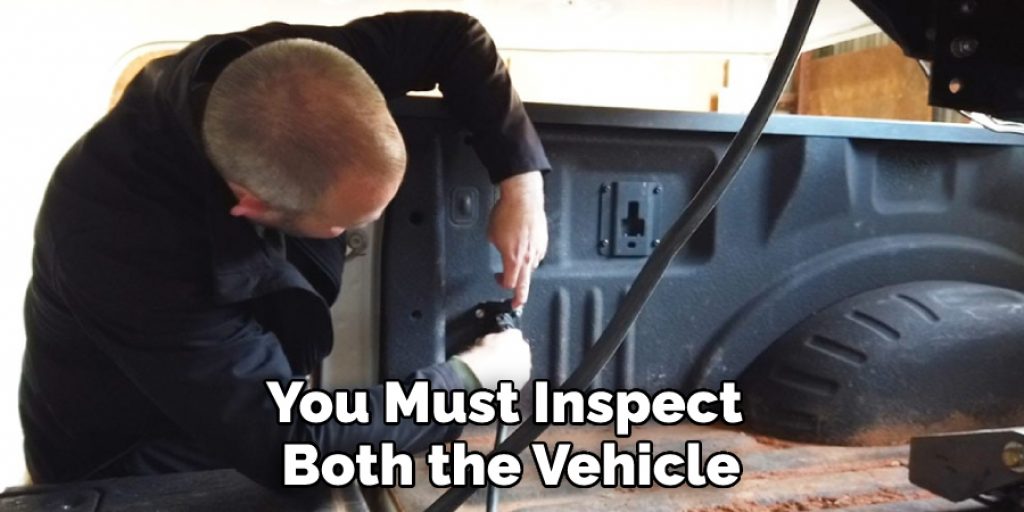
Step 1: Inspect the Vehicle and Hitch
Before installing the fifth wheel hitch, you must inspect both the vehicle and hitch to ensure they are in good working order. Inspect the vehicle’s frame for any damage that could interfere with installation, and check all bolts, pins, and other fasteners on the hitch itself.
Step 2: Prepare Vehicle Bed
Prepare the vehicle bed for the fifth wheel hitch installation by cleaning out any debris or dirt that could prevent proper mounting. You should also measure and mark the location of where you want to install the hitch so you can avoid drilling into anything important. Secure the base rails to the vehicle’s bed by positioning them in the desired location and then drilling holes for bolts to pass through. You can use a template that comes with the hitch to help with this process.
Step 3: Attach Base Rails
Attach the base rails to the bed of your vehicle using long bolts and nuts, ensuring that everything is tightened securely. Attach the head assembly of the fifth wheel hitch to the base rails using bolts and nuts, ensuring that everything is tightened securely. This will be part of the hitch where you will attach your trailer later on.
Step 4: Install Handle and Locking Pin
Install the handle and locking pin to the head assembly, allowing you to lock your trailer in place once it is attached. The locking pin should easily slide into place and be secured with a nut on the backside. Install the pivot bracket onto your vehicle frame using bolts and nuts. This part of the hitch will provide additional support once you’re towing a trailer.
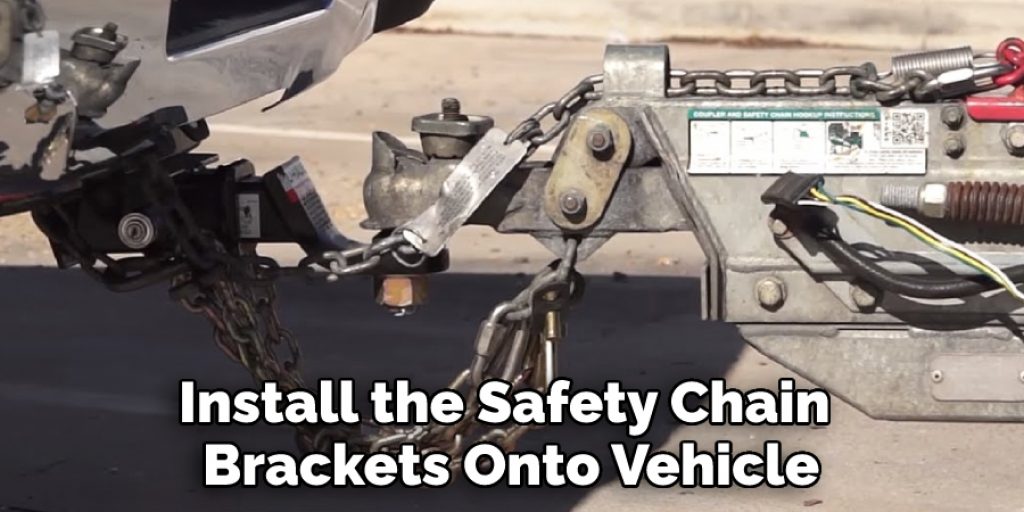
Step 5: Install Safety Chain Brackets
Install the safety chain brackets onto your vehicle frame using bolts and nuts as well. These brackets are important for attaching safety chains to your trailer if it becomes disconnected from the hitch while driving. Install the hitch pins and clips to the head assembly of the fifth wheel hitch, which will allow you to attach your trailer securely. Ensure that all pins are tightly secured, so they do not come loose while in use.
Step 6: Test Fit Trailer
Before you start driving with your trailer, it’s important to test-fit the hitch and trailer to ensure everything is secure. Inspect for any loose connections or parts that may be damaged and make sure everything is in good working order.
By following these steps, you can successfully install a fifth-wheel hitch onto your vehicle. Be sure to always double-check all connections and parts before towing a trailer. Safety should always come first when driving with a fifth-wheel hitch.
Safety Precautions for How to Install a Fifth Wheel Hitch
- Make sure you understand the size and weight capacity of your truck. Knowing these specifications will help you to select the right fifth-wheel hitch for your vehicle.
- Ensure that all installation kit components fit correctly into your vehicle’s frame rails, mounting plates, and other attachment points.
- Secure the mounting brackets and hardware with proper torque specifications.
- Ensure that all bolts, nuts, and other fasteners are securely tightened to ensure a safe connection between the hitch and your vehicle.
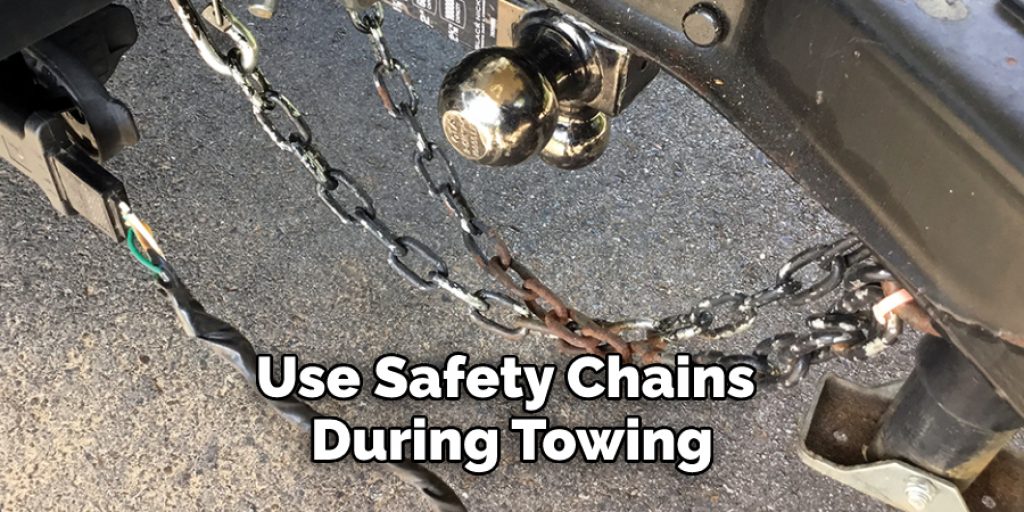
- Always use safety chains during towing to prevent the trailer from separating from your truck in case of hitch failure or disconnection.
- Read and understand the manufacturer’s instructions before beginning installation, as every fifth-wheel hitch is slightly different in terms of installation requirements.
- Have a qualified mechanic inspect your truck and fifth wheel hitch once the installation has been completed to ensure everything is in proper working order.
Following these safety precautions can help ensure that your fifth-wheel hitch is properly installed and secure for use.
How Should You Secure the Fifth Wheel Hitch in Place?
Once you have installed the fifth wheel hitch, it is important to secure it in place. To do so, use a set of ratchet straps or load binders and wrap them around the frame rails. Make sure that they are firmly secured onto the rails and that there are no gaps between them. You should also check to ensure that the bolts that secure the hitch to your vehicle are tight and there is no slippage between the hitch and the frame rails.
Finally, you should use an anti-sway device such as a friction sway control or weight distribution system to ensure that your fifth-wheel trailer does not sway back and forth while driving.
These devices help reduce the strain put on your vehicle and make for a safer driving experience. Once you have installed the fifth wheel hitch, test it before taking your trailer on the road. Doing so will ensure that everything is working properly and that you are prepared for any potential issues while driving.
How Often Should You Inspect and Maintain Your Fifth Wheel Hitch?
Regular inspection and maintenance of your fifth-wheel hitch are essential for safety, performance, and longevity. Depending on the type of fifth-wheel hitch you have and how frequently it’s used, it should be inspected and maintained at least once every year. However, if you use your fifth-wheel hitch often or tow heavier loads more frequently, inspections and maintenance should be done more often.
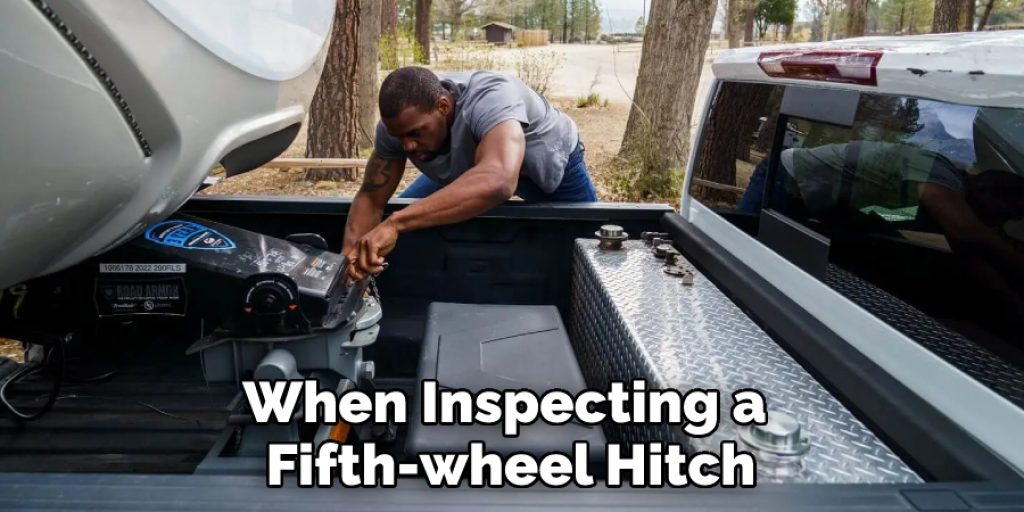
When inspecting a fifth-wheel hitch, you’ll need to check for signs of wear and tear or any damage that could have occurred from regular use. This includes checking the mounting hardware, pins, and clips and the locking mechanism if your model has one.
Additionally, all moving components should be lubricated with high-grade grease, and the frame of the hitch should be wiped down with a damp cloth. It’s also important to check your fifth wheel hitch regularly for any loose parts or pieces that may have come loose from vibration during use. If any damaged parts are found, they should be replaced immediately to ensure your hitch remains safe and in good working condition.
Conclusion
The disadvantage of installing a fifth-wheel hitch is that it can be quite complex and labor-intensive. It typically requires the use of special tools for mounting, measuring, and bolting the hitch into place. The process can be time-consuming and require a lot of physical effort. It is also important to ensure that all bolts are tightened properly so that the hitch is secure and won’t come loose while in use.
In conclusion, installing a fifth-wheel hitch is not as difficult as people may think. You can successfully install a fifth-wheel hitch in your vehicle with the right tools and instructions. Make sure to read all of the instructions thoroughly before attempting to install it yourself.
Additionally, it’s important to ensure that your fifth-wheel hitch is properly secured and safe for use before hitting the road. I hope this article has been beneficial in learning how to install a fifth wheel hitch. Make Sure the precautionary measures are followed chronologically.
Louis Wein
Louis has always been fascinated by cars. He loves the way they look, the sound of the engine, and how they make him feel when he's driving. He is always keen to learn more about different mechanics of cars and how the engine contributes to other aspects of the car. As an automotive technician with over 10 years of experience, he knew how they worked and loved taking them apart to see how they went back together. He was especially interested in the mechanics of combustion engines and loved finding ways to make them more efficient. He loves to work on cars and help people keep their vehicles running smoothly. As a senior editor, he enjoys contributing to Diy quickly because it allows him to share his knowledge and expertise with others.