How to Install a Rain Shower Head in the Ceiling
Are you looking for a way to give your bathroom a chic, modern update? Installing a rain shower head in the ceiling is an easy and cost-efficient method to transform the look of any bathroom. Not only does it provide more coverage than wall-mounted fixtures, but integrating this luxury feature also adds character and warmth.

Plus, it’s easier (and safer) than scaling up a ladder every time you want to take a shower! So what do you need to know before installation? Read on as we share our tips and advice on how to install a rain shower head in the ceiling!
Needed Materials
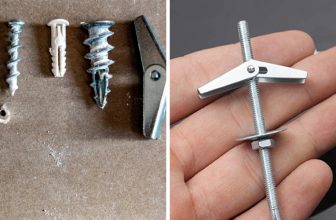
- Rain Shower Head
- Extension Arm (if Needed)
- Decorative Ceiling Flange
- Plumbers Tape
- Thread Sealant (Optional)
- Adjustable Wrench
- Drill and Drill Bit
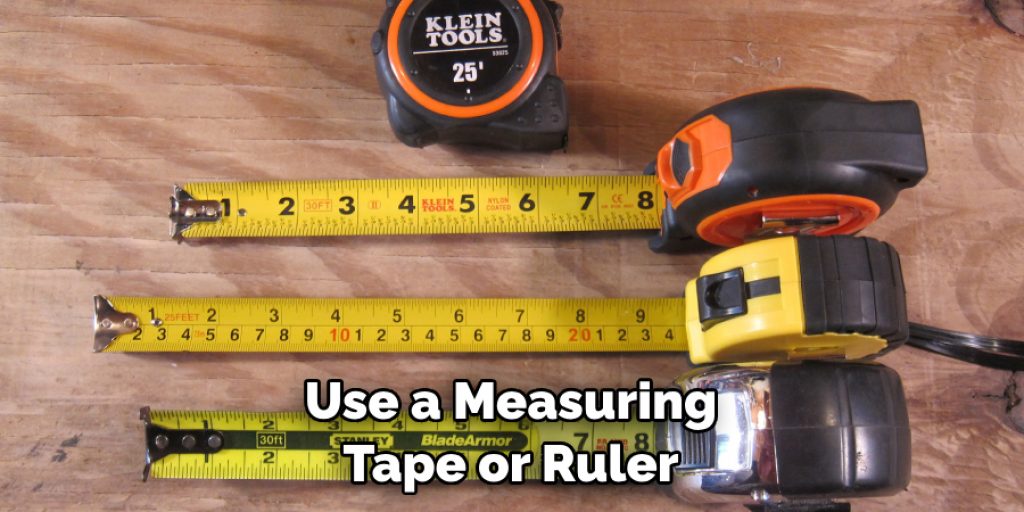
- Measuring Tape or Ruler
10 Step-by-step Guidelines on How to Install a Rain Shower Head in the Ceiling
Step 1: Choose the Perfect Spot
Before you start drilling any holes in your ceiling, it’s important to select the perfect spot for your new rain shower head. A good rule of thumb is to position it in the center of your shower space, directly above your drain. It should also be at least six feet off the ground to allow for proper water pressure. But ultimately, the location will depend on your personal preference and bathroom layout.
Step 2: Measure and Mark
Once you have decided on the perfect spot, use a measuring tape or ruler to mark the exact placement of your shower head. Make sure to measure both horizontally and vertically for accuracy. Otherwise, you may end up with a crooked installation. It’s also a good idea to mark the spot with a pencil or chalk.
Step 3: Drill a Hole
Using your drill and recommended drill bit, carefully drill a hole in the center of your marked spot. Be sure to follow all safety precautions and work slowly to avoid any damage to surrounding areas. Once finished, use a dry cloth or vacuum to remove any debris from the hole. You can also use a ceiling fan or open windows for ventilation during this process.
Step 4: Install Extension Arm (If Needed)
If your shower head did not come with an extension arm, now is the time to install one. This will allow you to adjust the height of your rain shower head and ensure proper water flow. Simply screw the extension arm into the hole you drilled in step three, using plumbers tape or thread sealant for a secure fit. It’s important to make sure the arm is tightly attached and level.
Step 5: Apply Plumbers Tape
Before installing your rain shower head, wrap the plumber’s tape around any threaded connections. This will create a tight seal and prevent any leaks. If you are using thread sealant, apply it before the tape for best results. But be sure to follow the instructions on the packaging. You don’t want to overdo it and have a difficult time removing the shower head in the future. It’s always better to start with a little and add more if needed.
Step 6: Attach Decorative Ceiling Flange
Next, attach the decorative ceiling flange to the threaded end of your shower head. This will cover any exposed or unsightly areas and create a finished look. It’s important to make sure it is snug but not over-tightened as it may cause damage. You can also apply some thread sealant to this connection if desired. But again, use sparingly. It’s better to be safe than sorry.
Step 7: Attach Rain Shower Head
Now it’s time to attach your rain shower head! Simply screw it onto the threaded end of your shower arm until it is tightly secured. If you are using a larger or heavier shower head, be sure to support it with one hand while tightening with the other. This will prevent any damage to the shower arm or surrounding areas. This step is also where you can adjust the angle of your shower head to your liking.
Step 8: Turn on Water
Before testing out your new rain shower head, it’s important to turn on the water and let it run for a few minutes. This will flush out any debris that may have accumulated during installation. Once the water runs clear, turn it off and move on to the next step. It’s also a good idea to check for any leaks at this point. You can always retighten connections if needed.

Step 9: Check for Leaks
Once your shower head is securely attached, turn on the water again and check for any leaks. If you notice any, try tightening the connections or adding more plumber tape as needed. If the leak persists, it may be a sign of a faulty installation or defective parts. In this case, it’s best to seek professional help or contact the manufacturer for assistance. You want to make sure your new rain shower head is functioning properly and efficiently.
Step 10: Enjoy Your New Rain Shower Head!
Congratulations, you have successfully installed your new rain shower head in the ceiling! Now it’s time to turn on the water and experience your luxurious upgrade. So go ahead and take a relaxing and refreshing shower under your new rain shower head. You deserve it! Always remember to clean and maintain your shower head regularly to keep it in top condition and prolong its lifespan.
Whether you are looking for a stylish addition or a more functional upgrade, installing a rain shower head in the ceiling is an easy DIY project that can make a big difference in the look and feel of your bathroom. By following these step-by-step guidelines on how to install a rain shower head in the ceiling, you’ll be on your way to a more enjoyable and spa-like shower experience in no time. So don’t wait, go ahead and start planning your bathroom upgrade today!
Additional Tips and Tricks
- If You Have a Tiled Ceiling, Be Sure to Use a Tile Drill Bit for Best Results.
- Always Double-check Your Measurements Before Drilling Any Holes.
- To Make Installation Easier, Have a Friend or Family Member Hold the Shower Head in Place While You Tighten Connections.
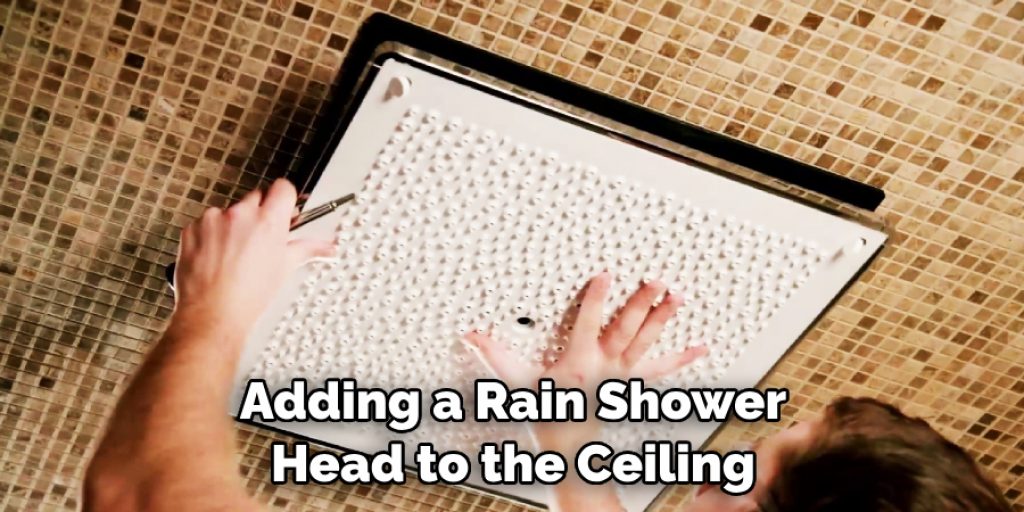
- To Avoid Damaging Your Ceiling, Use Drywall Anchors if Needed When Installing the Extension Arm.
- If You Are Uncomfortable With or Unsure About Installing a Rain Shower Head in the Ceiling Yourself, It’s Always Best to Seek Professional Help. They Can Ensure Proper Installation and Provide Any Necessary Tools or Materials. Overall, Adding a Rain Shower Head to the Ceiling is a Simple Project That Can Elevate Your Bathroom Experience and Add Value to Your Home. So Don’t Be Afraid to Give It a Try!
Frequently Asked Questions
Q: Can I Install a Rain Shower Head in the Ceiling Myself?
A: Yes, with the proper tools and instructions, installing a rain shower head in the ceiling is an easy DIY project. It can be completed in just a few simple steps. It’s always a good idea to have someone help you during the installation process. This will ensure proper installation and make it easier to tighten connections.
Q: Do I Need a Plumber to Install a Rain Shower Head in the Ceiling?
A: No, you do not necessarily need a plumber to install a rain shower head in the ceiling. However, if you are uncomfortable with or unsure about the process, it’s always best to seek professional help. This will ensure proper installation and prevent any potential damage to your bathroom.
Q: What Tools Do I Need to Install a Rain Shower Head in the Ceiling?
A: The tools needed for installation may vary depending on the specific shower head and ceiling type. However, some common tools include a drill, an adjustable wrench, plumber’s tape or thread sealant, and possibly a tile drill bit if you have a tiled ceiling. Always refer to the manufacturer’s instructions for a complete list of tools needed for your specific shower head.
Q: Can I Install a Rain Shower Head in the Ceiling on My Own if I Have No Plumbing Experience?
A: It is not recommended to attempt installing a rain shower head in the ceiling without any plumbing experience. You may risk damaging your bathroom or causing leaks, which can be costly to fix. If you are unsure about the installation process, it is best to seek professional help or consult with a knowledgeable friend or family member. Overall, always make sure you feel confident and comfortable before attempting any DIY project involving plumbing.

Conclusion
Taking the extra steps to properly install a rain shower head in your ceiling can be a challenging but rewarding task and requires extreme attention to detail. But with careful planning, you can easily bring this luxurious upgrade into your bathroom. However, it’s important to use all necessary safety precautions to avoid any costly missteps or damages.
Before you tackle this project, research entirely and think about whether or not you should enlist help from a professional contractor. Taking pride in your work and following all instructions on how to install a rain shower head in the ceiling will ensure the installation process runs smoothly. Now is the perfect time to get creative and makeover your bathroom with a brand-new rain showerhead!
Angela Ervin
Angela is the executive editor of DIY quickly. She began her career as an interior designer before applying her strategic and creative passion to lifestyle and home. She has close to 15 years of experience in creative writing and online content strategy for housekeeping, home decorations as well as other niche efforts. She loves her job and has the privilege of working with an extraordinary team. She lives with her husband, two sons, and daughter in Petersburg. When she's not busy working she spent time with her family.