How to Install a Range Hood Vent Through Ceiling
Are you looking for some expert tips on how to install a range hood vent through ceiling? If so, then you’ve come to the right place! Installing a range hood vent can be daunting if it’s your first time doing it, but don’t worry – we have all the step-by-step information you need in order to make sure that everything goes smoothly.

We’ll provide detailed instructions along with helpful pictures and diagrams so that even novice DIYers can complete this project like pros. Every aspect of this intimidating task will be explained, from safety considerations to getting rid of lingering odors created by cooking smoke and grease particles. So let’s get started!
Tools and Materials You Will Need to Install a Range Hood Vent Through Ceiling
- Ladder
- Drill with a drill bit
- Keyhole saw or reciprocating saw
- Tape measure
- Pencil
- Level
- Screws and anchors (if required)
- Wire clamps
- Duct tape or foil tape
Step-by-step Guidelines on How to Install a Range Hood Vent Through Ceiling
Step 1: Planning Your Ventilation System
Before you begin the installation process, it’s important to plan out your ventilation system. This includes determining the best location for the range hood vent, measuring and marking out the desired position on the ceiling, and ensuring that there is a clear path for the ductwork to reach outside. It’s also crucial to check building codes and regulations in your area to ensure compliance.
Step 2: Prepare Your Work Area
Clear any furniture or obstacles from the area where you will be working. Cover countertops and floors with drop cloths to protect them from any potential damage. Preparing your work area beforehand will save you time and effort in the long run. This is also a good time to put on any protective gear, such as safety glasses and gloves.
Step 3: Cut a Hole in the Ceiling
Using a keyhole saw or reciprocating saw, carefully cut out the hole in the ceiling for the range hood vent. Make sure that it is the correct size according to your chosen vent model’s specifications. It’s always a good idea to have someone help hold the vent in place while you cut to avoid any mishaps. While cutting, be mindful of any electrical wiring or plumbing that may be hidden in the ceiling.

Step 4: Install the Range Hood Vent
After cutting the hole, carefully install the range hood vent into place. This may require attaching screws and anchors to secure it properly. Use a level to ensure that it is straight and adjust as necessary. Once it is in place, caulk around the edges to create a tight seal. In this step, it’s important to follow the manufacturer’s instructions for your specific vent model.
Step 5: Connect Ductwork
Next, connect the ductwork from the range hood vent to the outside using wire clamps and duct tape or foil tape. Make sure that all connections are secure and airtight in order to prevent any leaks. If necessary, use additional ductwork or elbows to create a clear path for the air to move outside. Make sure to check and follow building codes and regulations for proper ductwork installation.
Step 6: Test the Ventilation System
Before fully completing the installation, it’s important to test the ventilation system. Turn on the range hood fan and make sure that air is properly being directed outside through the vent. Also, check for any potential leaks or issues with airflow. This step will help ensure that your ventilation system is working efficiently and effectively.
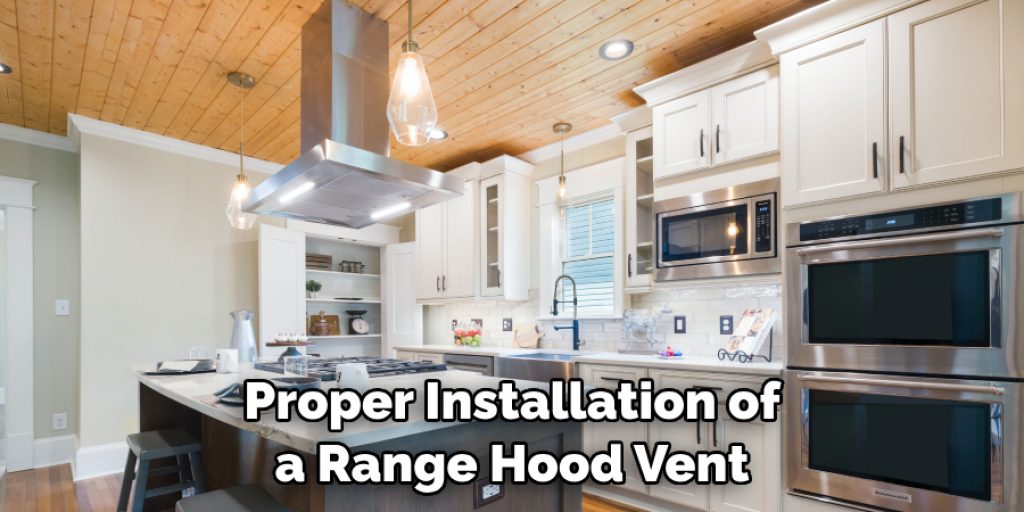
Following these six steps will help you successfully install a range hood vent through the ceiling. However, it’s important to remember that if you are not comfortable or confident in your ability to complete this task, it’s best to seek professional help. Proper installation of a range hood vent is crucial for the safety and functionality of your kitchen. So take your time, follow instructions carefully, and enjoy your new and improved ventilation system!
Additional Tips for Installing a Range Hood Vent Through Ceiling
- Always consult the manufacturer’s instructions for your specific range hood and follow them carefully during installation.
- Before beginning the installation process, make sure to turn off all power to your kitchen ventilation system.
- Measure twice and cut once! Accurate measurements are crucial for a successful installation, so take your time with this step.
- When cutting through drywall or other materials, use a sharp utility knife or circular saw for a clean, precise cut.
- If your installation requires the use of screws, be sure to pre-drill holes to prevent splitting or damaging the materials.
- Use caulk or weatherstripping to seal any gaps between the range hood and the ceiling or surrounding materials. This will help prevent air leaks and ensure efficient ventilation.
- Consider hiring a professional if you are not comfortable with electrical work or if your installation requires complex ductwork.
- Once your range hood vent is installed, be sure to regularly clean and maintain it to keep it functioning properly and avoid any potential fire hazards.
- If possible, choose a vented range hood rather than a recirculating one for better air quality in your kitchen.
- Consider installing a vent cover or hood deflector to help prevent drafts and keep rain or snow from entering the vent.
- If you are installing a range hood vent in an older home, it may be necessary to reinforce the ceiling joists for added support. Consult with a professional if you are unsure about this step.
- Finally, always prioritize safety when working with electrical and ventilation systems. If you are unsure about any aspect of the installation process, seek help from a professional. It’s better to be safe than sorry!
Following these tips and tricks will help ensure a smooth and successful installation of your range hood vent through the ceiling. Remember to always read the instructions, measure carefully, and prioritize safety throughout the process. Happy cooking!
Precautions Need to Be Followed for Installing a Range Hood Vent Through Ceiling
- Before starting the installation process, make sure to read the manufacturer’s instructions carefully. Each range hood may have slightly different requirements and it is important to follow them for proper installation.
- Ensure that you have all the necessary tools and equipment before beginning the installation process.
- Safety should be a top priority throughout the entire installation process. Make sure to turn off all power sources in the area where you will be installing the range hood vent.
- Use proper safety gear such as gloves, goggles, and a face mask to protect yourself from any debris or dust during installation.
- It is recommended to have an assistant help with the installation process, especially when handling heavy equipment or when working on a ladder.
- Always work on a stable surface and use a sturdy ladder when working at heights.
- If you are unsure about any part of the installation process, do not hesitate to contact a professional for assistance.
- Make sure to follow all building codes and regulations when installing the range hood vent through the ceiling.
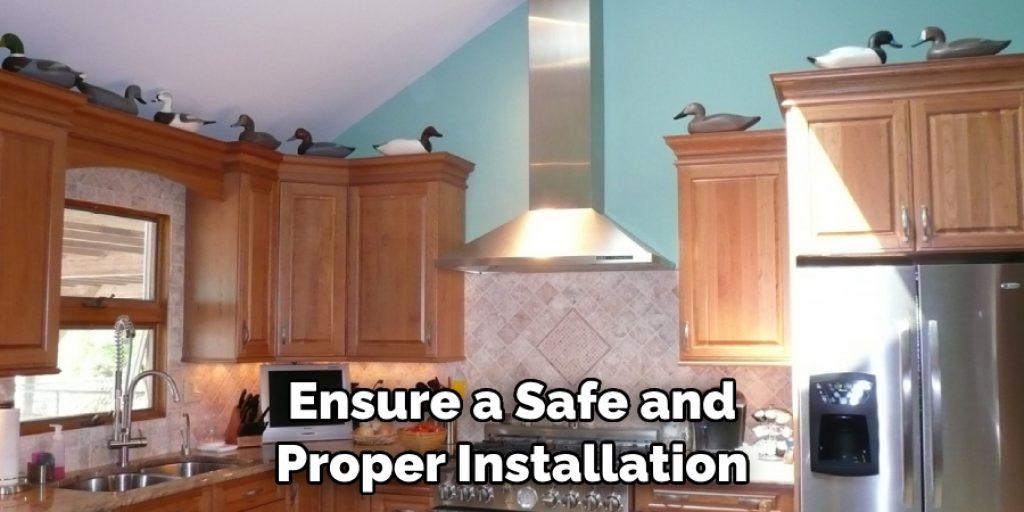
Following these precautions will ensure a safe and proper installation of the range hood vent through the ceiling. It is important to take your time and carefully follow each step to avoid any accidents or mistakes that could lead to potential problems in the future.
Frequently Asked Questions
Why Do I Need a Range Hood Vent?
Range hoods are an essential component of any kitchen ventilation system. They help to remove excess moisture, heat, and pollutants from the air while cooking, keeping your home clean and safe. Moreover, they prevent grease buildup on cabinets, walls, and countertops, reducing the risk of fire. A range hood vent also improves indoor air quality by drawing out harmful fumes and odors.
Can I Install a Range Hood Vent Through My Ceiling?
Yes, it is possible to install a range hood vent through the ceiling. This type of installation is commonly seen in kitchens with an island cooktop or when there are no exterior walls available for venting. It involves running ductwork through the ceiling and out through the roof. However, it is important to consult a professional for proper installation and to ensure that the ductwork does not interfere with other structural components in your home.
How Do I Choose the Right Size for My Range Hood Vent?
The size of your range hood vent depends on several factors, such as the size of your kitchen, cooking habits, and type of cooktop. As a general rule, the vent should be at least as wide as your cooktop and mounted at a height of 18-30 inches above the cooking surface. Additionally, for every 100 CFM (cubic feet per minute) of range hood power, you need about 10 BTUs (British Thermal Units) of cooking power.
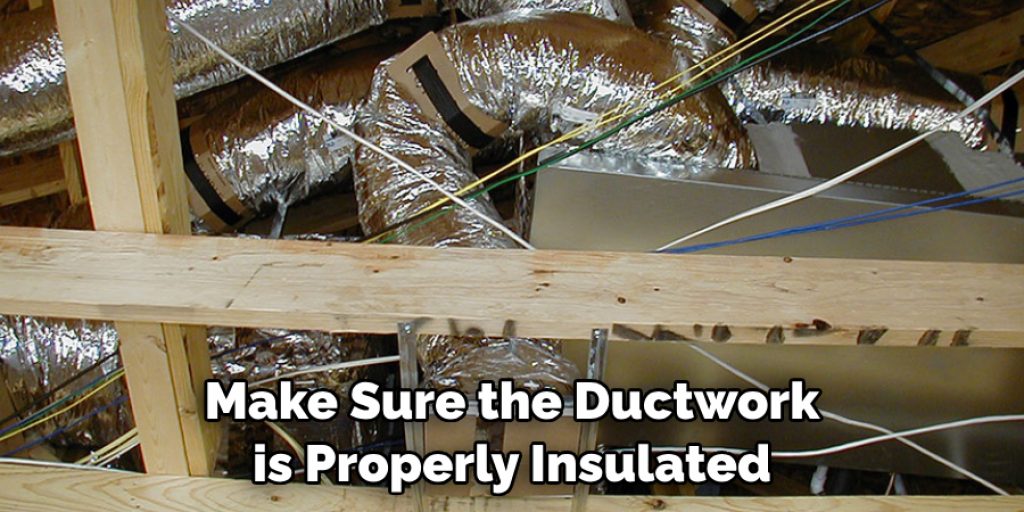
What Type of Ductwork Should I Use for My Range Hood Vent?
The most common types of ductwork used for range hood vents are metal and flexible aluminum. Metal ducts are more durable and can handle higher airflow, but they require more space for installation. Flexible aluminum ducts, on the other hand, are easier to install and are suitable for tight spaces.
They also come in various sizes to fit different range hood vents. Whichever type you choose, it is important to make sure the ductwork is properly insulated to prevent condensation and potential damage to your home’s structure.
Conclusion
Now you know how to install a range hood vent through ceiling and why it is an important component of your kitchen. Remember to consult a professional for proper installation and choose the right size and type of ductwork for your specific needs.
With a properly installed range hood vent, you can enjoy a cleaner, safer, and more comfortable cooking experience in your home. So, make sure to invest in a good quality range hood vent and keep your kitchen free from excess heat, moisture, and pollutants.
Angela Ervin
Angela is the executive editor of DIY quickly. She began her career as an interior designer before applying her strategic and creative passion to lifestyle and home. She has close to 15 years of experience in creative writing and online content strategy for housekeeping, home decorations as well as other niche efforts. She loves her job and has the privilege of working with an extraordinary team. She lives with her husband, two sons, and daughter in Petersburg. When she's not busy working she spent time with her family.