
How to Install Canless Recessed Light
Are you looking to switch out your traditional recessed light fixtures for a modern, more energy-efficient version? Installing canless recessed lights is an easy way to update the look of your home and save on energy costs.
Recessed lighting is a great way to light your home and provide an atmosphere you can be proud of, but for many, it’s daunting because of the need to cut walls or ceilings in order to install it. If this puts you off, installing canless recessed lights may be just what you’re looking for!
Canless recessed lights are faster, easier, and cost-effective compared with traditional forms of installation as they don’t require cutting drywall or otherwise modifying existing structures.
In this blog post, we’ll explain the process for how to install canless recessed light.
Are Canless Lights Safe?
First, it’s important to ensure your canless recessed lights are safe and certified for use. Canless lights should be UL-listed, meaning they’ve been tested by Underwriters Laboratories and approved as safe to use in the home. Make sure you double-check this before you purchase and install it!
Moreover, it’s important to ensure proper electrical wiring. Canless lights require different wiring than traditional recessed lighting, so be sure to consult a licensed electrician if you’re unsure of how to do this properly.
What Will You Need?
Before you start, make sure that you have all the tools and materials you need to install canless recessed light. You’ll require the following:
- Canless recessed light kit
- T15 Torx Screwdriver
- Utility knife
- Voltage tester to make sure no live wires are present
- Pencil or marker to mark the center of the light fixture on the ceiling
- Tape measure for measurements
Once you have all the necessary tools and materials, you’re ready to begin!
10 Easy Steps on How to Install Canless Recessed Light
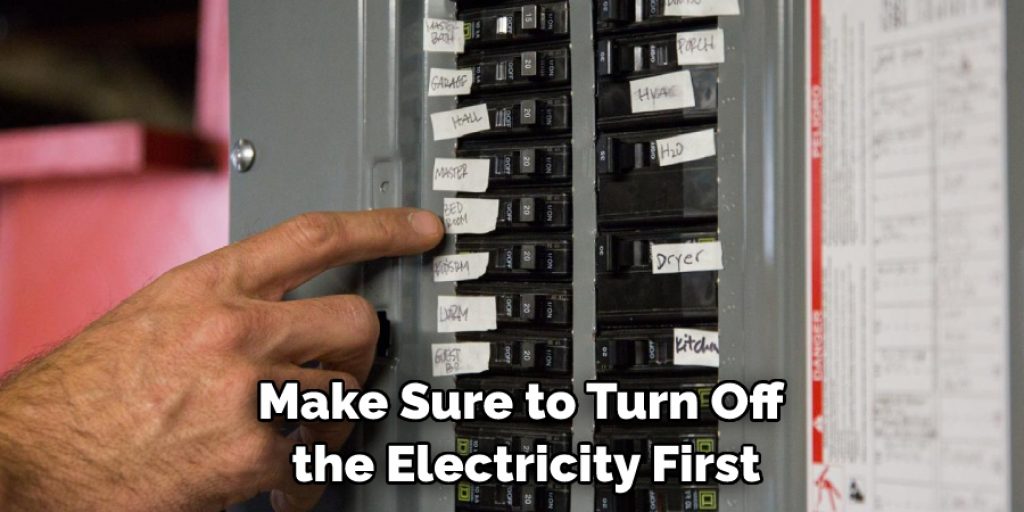
Step 1. Turn Off the Electricity:
Before you start the installation, make sure to turn off the electricity first. This is very important for your safety and the safety of others. Otherwise, you might get electrocuted.
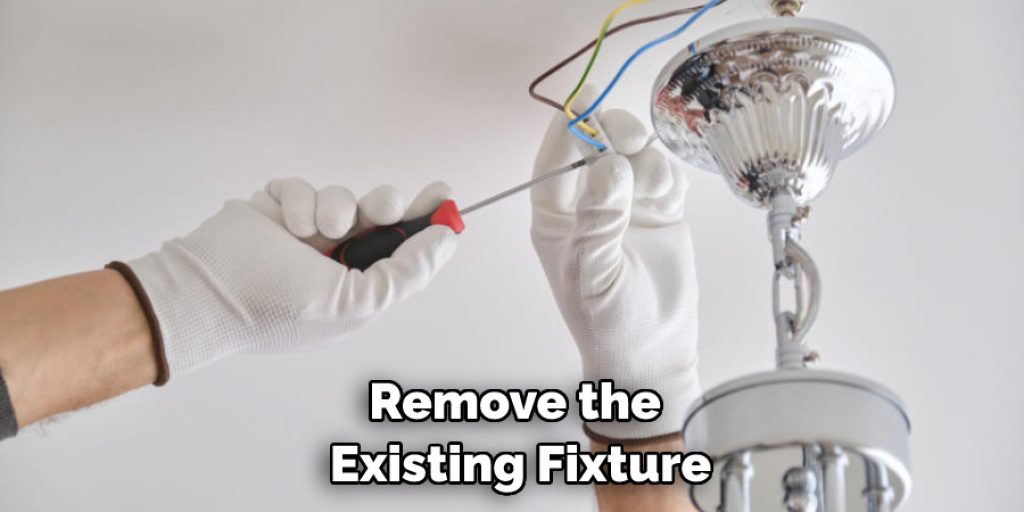
Step 2. Remove the Existing Light Fixture:
Before installing a new canless recessed light, you must first remove the existing fixture. Use a T15 Torx Screwdriver to loosen and remove the screws holding the fixture. You can get access to the screws by removing the trim, if necessary.
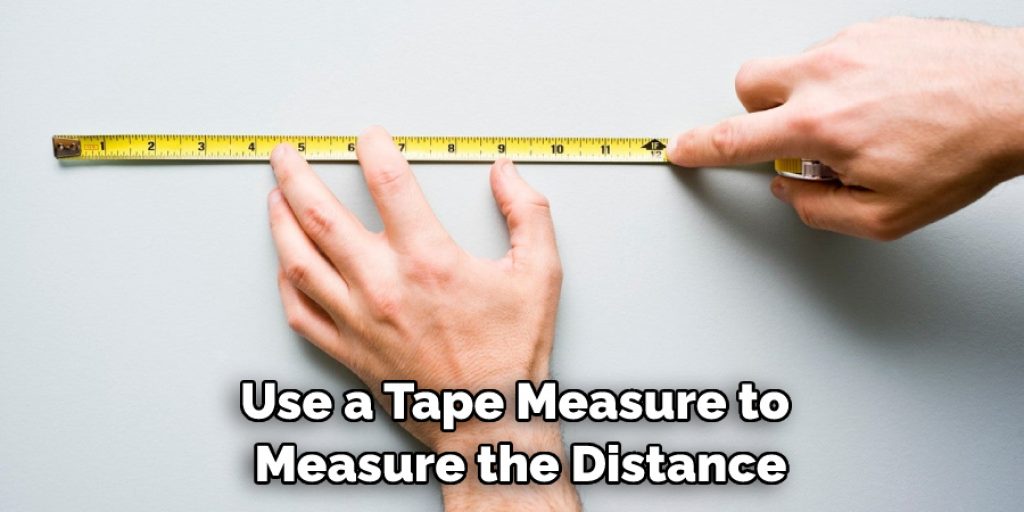
Step 3. Measure and Mark the Ceiling:
Use a tape measure to measure the distance between your wall or ceiling joists and mark them with a pencil or marker. This will be where you’ll install your new canless recessed light. If you are unsure of the exact ceiling joist location, use a stud finder tool to determine it accurately.
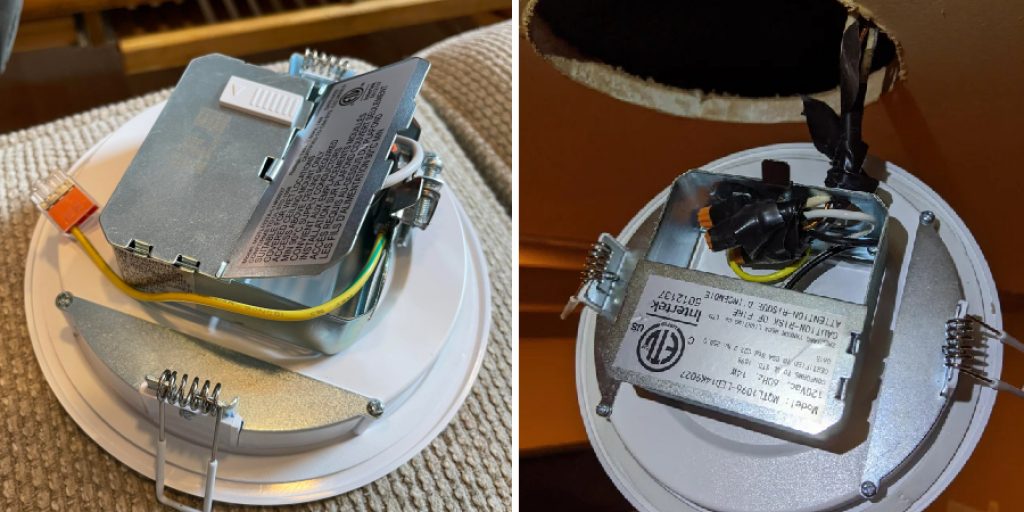
Step 4. Install the Canless Recessed Light Housing:
Now, it’s time to install the canless recessed light housing into the ceiling/wall space. Be sure that it fits snugly in between two joists for secure placement. Don’t forget to check the voltage of your wiring before you start, as some installations may require a qualified electrician.
Step 5. Connect Wires Together:
Connect the wires from your light fixture to the ceiling/wall space wires. Make sure not to do this if you still have live electricity running through them, as it can be very dangerous and result in electrocution or a fire hazard. Use a voltage tester to double-check and make sure the power is off before connecting any wires.
Step 6. Install Light Bulb:
You’ll need to install a new LED bulb into the recessed light housing before you can use it. To keep it secure, use a utility knife to cut four small notches around the bottom of the bulb into which you can insert the metal clips that come with your kit. Be careful not to cut too deep or you’ll damage the bulb.
Step 7. Secure Housing Into Place:
Once everything is connected up properly and all wires are secured, simply tighten the screws that were removed in step 2 to secure the canless recessed light housing into place. Try to make them as tight as possible so the housing doesn’t become loose over time. As an extra precaution, you can use a bit of silicone sealant around the edges to make sure it’s held in place.
Step 8. Test Light:
Now it’s time to turn the electricity back on and test your new light! If everything is working properly, you should see a nice bright LED light coming from your newly installed canless recessed light fixture. Additionally, you may want to check the bulb’s temperature to ensure it’s not getting too hot.
Step 9. Enjoy Your New Canless Recessed Lights:
Congratulations! You’ve successfully installed your new canless recessed lights and now have a modern, efficient lighting solution that will last for years to come. Sit back, relax and enjoy the beautiful atmosphere it creates in your home.
Step 10. Clean Up Work Area:
Now that your installation is complete don’t forget to clean up after yourself and put away all the tools and materials you used. This way, you can ensure a safe and tidy workspace for any future projects. Remember, safety always comes first!
And there you have it! You’ve just completed your installation of canless recessed lights in just ten easy steps. We hope this blog post has been helpful in explaining how to install these convenient and efficient lighting solutions for your home. Good luck with your installation project, and happy lighting!
5 Additional Tips and Tricks
1. Measure Twice, and Cut Once. Before you start cutting into the ceiling or walls to make room for the canless recessed lights, double-check your measurements. You want to make sure that the lights you bought will fit properly into the space and won’t require any adjustments once installed.
2. Be Patient. Installing canless recessed light fixtures isn’t something that should be rushed. Take your time and make sure each step is done correctly, so you don’t have to redo anything later on.
3. Use a Template. Templates are available online or in most hardware stores, and they make it easy to mark where each light needs to go in order for them to be evenly spaced apart and look good when finished installing them all.
4. Wear Protective Gear. When handling power tools and drilling into walls, wear eye protection as well as hearing protection if you’re using loud machines.
5. Test the Lights Before Finishing. Once you’re done installing all of the canless recessed lights, turn them on and make sure they all work correctly. This saves time in the long run because if there are any issues with one of the lights, it’s easier to fix while they’re still exposed rather than having to take everything apart again later on.
With these tips, you’ll be able to install canless recessed lights quickly and easily.
5 Things You Should Avoid
1. Avoid over-tightening screws. If a screw is too tight, it can strip the thread, making installing the light fixture properly difficult.
2. Avoid cutting too much material. It’s better to leave a bit of extra room in the ceiling or walls when cutting a hole for the canless recessed light, as it allows for a bit of wiggle room when installing the fixture.
3. Avoid using too much force while handling the lights. The fixtures are delicate, and too much force can cause them to break or become damaged.
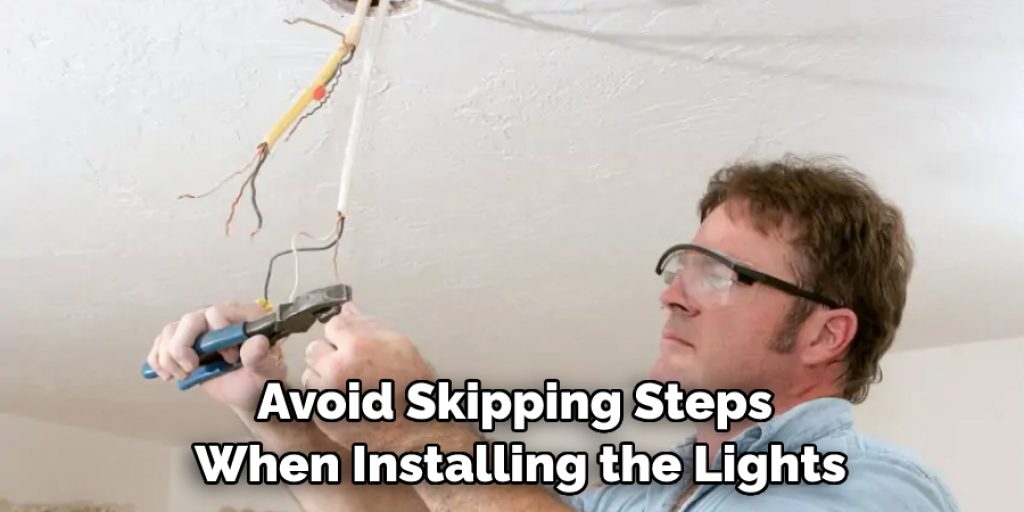
4. Avoid skipping steps when installing the lights. It’s important to follow the instructions in the manual, as some steps are necessary in order for the light to operate correctly.
5. Avoid wiring the lights incorrectly. Make sure to double-check your wiring before turning on the power, as this can be dangerous if done incorrectly.
By following these tips, you’ll be able to successfully install your canless recessed lights without any trouble. So get out your tools and start working on your installation today!
Do Canless Recessed Lights Need Housing?
No, canless recessed lights do not need housing because they are designed to be self-contained lighting units. This makes installing them easier and faster than traditional recessed lights, which require housing and wiring. Canless recessed lights are a great option for those looking for an efficient, modern lighting solution for their home.
Additionally, canless recessed lights often come with heat-resistant technology, meaning they won’t overheat like traditional light fixtures. This makes them safer to use and more energy efficient.
So do yourself a favor and invest in canless recessed lights for your next lighting project! You’ll be glad you did!
Conclusion
Congratulations! You made it through the entire installation process of a canless recessed light. You should now have an aesthetically pleasing and energy-efficient lighting solution in your room or space. Installing canless recessed lights, though it requires a bit of time and effort, is not difficult to do and could be done fairly quickly if you have the right tools and materials.
This process provides an aesthetically pleasing room while also helping save money on electric bills due to their high efficiency. With that said, not only will you improve the look of the room, but you’ll also be rewarded with some extra savings come the next bill.
We hope this guide has been helpful in teaching you how to install canless recessed light with ease.


