
How to Install Heat Tape on Pex Pipe
OK, you’ve just finished your new home project, and you’re now elbow-deep in pex pipe. You’ve been sweating for days on end, and the last thing you want to do is keep sweating (literally). So, as the final step of your project, it’s time to install some heat tape on that piping! Heat tape will help keep your pipes from freezing during those cold winter months. Not sure how to do it? No problem! Read on for instructions on how to install heat tape on pex pipe.
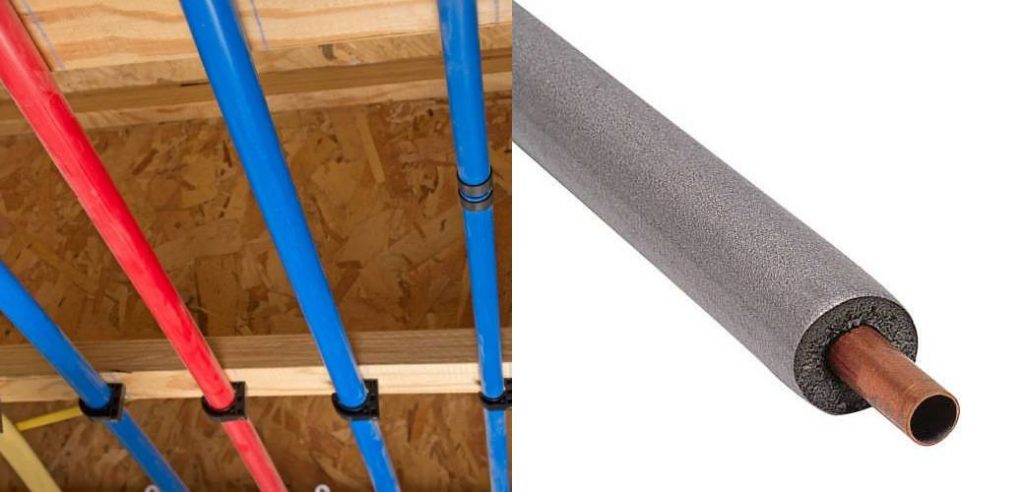
Many people choose pex pipe for their home plumbing because it is easy to install and is less likely to freeze than other types of piping. However, even pex pipe can freeze if the temperature gets low enough. That’s where heat tape comes in! Heat tape is a self-adhesive, electrically-powered tape that you wrap around your pipes. It uses electricity to generate heat, which keeps your pipes from freezing.
What Is Heat Tape?
Heat tape is a type of electrical heating element used to protect pipes from freezing. It consists of a conductive metal plate wrapped around the pipe and an electrical heating element that runs through the middle of the plate. The heat tape is controlled by a thermostat, which turns the heating element on and off as needed to keep the pipe from freezing.
Heat tape can be used on both metal and plastic pipes and is available in various lengths and widths to fit different sizes of pipes. However, it is essential to choose the correct size of heat tape for your pipe, as using too small or too large of a heat tape can damage the pipe or cause it to freeze.
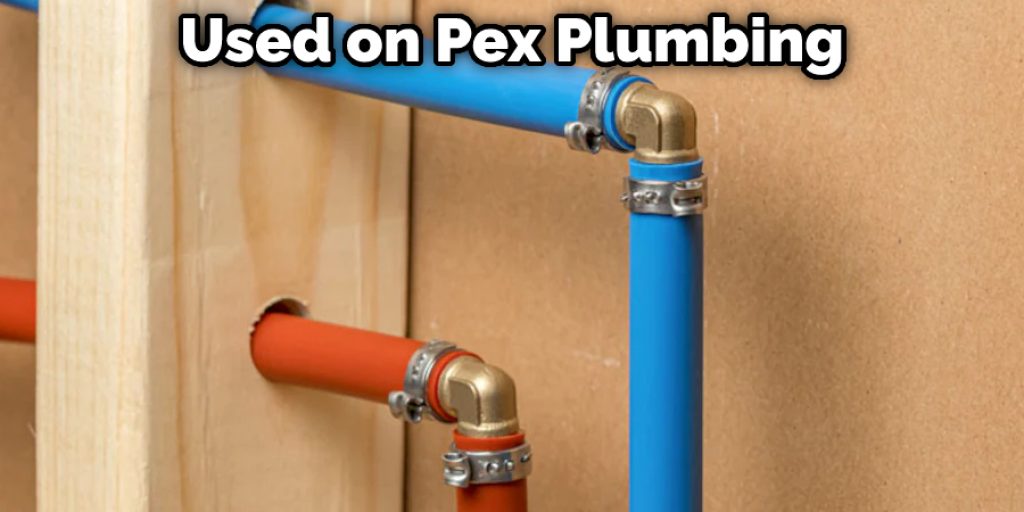
Can You Put Heat Tape on Pex Plumbing?
Some people wonder if heat tape can be used on Pex plumbing. The answer is yes, you can put heat tape on Pex plumbing, but there are a few things to keep in mind.
First of all, when you’re wrapping the heat tape around the pipe, make sure that you don’t overlap the tape sections. This will reduce the tape’s effectiveness and could cause problems down the road.
Secondly, make sure that you wrap the tape tightly around the pipe. If there are gaps or spaces between the tape and the pipe, heat can escape, and your plumbing may not be adequately protected.
Finally, don’t forget to plug in the heat tape! Otherwise, it won’t work, and your pipes may freeze.
If you follow these simple tips, you can rest assured that your Pex plumbing will be adequately protected from the cold weather.
Tools and Materials Needed:
- Heat Tape
- Pex Pipe
- Electrical Tape
- Knife or scissors
A Stepwise Guide on How to Install Heat Tape on Pex Pipe
Step 1: Determine What Size Heat Tape You Need
The following factors will determine the size of the heat tape you’ll need:
- The size (diameter) of your PEX pipe
- The insulation thickness around your PEX pipe
- The temperature in your area
For example, if you live in a colder climate and have thicker insulation around your PEX pipe, you’ll need a larger heat tape. Conversely, if you live in warmer weather with thinner insulation, you can get away with a smaller heat tape.
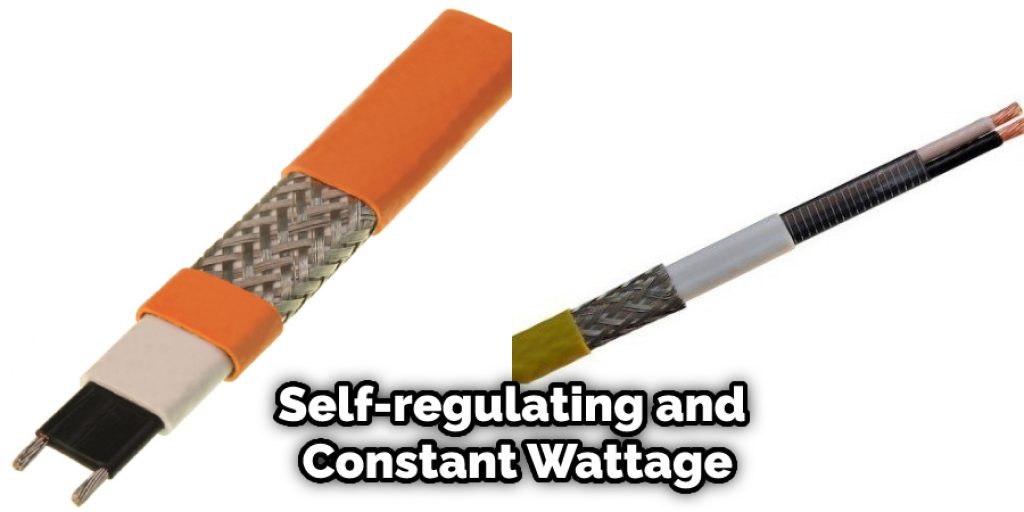
Step 2: Purchase the Correct Type of Heat Tape
There are two main types of heat tape: self-regulating and constant wattage. Self-regulating heat tape automatically adjusts its output based on the surrounding temperature, while constant wattage heat tape provides a set amount of heat. For this project, you’ll want to purchase self-regulating heat tape.
Step 3: Prepare the PEX Pipe
Before installing the heat tape, you’ll need to clean and dry the section of the PEX pipe where the heat tape will be applied. Any dirt, grease, or moisture on the pipe will impede the heat tape’s ability to adhere properly.
Step 4: Cut the Heat Tape to Length
Once the PEX pipe is prepped and ready, it’s time to cut the heat tape to length. First, measure out the section of pipe where the heat tape will be applied and add a few extra inches to account for overlap. Then, use a sharp knife or scissors to cut the heat tape carefully.
Step 5: Apply the Heat Tape
With the heat tape cut to size, it’s time to apply it to the PEX pipe. Begin at one end of the section and carefully wrap the heat tape around the pipe, overlapping each layer by about half an inch. Once you reach the end of the section, cut off any excess heat tape with a sharp knife or scissors.
Step 6: Test the Heat Tape
After the heat tape is applied, it’s essential to test it to ensure it’s working properly. The best way to do this is to plug the heat tape into an outlet and feel the pipe for warmth. If you can’t feel any warmth, unplug the heat tape and check for loose connections or kinks in the tape. Once you’ve resolved any issues, try again.
If everything is working properly, you can now insulate the pipe as usual.
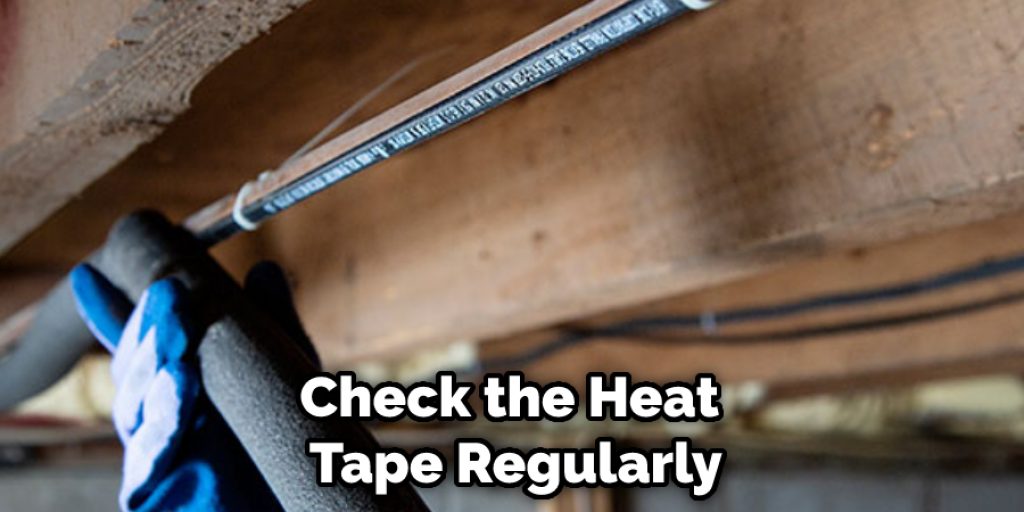
Step 7: Check the Heat Tape Regularly
It’s essential to check the heat tape regularly to ensure it’s still working properly. An excellent way to do this is to feel the pipe for warmth every few days. If you can’t feel any warmth, unplug the heat tape and check for loose connections or kinks in the tape. If you find any issues, resolve them and try again.
Congratulations, you’ve now successfully installed heat tape on a PEX pipe! By following these simple steps, you’ll be able to keep your pipes from freezing in even the coldest of climates.
You Can Check It Out to Tape Fingers for Volleyball
Tips and Warnings:
Tips:
Be sure to read and follow all manufacturer’s instructions when installing heat tape.
- Inspect the pex pipe for any damage before beginning installation.
- Apply heat tape to clean, dry surface.
- Do not allow the heat tape to overlap itself.
- Use electrical tape to secure the end of the heat tape to the pex pipe.
- Make sure the power cord is not in a position where it can be damaged.
- Once installed, periodically check the heat tape to ensure it is working correctly.
Warnings:
- Never use heat tape on any kind of plastic pipe except for pex.
- Do not allow the heat tape to come in contact with any bare electrical wires.
- Do not use heat tape if the power cord is damaged in any way.
- Never leave the heat tape on for more than the manufacturer’s recommended time.
- Turn off the power to the heat tape before making any repairs or adjustments.
Failure to do so could result in severe injury or death.
What are the Disadvantages of PEX?
PEX has a few disadvantages when compared to other types of piping:
- PEX is more expensive than copper.
- PEX is not as durable as copper and may not last as long.
- PEX is not compatible with all fittings and fixtures.
Despite these disadvantages, PEX is still a popular choice for plumbing because it is easy to install and flexible. However, if you consider using PEX in your home, it is essential to learn how to install heat tape on PEX pipe properly.
Will Pex Pipes Burst if Frozen?
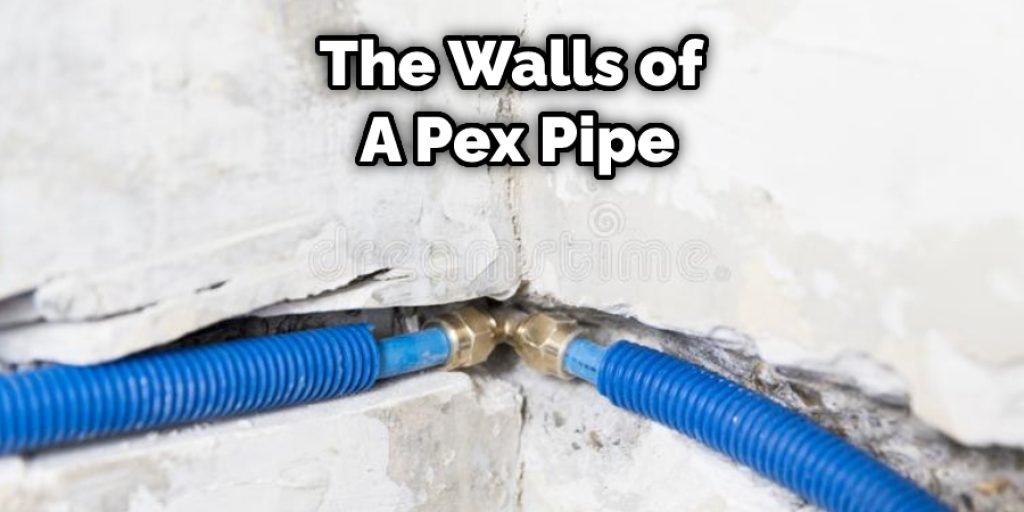
PEX, or cross-linked polyethylene, is a type of plastic pipe that is often used for plumbing. PEX is flexible and durable, and it can resist high temperatures and pressures. However, some people worry that PEX pipes may burst if they freeze. While it is true that water expands when it freezes, PEX pipes are designed to accommodate this expansion.
The walls of a PEX pipe are thick enough to withstand the pressure of expanding water, and the fittings are also resistant to freezing. As a result, PEX pipes will not burst if they freeze. However, they may become damaged if the water inside them freezes and expands over an extended period. For this reason, it is essential to protect your PEX pipes from prolonged exposure to freezing temperatures.
Is Pex Better Than Copper for Freezing?
If you have ever dealt with a frozen pipe, you know the hassle and expense of it. Burst pipes can cause severe damage to your home, and they are often tricky and expensive to repair. That is why many homeowners are turning to Pex piping as an alternative to copper. Pex is a type of plastic tubing that is much more resistant to freezing than copper. It is also less expensive and easier to install.
If you live in an area where freezing temperatures are a concern, you may be wondering how to install heat tape on Pex pipe. Heat tape is a type of electrical heating element that can be wrapped around your Pex piping to prevent it from freezing. Choosing the right kind of heat tape for your Pex piping is essential, as some types are not compatible with this material. You will also need to care when wrapping the heat tape around the pipe, as over-tightening can cause damage.
Conclusion:
So, there you have it, how to install heat tape on pex pipe. As you can see, installing heat tape on Pex pipe is a relatively simple process. Be sure to read the manufacturer’s instructions carefully and follow all safety precautions. If you have any questions about the installation or use of heat tape, consult with a professional before proceeding. Thanks for reading!
You Can Check It Out to Keep Paint From Bleeding Under Tape


