
How to Install Light Bulb Camera
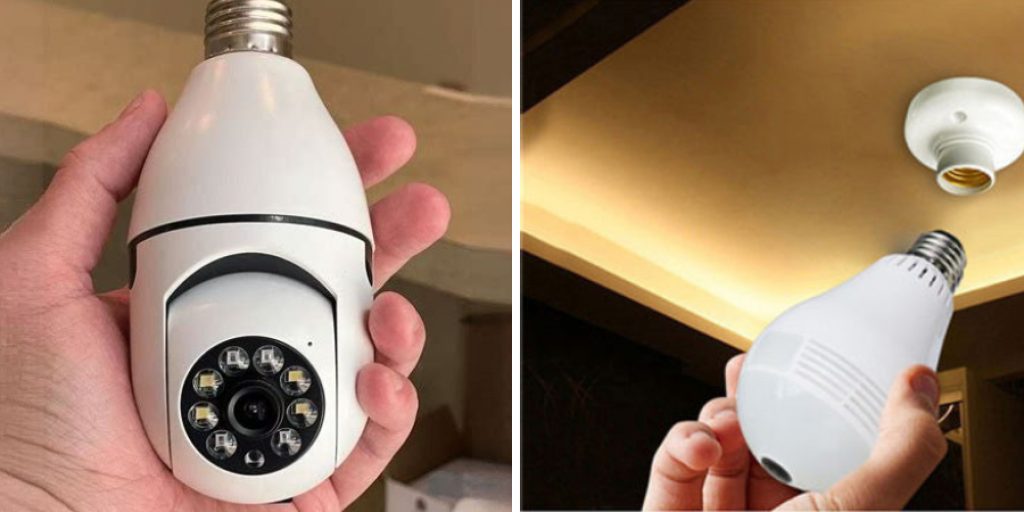
If you’re looking for a discreet way to record video and audio in your home, consider installing a light bulb camera. These small cameras are designed to fit right into any standard light socket and can be used as an easy-to-install surveillance option. This post will guide you through installing your own light bulb camera with comprehensive steps to ensure it’s up and running quickly.
Additionally, we’ll discuss the advantages of using something like this instead of other more conventional options—the convenience, affordability, and ability to have full control over what information is stored on it—all without sacrificing quality or ease of use.
In this blog post, we’ll show you how to install light bulb camera so that you can keep tabs on important areas within and around your property secure!
What Will You Need?
Before you begin the installation process, ensure you have all the necessary components. You’ll need the following:
- A light bulb camera
- An electric drill and bit set
- Electrical tape
- Socket adapter if needed
- Screws (if applicable)
Once you have all of your supplies, you’re ready to proceed with the installation.
10 Easy Steps on How to Install Light Bulb Camera
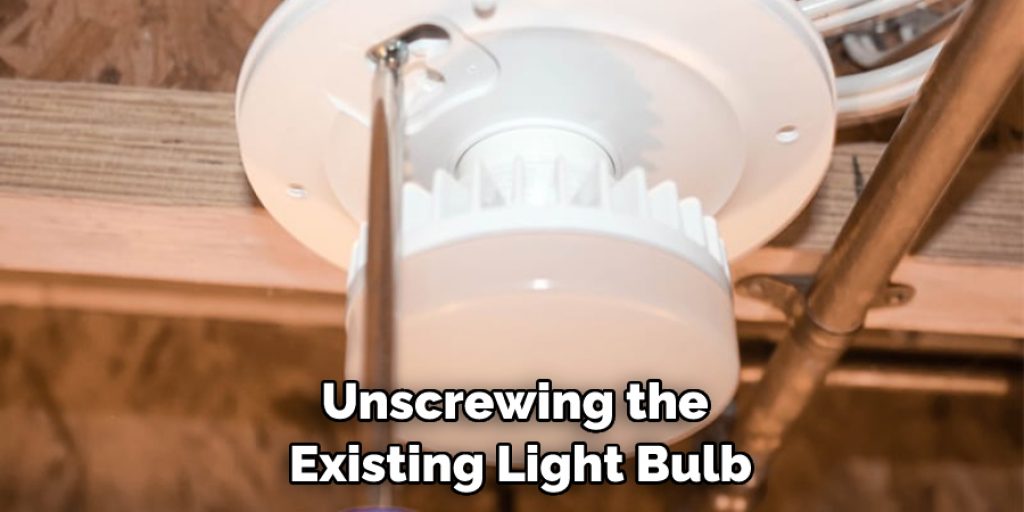
Step 1: Unscrew the Existing Light Bulb
Start by unscrewing the existing light bulb. If you have a regular screw-in socket, you’ll need to use an electrical drill and bit set to unscrew it. If you have a recessed lighting system, you may need to use an adapter that fits into the socket before unscrewing.
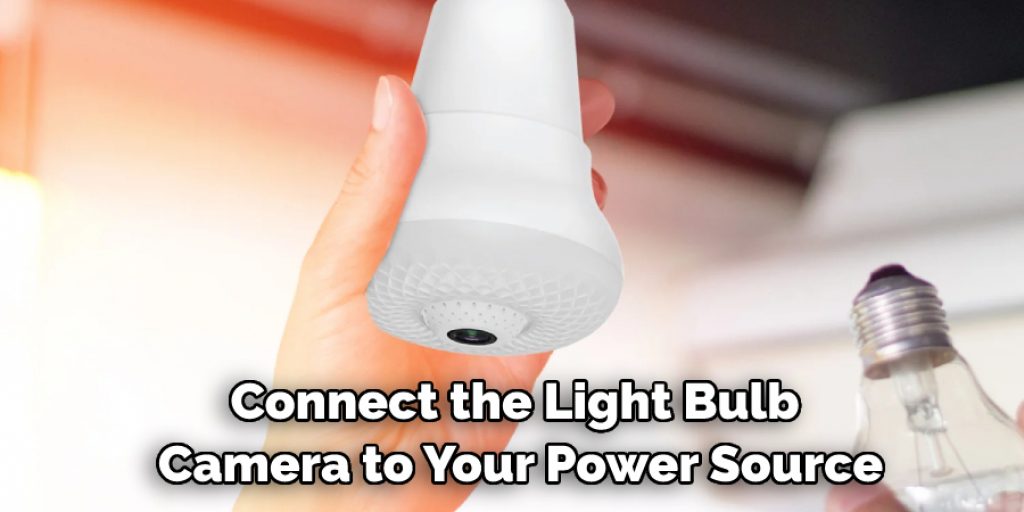
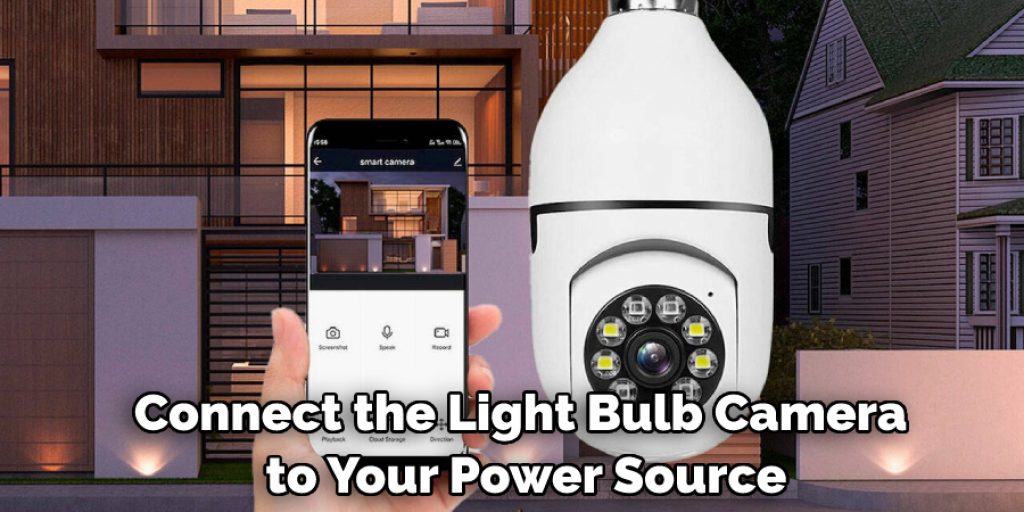
Step 2: Connect the Camera
Next, connect the light bulb camera to your power source with the electrical tape or screws provided. You can also attach it directly to the socket if no fixture exists. If the camera requires a wall outlet, make sure to use the proper wiring instructions.
Step 3: Plug In and Test
Now plug in the camera to ensure it has power and check for any problems, such as loose wiring or unplugged connections. If everything looks good, then you’re ready for the next step! Don’t forget to test the camera’s audio and video capabilities.
Step 4: Set Up Recording Options
The setup process should allow you to choose from different recording options, such as motion sensing or live streaming. Select the one that best fits your needs and configure it accordingly. As a final step, you can also customize the camera angle and position so that it captures exactly what you want it to.
Step 5: Download and Install Software
If necessary, download the software for your light bulb camera to your computer or mobile device, then install the program and follow any on-screen instructions to finish setting up the system. Use the proper cables to connect your device and camera. If you have multiple cameras, you can also link them together to keep an eye on more than one area at a time.
Step 6: Connect Camera to Wi-Fi Network
Once all of these steps are complete, connect the camera to a wireless network to access it remotely and ensure that everything is working properly. Be careful not to expose your network to malicious attacks by using strong passwords and limiting access to authorized users only. Otherwise, you could end up with a security breach.
Step 7: Place Camera in Desired Position
Position the camera to look at whatever area you need to monitor, ensuring that it is securely in place and not at risk of slipping. Another thing to consider is how the lightbulb camera looks in your space. It should be discreet enough to go unnoticed but also visible enough for you to see the footage it captures.
Step 8: Test the Camera
Test out the camera by viewing its footage from a laptop or phone to make sure that it is working properly and recording with good quality. Check for any audio or video lag and adjust the camera’s settings if needed. Ensure that the camera is in a secure position and not easily accessible to others.
Step 9: Adjust Settings as Necessary
If necessary, adjust settings such as motion sensitivity, video resolution, etc, until you get the desired results. This can be done through the app provided by your device. Additionally, you can also create a schedule for when to turn the camera on and off.
Step 10: Enjoy Your New Security System!
Congratulations! You have now successfully installed your light bulb camera and are ready to enjoy all of its benefits. Start monitoring areas of importance within and around your property for maximum security protection!
By following these simple steps, you can have your light bulb camera up and running in no time. With its convenient setup process and easy to use features, you can rest assured that your property is secure at all times. Enjoy the peace of mind that comes with having a light bulb camera!
6 Additional Tips and Tricks
- Make sure to turn off the power before starting the installation process.
- Read the instructions carefully, and gather all the necessary tools before beginning.
- Check the light socket’s compatibility with the camera by checking its specifications.
- Use a sturdy ladder to reach the installation area, and always wear safety goggles when working with electricity.
- Have an extra set of hands close by in case you need help during the installation process.
- Try to keep the camera and all its wiring as discreet as possible. This will help you avoid any unnecessary attention or interference.
These tips and tricks will help make the installation of your light bulb camera a safe and successful process. With these tips in mind, you will be ready to install your light bulb camera easily!
6 Things You Should Avoid
- Never attempt to install the camera without turning off the power.
- Do not attempt to force a light bulb camera into an incompatible socket, as this may cause damage or malfunction.
- Make sure that you are on a secure ladder when installing the camera.
- Never use force while mounting or connecting any of the components during installation.
- Be careful not to drop any tools or components during installation, as this could lead to injury or damage to your equipment and property.
- Avoid exposing excess wiring or components, as this can be a safety hazard.
By avoiding these common mistakes, you can make sure that your light bulb camera is installed properly and safely! With these tips in mind, you can have confidence in your successful installation!
Can a Bulb Camera Work Without Internet?
Yes, a light bulb camera can work without an internet connection. Some cameras have built-in memory so that recordings can be stored locally on the device itself.
Alternatively, some cameras can be connected to an external storage device for recording and storing footage. However, in order for you to access the footage remotely (away from your home), an internet connection is required.
Overall, installing a light bulb camera can be a simple and straightforward process with the right tips, tricks, and knowledge. With these tips in mind, you will be ready to start your installation confidently!
Do All Cameras Have Bulb Mode?
No, not all cameras have bulb mode. Bulb mode is a feature that allows for long-exposure photos to be taken. This is especially useful for capturing nighttime scenes or low light conditions. Not all cameras are able to support this feature, so be sure to check the manufacturer’s specifications before purchasing.
A bulb mode accessory is available, which can be attached to certain cameras and allow them to support long exposure photography.
In conclusion, installing a light bulb camera can be easy with the right preparation and knowledge. Once you have gathered all the necessary information and materials, it is just a matter of following the instructions carefully for a successful installation. With these tips in mind, you will be ready to install your light bulb camera easily!

Conclusion
How to install light bulb camera can be a great way to improve the security and peace of mind of your home. If you follow the steps outlined in this blog, you’ll have an effective setup in no time at all. Plus, an additional level of control comes with using the DIY approach for setting up this kind of technology. Now that you know what goes into installing these cameras, you can dial in adjustments and preferences for your own environment as necessary.
With a few added tweaks and adjustments, you’ll be able to maximize its usefulness as a comprehensive monitoring tool for your home. Ultimately, a light bulb camera is just one layer in your home security system – implementing other strategies alongside it is essential to truly secure and protect your abode, whether that’s fitting all possible entrances with locks or utilizing some type of alarm feature.
Keep exploring options until you find the right combination that ensures protection upon entering, exiting, and residing within the four walls of your household!


