How to Install Sliding Window
Having a sliding window can provide multiple benefits for your home. Firstly, it allows for more natural light to come into your home, reducing the need for artificial lighting during the day and saving you money on energy costs. Secondly, if installed correctly, it can help reduce drafts and improve insulation in your home.
The advantages of installing a sliding window are numerous. Sliding windows provide a wider view, which helps to make rooms look larger and more open. They also can help to improve ventilation and airflow, as well as reduce outside noise levels. Additionally, they are often easier to clean than traditional windows due to their ability to slide open from side to side. When installing sliding windows, it is important to ensure they are properly installed to maximize their benefits. In this blog post, You will learn how to install sliding window.
Importance of How to Install Sliding Window
- Cost-effectiveness: Installing a sliding window is a way to update the look of a home without having to replace the wall or window frame. Results in cost savings as you be able to achieve a modern and updated look without investing much money.
- Energy Efficient: Sliding windows can help make your home more energy efficient as they provide insulation that helps to keep the warm air inside and cold air outside.
- Increased Home Value: Installing sliding windows can increase the value of your home by making it look modern and updated while providing an extra layer of security.
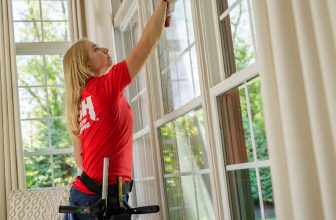
- Easy to Maintain: The sliding window is easy to clean and maintain, requiring just some basic dusting or wiping with a damp cloth.
- Durability: Sliding windows are built for long-term use and can last for many years with the proper care and maintenance.
- Space Saving: Sliding windows help save your home space as they can be opened and closed with a single motion. This makes them great for smaller homes or apartments that don’t have much room to work with.
By taking the time to install a sliding window properly, you can make your home more beautiful, energy-efficient, and secure. With some basic knowledge and tools, anyone can learn how to install a sliding window on their own in no time.
Step by Step Processes for How to Install Sliding Window
Step 1: Inspect the Window Frame
Check the window frame for any rot, damage, or cracks. Repair any damages before attempting to install the sliding window. Measure the width and height of the existing window opening. Ensure that the measurements are exact so that you can get a window that fits perfectly in its place.

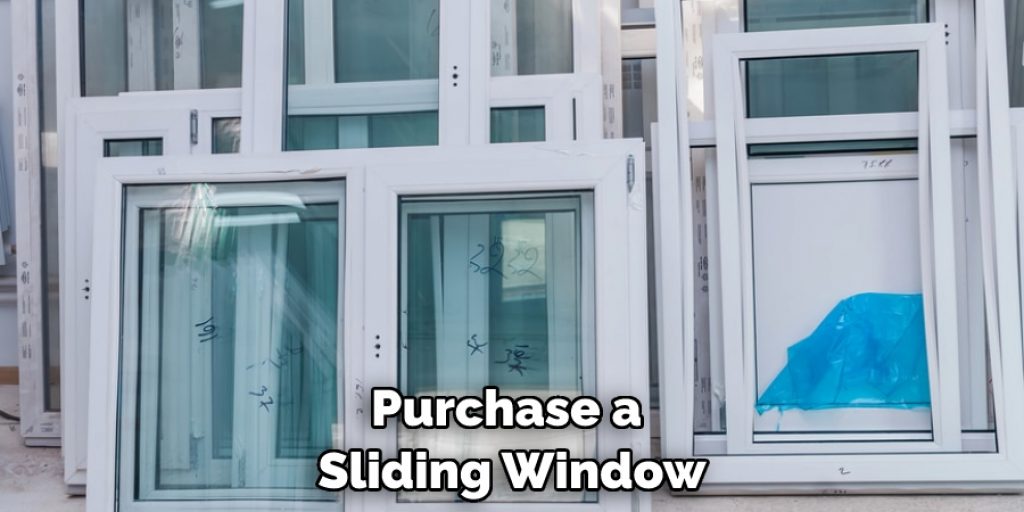
Step 2: Buy the Sliding Window
Purchase a sliding window of appropriate size that fits into the existing window opening. Make sure to select one with good insulation, energy-efficiency rating, and waterproofing. Install flashing tape around the window opening to prevent water from entering through the opening.
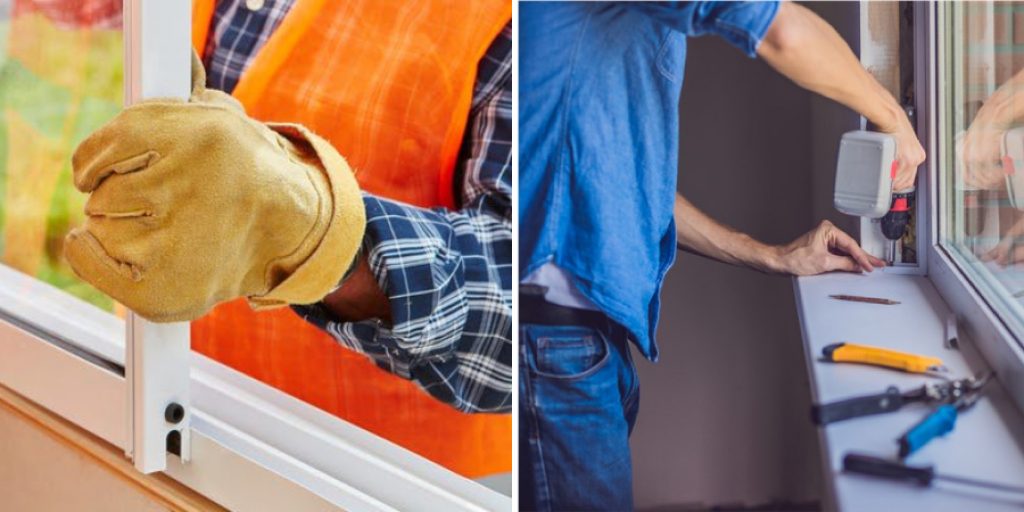
Step 3: Place Shims Against the Frame
Place shims at each corner of the window frame for added support. Ensure that they are equally distributed to create a level base. Carefully lift and slide the window into position and secure it with screws. Make sure that the window is level and secured properly.
Step 4: Caulk Around the Window Frame
Once you have installed the sliding window, use a sealant to caulk around the frame of the window for added insulation. Insert insulation strips around the frame to ensure no air gaps exist. Weatherstripping tape helps prevent air leakage and moisture buildup. Secure it on both sides and the bottom of the window.
Step 5: Check for any Gaps and Seal Them
Check the window to ensure that there are no gaps around it. If you find any, fill them with sealant or weather-stripping tape. Following these steps will help you properly install a sliding window in your home. Make sure to choose a quality window and pay attention to details during installation for reliable performance.
Safety Precautions for How to Install Sliding Window
- Be sure to wear protective gear such as safety glasses, gloves, and a face mask when installing the window.
- Check for any defects before installing the sliding window, such as chips or cracks in the glass or frame.
- Measure twice and cut once when cutting out the opening for the sliding window to ensure a perfect fit.
- Ensure the window is level before securing it with screws or nails.
- Use a caulking gun to apply sealant along the edges of the window for a watertight seal and to prevent air infiltration
- Install weather stripping along the sides, top, and bottom of the window to further help keep the weather outside and your home warm and dry.
- Check for any leaks or drafts around the window after installation to make sure everything is sealed correctly.
Following these safety precautions will ensure that you install your sliding window correctly and efficiently. The right installation can add value to your property, reduce energy costs, and provide your home with a brighter interior.
How Long Does It Take to Install a Sliding Window on Average?
Installing a sliding window can take anywhere from an hour to several days, depending on the size and complexity of the job. If you are hiring a professional installer, they should be able to give you an estimated timeline based on the measurements and specs of your project. Generally speaking, larger windows will take longer to install than smaller ones, as more time is required for the installation of additional components and supports. In addition, if there are modifications to the window or adjacent walls that must be made, such as cutting a hole in drywall or framing, this can also add to the total installation time.
It’s important to bear in mind that installing sliding windows correctly requires precision and care. Even seemingly small mistakes can lead to costly repairs or replacements down the line, so it is always best to go with a qualified and experienced professional if possible. Taking your time during each step of the installation will ensure that you get the most out of your window for many years to come.
Is There Any Special Maintenance Required to Keep Your Sliding Window in Good Condition Over Time?
When installing a sliding window, it’s important to consider the maintenance and upkeep that will be required over the lifetime of the product. Regularly examining your windows for signs of damage or wear is essential to keeping them in good condition and ensuring their longevity. To keep your sliding window in its best shape, you should check for any signs of damage or wear regularly. Ensure to note any air drafts from the window, as this could indicate a loose seal. Additionally, you should make sure to check for any scratches, chips, or other signs of damage on the glass, frame, and sliding mechanism.

You may also want to inspect both pieces of the window for any dirt or debris that may have accumulated over time. Keeping the window clean can help preserve its appearance and reduce the need for repairs in the future. Additionally, you should lubricate any moving parts of the window from time to time, as this will help keep it working properly and prevent unnecessary wear and tear. Finally, if you notice any signs of damage or performance issues, it is generally best to contact a professional for repairs. Doing so can help prevent more serious problems from developing and ensure that your sliding window is working properly over the years.
What Common Problems You May Encounter When Installing a Sliding Window?
When installing a sliding window, there are several common problems that may occur. These include incorrect measurements, poor installation technique, improper weatherproofing, and inadequate framing. Incorrect measurements can lead to an improperly fitting window frame that does not fit securely in the opening. Poor installation technique could result in gaps between the window frame and the wall hole, which could lead to air and water infiltration.
Improper weatherproofing can also cause leaks around the window frame. Additionally, inadequate framing may not provide enough support for the weight of the window and hardware, leading to additional stress on the frame. To ensure a successful sliding window installation, it is important to measure accurately and use the correct techniques when installing. Be sure weatherproofing is applied properly, and make sure that the frame is adequately supported.

Conclusion
One of the disadvantages about how to install a sliding window is that it requires more effort, time, and skill than other window installation methods. Another disadvantage is that due to the size and weight of the windows, additional support may be necessary in order for them to operate safely and securely. In addition, if there are any objects obstructing the sliding window’s path, it is more difficult to move the window and install it properly.
Inc conclusion, installing a sliding window can be done easily and quickly with the right tools and instructions. It is important to make sure that the measurements are accurate when measuring for the window, as well as to ensure that all necessary materials are available before beginning installation. I hope this article has been beneficial for learning how to install sliding window. Make Sure the precautionary measures are followed chronologically.
Angela Ervin
Angela is the executive editor of DIY quickly. She began her career as an interior designer before applying her strategic and creative passion to lifestyle and home. She has close to 15 years of experience in creative writing and online content strategy for housekeeping, home decorations as well as other niche efforts. She loves her job and has the privilege of working with an extraordinary team. She lives with her husband, two sons, and daughter in Petersburg. When she's not busy working she spent time with her family.