How to Install Window Well Covers
Installing window well covers can be a great way to protect your basement windows from the elements and accessorize the space. Whether you’re installing pre-fabricated covers or making custom ones out of metal grates,
it’s important to ensure that your installation process is solid so that your covers will last for years to come.
In this blog post on how to install window well covers, we’ll take an in-depth look at how you can effectively install window well covers yourself, as well as some tips on picking out the perfect design. Read on to learn more!
What is Window Well Cover?
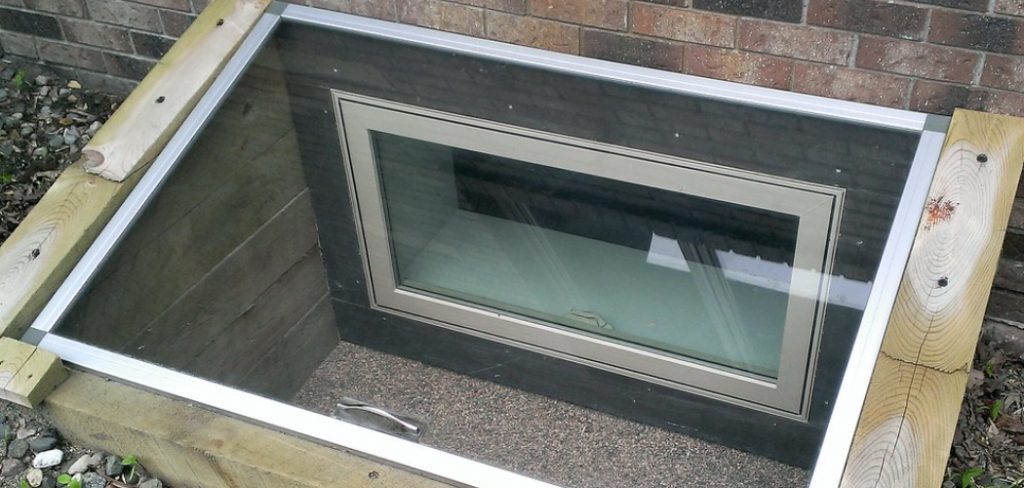
A window well cover is a type of enclosure that fits over the top of your window well and covers any open spaces or gaps. It provides an added layer of protection from the elements, such as snow, rain, leaves and debris.
Covers also provide extra security for those who live in areas prone to break-ins or vandalism. Window well covers come in a variety of materials, such as plastic, metal and clear glass, so you can choose the option that best suits your home’s aesthetic.
Why Do You Need to Install Window Well Cover?
Installing a window well cover is important for protecting your basement windows from the elements and potential intruders. Window wells are vulnerable to rain, snow, debris, animals and other pests. A window well cover will keep these things out of your basement, as well as reduce the risk of water or mold damage.
Additionally, having a window well cover installed can add extra security to your home, as it makes it difficult for someone to break in through the window well.
11 Step-by-step Guidelines on How to Install Window Well Covers
Step 1: Measure Your Window Well
Take measurements of the top and sides of the window well to ensure that you purchase the correct size cover. It’s important to have an accurate measurement so that the cover fits snugly and securely. If the cover is too small, it will be more prone to shifting or even away in strong winds. It’s also important to measure the inside of the window well frame so that you know how much room you have for a custom metal grate.

Step 2: Choose a Window Well Cover
Select a style and material that complements your home’s aesthetic and matches the size of your window well. This includes pre-fabricated plastic covers, metal grates and clear glass covers. Take into account factors like the type of window well, your home’s climate and how much maintenance you want to put into the cover. It might also be helpful to take a look at other windows well covers in your neighborhood for inspiration.
Step 3: Purchase the Cover
Once you’ve selected a cover, purchase the necessary materials. If you’re making a custom metal grate, make sure to buy enough metal for the size of your window well. If you’re buying a pre-fabricated cover, you’ll also need to purchase any tools or adhesive you’ll need for installation. It’s also helpful to pick up some spare parts in case you need to make repairs down the road.
Step 4: Prepare The Window Well
Before you begin the installation process, make sure to clean the window well and remove any obstructions that might interfere with the cover’s fit. This can include removing dirt, leaves and other debris. If you’re installing a custom metal grate, you may need to repaint the window well frame and add any necessary weatherstripping.
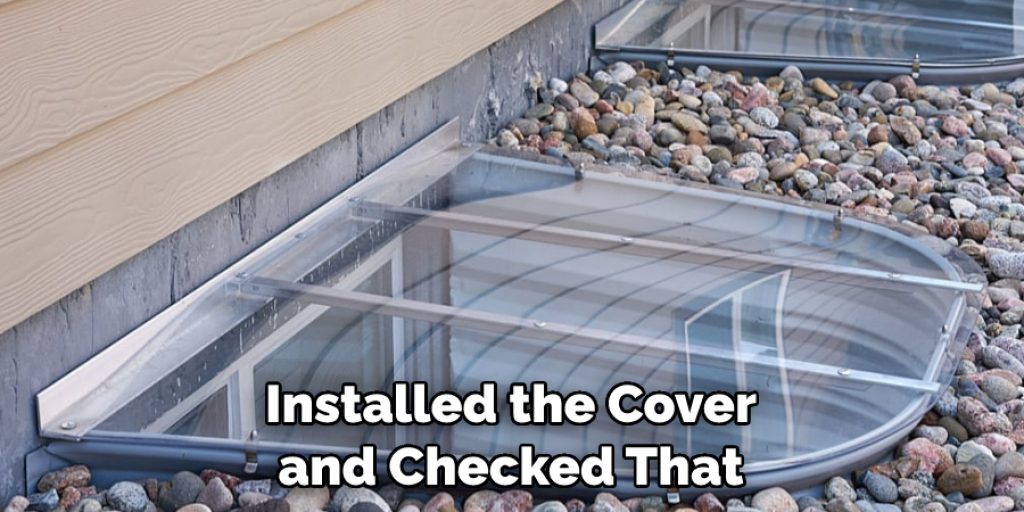
Step 5: Install The Cover
If you’re installing a pre-fabricated cover, follow the instructions provided by the manufacturer regarding installation methods and materials. If you’re making your own custom metal grate, attach it to the frame of the window well using bolts or screws. It’s important to make sure that the cover is securely fastened and won’t come off in strong winds.
Step 6: Make Sure The Cover Fits
Once you have installed the cover, use a level to make sure that it fits securely in place without any unevenness or warping. You should also check for gaps between the frame and the material of your cover. It’s important that the cover fits snugly and securely so that water, debris and animals are kept out of your basement.
Step 7: Seal The Cover
After you have installed the cover and checked that it fits securely, use adhesive or sealant to fill in any gaps between the frame and your material. This will help prevent leaks and water damage. This step is particularly important if you’re using a glass cover, as it provides an extra layer of protection against water seeping into your basement.
Step 8: Add Accessories (Optional)
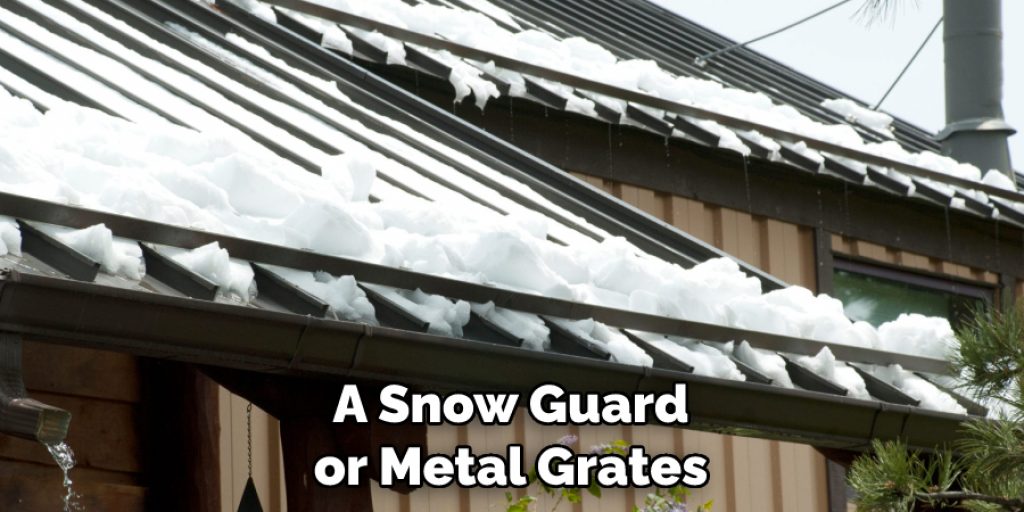
For added protection, you can also purchase accessories for your window well cover such as a snow guard or metal grates for extra security. Be sure to follow the manufacturer’s instructions when installing these accessories. It’s also important to make sure that the accessories fit securely in place and won’t come off in strong winds.
Step 9: Check For Leaks
Once all of the pieces are in place, check for potential leaks around the edges of the window well cover by running a hose over it in order to identify any weak spots. If you find any, apply additional adhesive or sealant to fill in the gaps. It’s also a good idea to check the cover regularly for any damage or wear and tear.
Step 10: Anchor The Cover
Finally, anchor the cover to the frame of your window well using screws or bolts in order to prevent it from shifting in strong winds. Be sure not to over-tighten the screws as this can cause warping and damage to the material. If you’re using a pre-fabricated cover, follow the manufacturer’s instructions for anchoring it in place.
Step 11: Clean Up
Once all of the pieces are securely installed, clean up any leftover materials like sawdust or adhesive residue. It’s important to keep your window well covered and maintained regularly by cleaning off dirt and debris with a vacuum or hose every few months. If you’re using a metal cover, it’s also important to check for rust or corrosion and take steps to prevent it.
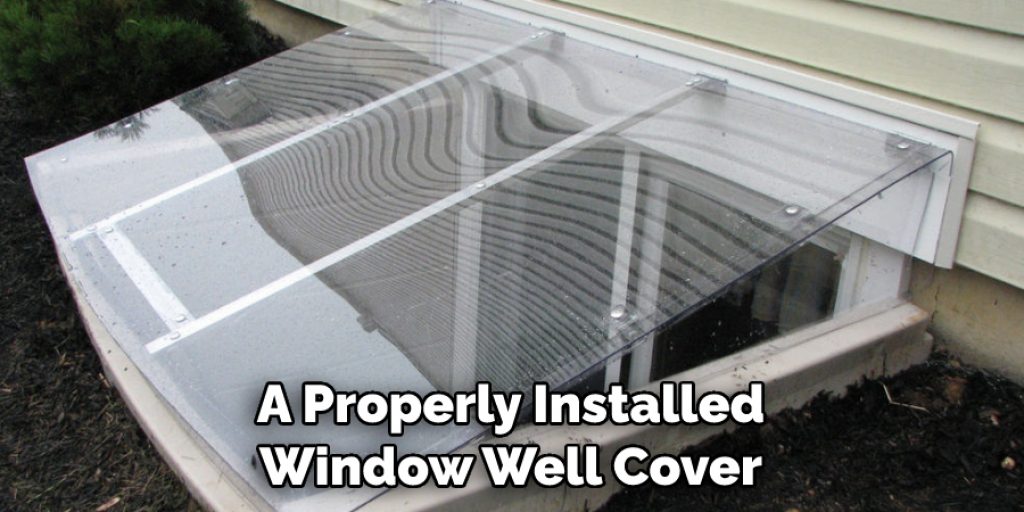
By following these steps on how to install window well covers, you can easily install a window well cover and protect your home from potential water damage.
A properly installed window well cover will also add to the overall aesthetic of your house, creating a more attractive exterior. With a little bit of planning and effort, you can ensure that your window well is secure and protected for years to come.
Do You Need to Use Professionals?
Although installing window well covers is relatively simple, it may be beneficial to hire a professional for more complex projects. A contractor will have the experience and tools necessary to safely install your cover and ensure that it fits securely in place.
Professionals may also be able to provide advice on which type of cover best suits your needs. So if you’re unsure about the installation process or don’t feel confident tackling this project yourself, hiring a professional can help ensure the job is done right.
Frequently Asked Questions
Q: What Are the Best Materials for Window Well Covers?
A: The most popular materials for window well covers include pre-fabricated plastic covers, metal grates, and clear glass covers. However, there are also a variety of other material options available, depending on your climate and preferences.
Q: How Often Should I Maintain My Window Well Cover?
A: It’s important to keep your window well covered and maintained regularly by cleaning off dirt and debris with a vacuum or hose every few months. Additionally, check for potential leaks around the edges of the cover after installation and reseal any gaps that may have developed over time.
Q: What Accessories Can I Add to My Window Well Cover?
A: For added protection, you can also purchase accessories for your window well cover such as a snow guard or metal grates. Be sure to follow the manufacturer’s instructions when installing these accessories in order to ensure that they are properly installed and secure.
Q: How Long Does It Take to Install a Window Well Cover?
A: Installing a window well cover typically takes around one hour depending on the size, material, and complexity of the installation. Make sure to follow all instructions carefully and take your time in order to ensure that your window well cover is safely installed.
Conclusion
Installing window well covers may seem like a daunting task, but it really doesn’t have to be. With the help of this article on how to install window well covers and the right tools, careful measurements and an understanding of how to properly make the necessary cuts, anyone can complete this project at home.
And best of all, once you’ve completed the installation process you’ll have that satisfaction of successfully doing something on your own and being able to look at your handiwork with pride.
Window well covers offer more than just aesthetic appeal – they also provide an added layer of protection against dirt, leaves and other debris getting inside your basement or crawl space during those bad weather days.
So don’t wait another minute – install window well covers for better safety and maintenance for your home.
Angela Ervin
Angela is the executive editor of DIY quickly. She began her career as an interior designer before applying her strategic and creative passion to lifestyle and home. She has close to 15 years of experience in creative writing and online content strategy for housekeeping, home decorations as well as other niche efforts. She loves her job and has the privilege of working with an extraordinary team. She lives with her husband, two sons, and daughter in Petersburg. When she's not busy working she spent time with her family.