
How to Insulate a Window Air Conditioner for the Winter
Introduction
Window air conditioning units are fantastic cooling devices that have a lot of benefits for the user. They are very convenient and can be installed almost anywhere, providing they have window access. They also provide a very good level of cooling, making them ideal for use in hot weather. If you have ever used a window air conditioning unit before, then you will know that they can be quite noisy.
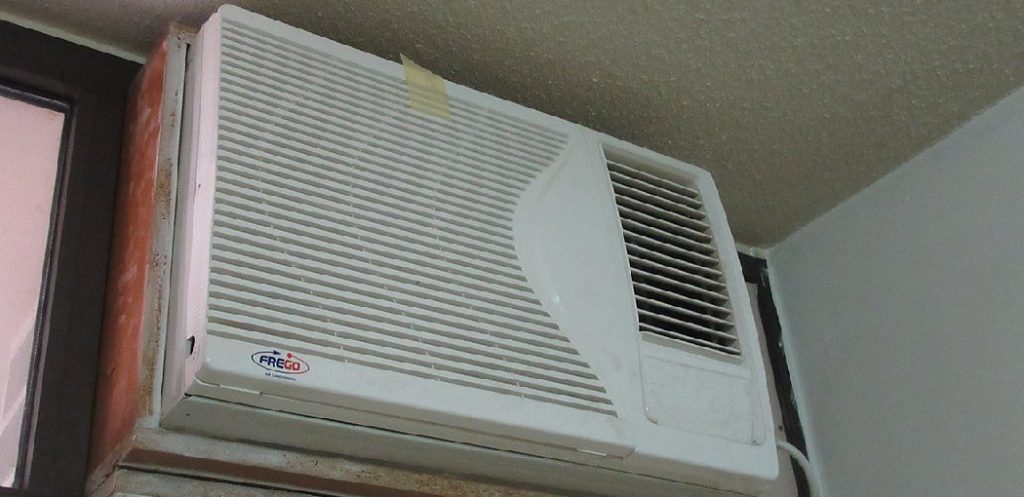
Air conditioners are a great way to keep your home cool, but you don’t need to worry about running a lot of wiring through your house. You can install them in one central spot and they come with great features like remote controls, timers, and special designs that heat your home and cool it! This guide will show you how to insulate a window air conditioner for the winter to lose its efficiency whenever cold weather comes around.
Why Insulate a Window Air Conditioner for the Winter?
* Save Money on Energy Bills.
By insulating your window air conditioning unit for the winter, you can save a good deal of money over the course of each year’s cooling costs. For example, cooling a house without an AC can cost more than 400 dollars per month in areas where electricity is expensive. Using your AC during that same period will reduce those costs by removing excess heat from the home and providing cool air to keep it comfortable.
Adding a layer of insulation reduces the likelihood that your AC will need repair since it is more protected from extreme temperatures.
* Keep House Cool Remotely.
If there are rooms in your house which you do not often use, replacing air can be costly and energy inefficient. If these rooms contain an insulated window A/C unit, however, you can still keep them pleasant with minimal cost to yourself. When combined with automatic climate control systems, such as thermostats and timers, this technique makes it possible for the entire home to be comfortable without excessive air conditioning or central heat. You will save time and money every month by controlling the temperature in each room without worrying about resetting controls manually each time. Also, many people are uncomfortable in rooms with air conditioning set to lower temperatures. By keeping a few rooms comfortable without air conditioning, you can still enjoy the benefits of the cool air while not insisting that everyone else follow suit.
* Maintain Indoor Temperature Control and Comfort Levels More Easily..
Window-mounted A/C units are typically placed near windows or other openings to extract heat from the house during their operation. This design works well when done correctly, but it is easy for them to be placed at a disadvantageous angle or in locations where they cannot effectively draw out hot air and replace it with cooler vapor. Many homes suffer this problem every summer when homeowners move their A/C unit slightly closer to an opening to avoid placing it directly on walls that may have become warmer from sunlight.
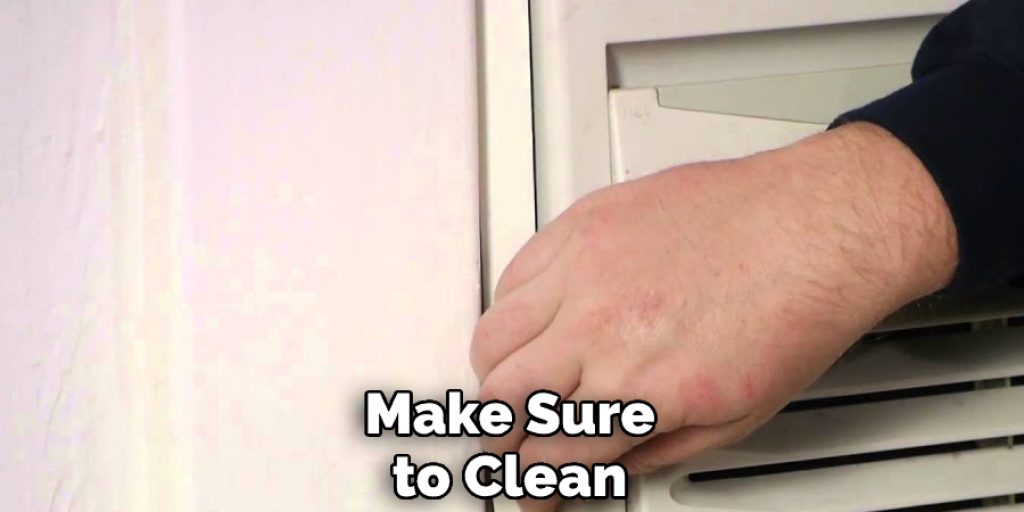
Step-wise Guide on How to Insulate a Window Air Conditioner for the Winter
Step 1:
Take the small window air conditioner unit out of the window and bring it into your house/room. Also, make sure you remove all the pieces from the box where the air conditioner came in. You will need to set up an area for putting together your new AC soon enough, so don’t put these pieces away just yet.
Just remember where they are, and you can clean them off a little bit if anything is on them when you come back around to set up your device. Leave these things out for now so that you have easy access to them without having to dismantle everything later on down the line when you’re finally ready to start setting everything up and preparing for winter months ahead. The last thing to do is to remove the batteries from all of your devices, and if you have a propane-powered grill, make sure that you turn off the main valve. If you have a patio heater, this will be a little bit different.
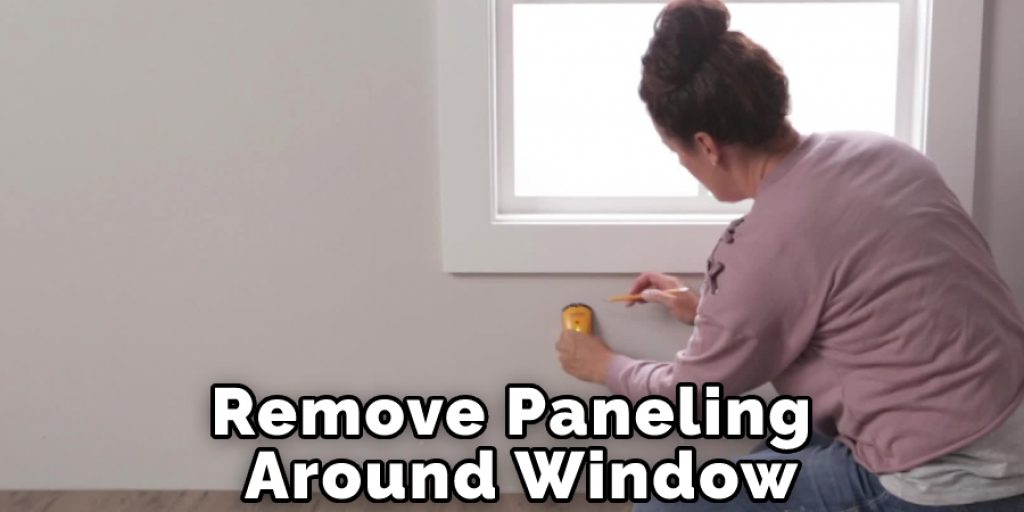
Step 2:
Remove the paneling from around the window area where your air conditioner was. This should be a few pieces of wood that are easily screwed in and taken out without having to use too much muscle power to take them off.
Step 3:
Start fitting foam insulation into the spaces between windows by sliding it between the glass and walls on each side of the cabinetry surrounding your window. The foam will expand with time, so make sure you leave a little bit of a gap between it and any metal or glass surfaces to allow for this expansion. Finish up by screwing thin strips of wood into the sides of the cabinetry and window frames to secure the foam insulation in place.
Step 4:
Look inside your box of AC parts again and pick up the cooling/heating coils that were in place around the backplate before, but don’t put them on just yet. You want to give everything some time to settle and expand. Again, though, don’t leave them out for more than a day or two because they could start rotting in place if left out too long. It’s also a good idea to look for any condensation that might have formed on the coils, which can happen when you change out the rear plate.
Step 5:
Get the foam pads that came inside the AC box and place those around the front of your device where it makes contact with the glass surface on each side. These pads will not only seal off any gaps between parts but also provide an extra layer of insulation so that when you turn on the air conditioner again during the winter months ahead, it can operate at its maximum efficiency.
Step 6:
Put back all of the sheetrock you removed earlier before installing AC by screwing it tightly into place once again to lock everything together without allowing any drafts to get inside your home.
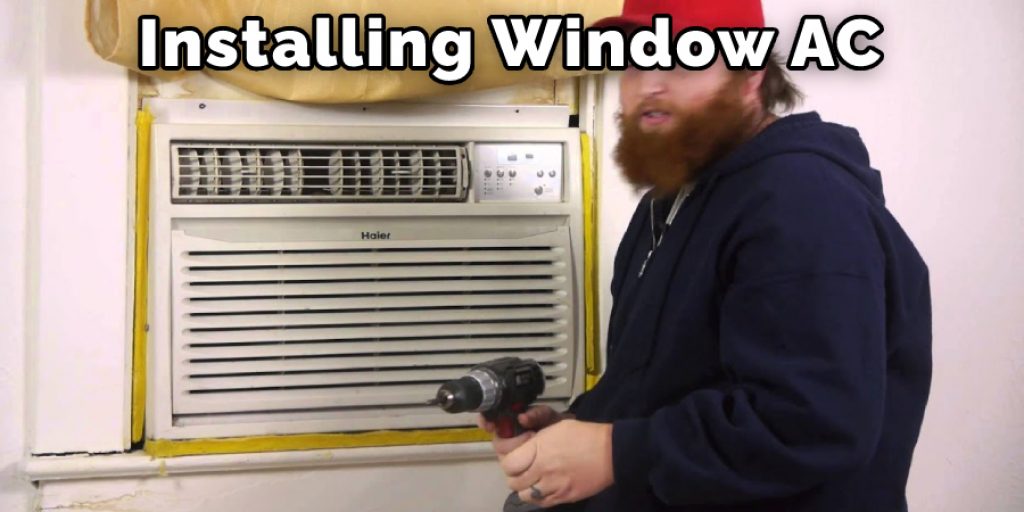
Step 7:
Put the device back in the window and turn it on! Now you should see how well insulated your unit is for the winter, but if you feel like there’s still some ways to go before this unit is ready for use again, disregard these last steps and repeat those above.
This process may seem time-consuming at first glance, but it’s really not that bad when you look closely at everything that’s happening here. It only takes a few minutes to do each step individually (depending on how fast you work), so overall; this project shouldn’t take more than an hour or two.
Precautions While Insulating a Window Air Conditioner for the Winter:
- If the air conditioner is a twin hose type, make sure you insulate and seal both hose connections.
- If your air conditioning unit comes from the factory with an exhaust hose connected to it, then disconnect it. The reason for this is that if the air con doesn’t have any place to vent warm moist (condensed) air because of lack of exhaust, factory-installed or otherwise, it will be forced back into the room, causing increased humidity which can lead to mildew growth on walls and ceilings. Also, the absence of exhaust means that there’s no way for dirty outside air to be drawn out when fresh air needs to get in.
- Make sure the window in which you’ll insert your AC is well sealed before you start insulating.
- Also, make sure that there’s a slope (angle) from the bottom to the top of the window so that if water does ever get inside and freeze, it doesn’t end up getting trapped or clogging anything.
- Another safety precaution you might want to consider is closing off any room other than the one in which your AC unit is located with plastic sheeting until it’s colder outside…just in case.
- Keep all hoses and electrical leads as far away from the wall being insulated as possible because they will be cold, and radiators are scorching!
How to Store a Window AC Unit: The Right and Wrong Ways
There are right ways to store a window AC unit, and there are wrong ways. You might think that it’s simply a matter of putting the thing in storage until spring comes around again. Still, if you really want your window air conditioner to function optimally when you pull it out of storage next year, there are some things that you need to make sure you’re doing right. So here is what to do from start to finish as far as prepping your window unit for safe fall/winter storage.
It is important that you first empty the inside condenser coils or blower housing before closing up your unit. This will prevent any potential water damage from occurring over the winter months if moisture should build up.
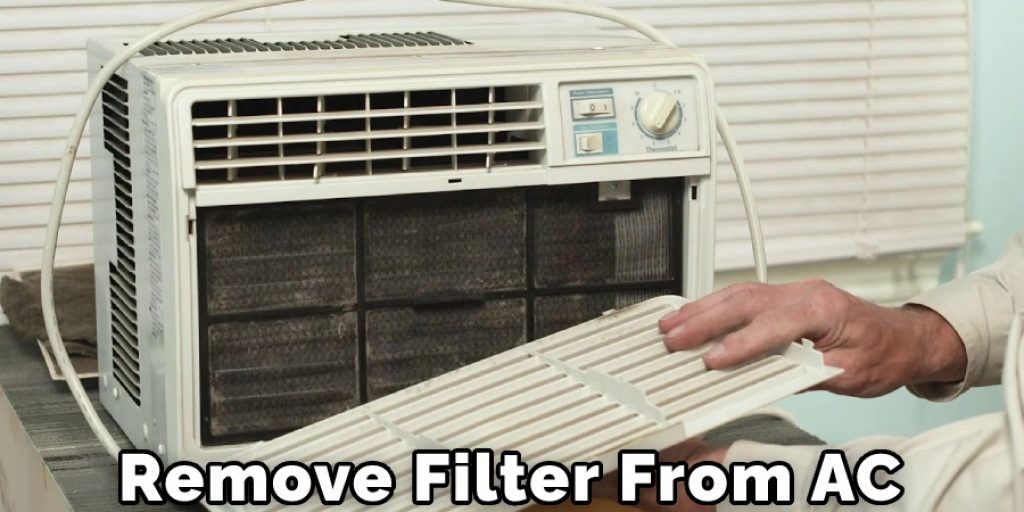
Some people recommend that you remove any filters from your window unit before closing it up. You may or may not want to do this, depending on how easy the filters are to clean and replace. If they’re all of the standard sizes, then it’s no big deal, but if there are slight variances between each filter, you might need to be a little more particular about avoiding damage or tears in them over the next year.
If you have purchased a brand new window air conditioning unit and have never used it for an extended period of time before, you will likely want to repair any damage done by shipping on the outer shell of your new unit.
This is especially important if your unit was shipped via truck rather than via rail where other trucks were stacked on top of it. In addition, any dings or scratches in the housing can potentially cause air leaks over time so repair this damage if you notice it right away.
If your unit has an internal metal heat exchanger coil, you’ll want to store that with care as well since these coils are typically not covered for protection against damage or rusting during storage. If there is any excess lubrication in the inner workings of the fan blower housing, make sure to clean that out thoroughly before closing up the unit again for good and coat those parts where friction occurs with light lubricant.
Conclusion
I hope this article has been beneficial for learning how to insulate a window air conditioner for the winter. Follow these steps properly for obtaining the best insulation. Thank you and have a nice da


