How to Take Apart Frigidaire Portable Air Conditioner
The Frigidaire Portable Air Conditioner is a great unit for cooling down your home on those hot summer days. However, as with any piece of equipment, it may need some maintenance or even just an adjustment to keep running at its best performance level. This blog post will cover how to take apart Frigidaire portable air conditioner, so you can get those parts cleaned up and ready for next season. Let’s dive in!
What is a Frigidaire Portable Air Conditioner?
A Frigidaire Portable Air Conditioner is a compact, self-contained unit designed to cool a specific area or room. It works by pulling in warm air from the room, passing it through evaporator coils to remove heat and moisture, and then blowing out cooler air back into the room. The unit also has a condenser that releases the heat and moisture outside through a vent or hose.
You can easily move the Frigidaire Portable Air Conditioner from room to room, making it a convenient and versatile option for cooling your home. It is also more energy-efficient than traditional window air conditioners and does not require any permanent installation.
Why Do I Need to Take Apart My Frigidaire Portable Air Conditioner?
While the Frigidaire Portable Air Conditioner is designed for easy operation, regular maintenance is still required to keep it running efficiently. This includes cleaning the filters and coils, as well as checking for any debris or blockages in the air intake and exhaust vents.
Taking apart your Frigidaire Portable Air Conditioner will allow you to thoroughly clean all of its components and ensure that it is working at its optimal level. It can also be helpful if you need to replace any parts or make adjustments for better performance.
You may also need to take apart your Frigidaire Portable Air Conditioner if you are storing it for an extended period, as it is recommended to clean and prepare the unit before storage.
Required Tools and Materials:
Before we start on the main steps to take apart Frigidaire Portable Air Conditioner, here are some things you’ll need.
A Phillips Head Screwdriver:
This is an essential tool for taking apart most air conditioners and will be needed to remove any screws holding the unit together. It’s best to have a magnetic screwdriver so that you don’t lose any screws in hard-to-reach places.
A Vacuum Cleaner:
It’s always a good idea to vacuum out any dust or debris that may have accumulated inside the unit before taking it apart. This will help prevent any clogs or malfunctions in the future.
A Soft, Clean Cloth:
You’ll want to have a soft cloth on hand to wipe down any parts of the unit that may need cleaning. Make sure it’s clean and dry to avoid leaving behind any residue.
Protective Gear:
It’s always a good idea to wear protective gear such as gloves and goggles when working with any electrical appliances. This will help prevent any accidents or injuries.
Steps To Follow: How to Take Apart Frigidaire Portable Air Conditioner?
Step 1: Unplug From the Wall
The first step is to unplug your air conditioner from the wall. This way, if you accidentally touch something while disassembling it, nothing will happen to allow you to be shocked or harmed by electricity. The power cord can be found at the back of the unit and is usually easy to locate. Once you have unplugged it, set it aside. You won’t be needing it anymore. It is essential to be safe while working with any electrical appliance, and this step is crucial.
Step 2: Remove Top Panel
Remove the two screws on either side of the top panel using your flathead screwdriver. Once you have removed these two screws, lift the top panel and set it off to the side. If you have a model with a built-in handle, be careful not to damage it while removing the panel. The top panel should easily come off, revealing the inner workings of your air conditioner. You may want to use the vacuum cleaner here to remove any dust or debris that may have accumulated.

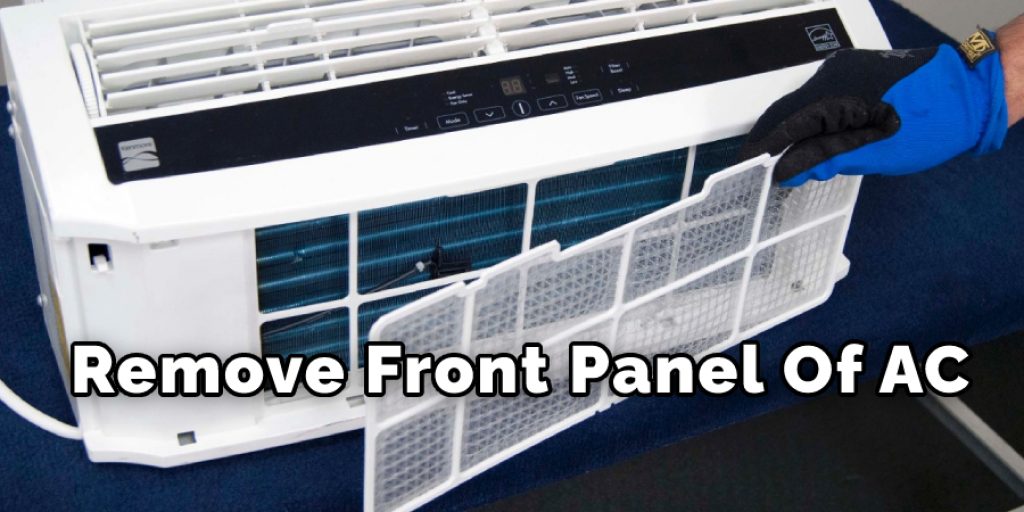
Step 3: Remove Front Panel
Snap clips hold on the front panel. It should be easy enough for you to pull it away from the unit once you push down on the release tab of each clip. You will need to remove the panel from the bottom up to gain access to the compressor. Before you do that, though, there are two wires attached to a cover, and we find three fuses. You must disconnect these wires before removing the front panel. To do this, gently pull the wires out of the connector.
Step 4: Remove the Side Panels Inside
Once you have all of the clips snapped out, you can remove the side panels. There are four screws that you will need to pop off for each panel. Be sure to keep track of these as they go back to the same places once we are reassembling this portable air conditioner. Once you have removed the panels, you can remove the compressor cover to access the wiring. Be careful with this as you remove it, as the capacitor may still have a charge. Always handle electrical components with care to avoid any accidents.
Step 5: Remove Wires from Compressor
Make sure that no wires are touching any of the fan blades before continuing! If they touch, turn off the compressor, and your unit will stop spinning for you. Again, we don’t want your wiring to be damaged. Once you are sure that the wires aren’t in danger of touching, it is time to disassemble the compressor a little bit more.
Remove the wire harness and expose the screws that are holding down an even larger piece of metal. Remove this cover, and then remove the three fuses from their locations. After you have done this, the motor should come free of its housing, thus allowing you access to it to clean it up and put everything back together again.
Step 6: Cleaning the Fan Blades
If you look closely at the picture above, you can see that the compressor has some dust-caked. We need to get all of this off and allow the blades to spin freely. A good way to do this is with a small vacuum cleaner or even just an air nozzle on your blow dryer. We don’t suggest using a toothbrush to clean the blades as they are very sharp, and you could cut your hands easily on them. The fan blades don’t need to be sparkling clean, just free of dust and debris so that they can spin without any resistance.
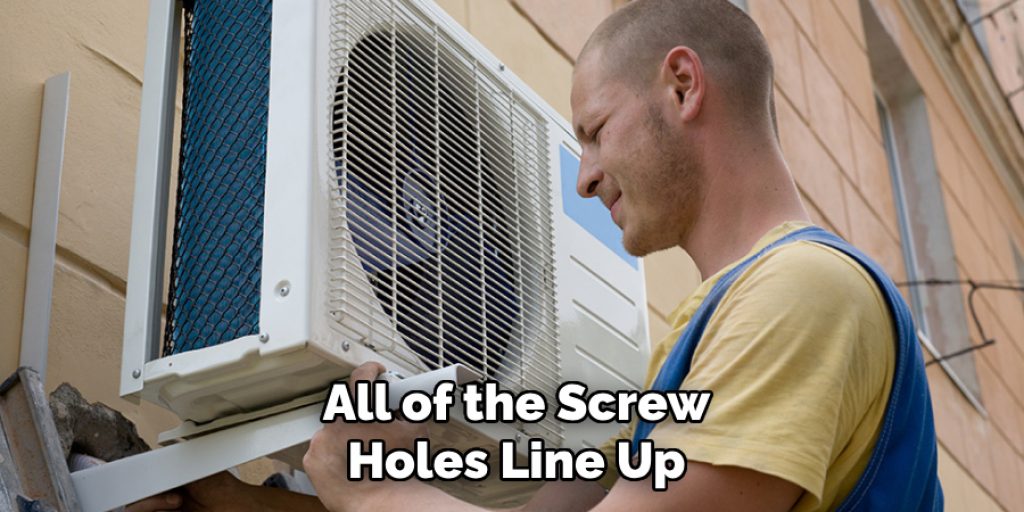
Step 7: Replace the Motor and Compressor Cover
Once your motor is dust-free, you can put back the cover by simply pushing it back on. You may have to use a small hammer or mallet if you cannot get it back in place by hand. Be sure that all of the screw holes line up and you have cleaned out the cover and replaced all of your fuses. It is time to reattach them. Be sure that you get these clips back in place before snapping on the side panels. Also, make sure that all wires are clear and free from touching anything while working inside this unit!
Step 8: Reattach Cover Panel
Now you can remove this motor from its housing. If there is any dust or other debris in the housing, be sure to get it out before going to the next step. This will make a big difference in how your air conditioner works once we put it all back together again.
Step 9: Reattach Fan
Once you have removed all of the dust and grime, you can put your fan back into place. Again, be sure to position it the same way that it was before you took off the housing and reattached it. After you have done this, put your front panel back on again and snap everything back in place. You want the unit to be put back together in the reverse order it was taken apart. You should be all set! Your portable air conditioner should be functioning as well as new!
Step 10: Reattach Cables to Compressor
This step is pretty self-explanatory. Just be sure that you are connecting the wires in the correct place and not reversing them! If you happen to put a wire in backward, it might fry something or cause some other problem with your portable air conditioner unit. Connect all of the wires and screws, then snap everything back in place. If you are uncertain about anything you need to do here, it may be a good idea to get in touch with a professional and have them walk you through it or come to take care of it for you. Better safe than sorry!
Finally, check everything inside your portable air conditioner again to ensure that there are no wires touching anything and that the ceiling panel is put back on.
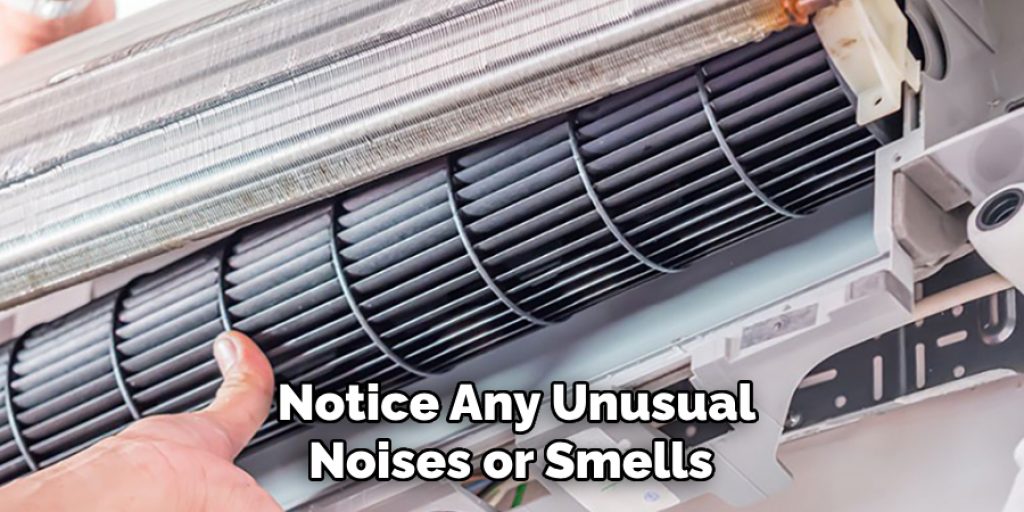
Do You Need to Get Help From a Professional?
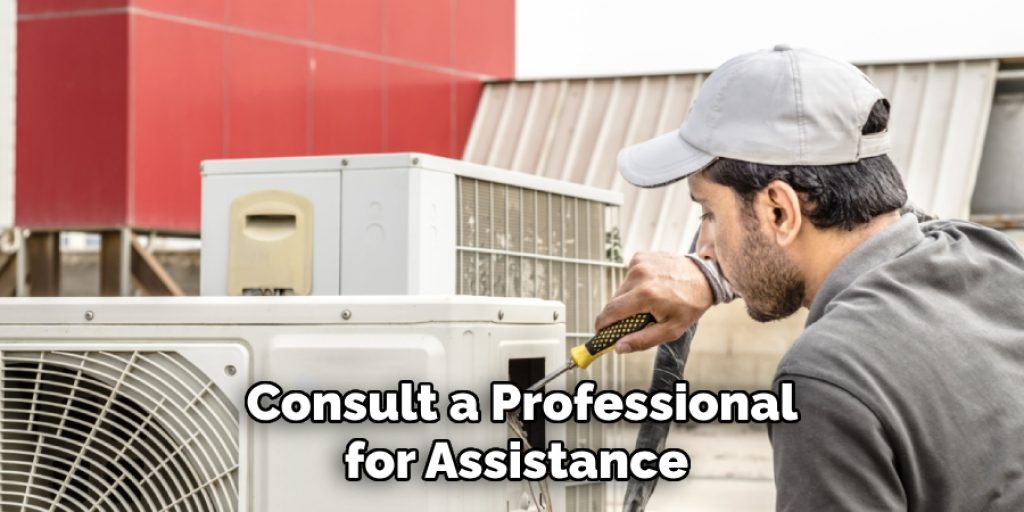
While cleaning and maintaining your portable air conditioner can be a simple DIY task, some problems may require the help of a professional. If you notice any unusual noises or smells coming from your unit, it is best to contact an HVAC technician for assistance. They have the knowledge and expertise to diagnose and fix any complex issues with your unit.
Additionally, if you are uncomfortable working with electrical components, it is best to seek professional help to avoid any accidents or damage to your unit. A technician can also provide regular maintenance services to keep your portable air conditioner running smoothly and efficiently.
Remember, taking care of your portable air conditioner regularly can extend its lifespan and save you money in the long run. So, be sure to follow these simple steps to keep your unit in top condition and enjoy cool, clean air all summer long. So, don’t hesitate to consult a professional when needed, but also take the necessary steps to maintain and troubleshoot your portable air conditioner on your own. With proper care and maintenance, you can keep your unit running like new for years to come!
Tips To Maintain Your Frigidaire Portable Air Conditioner:
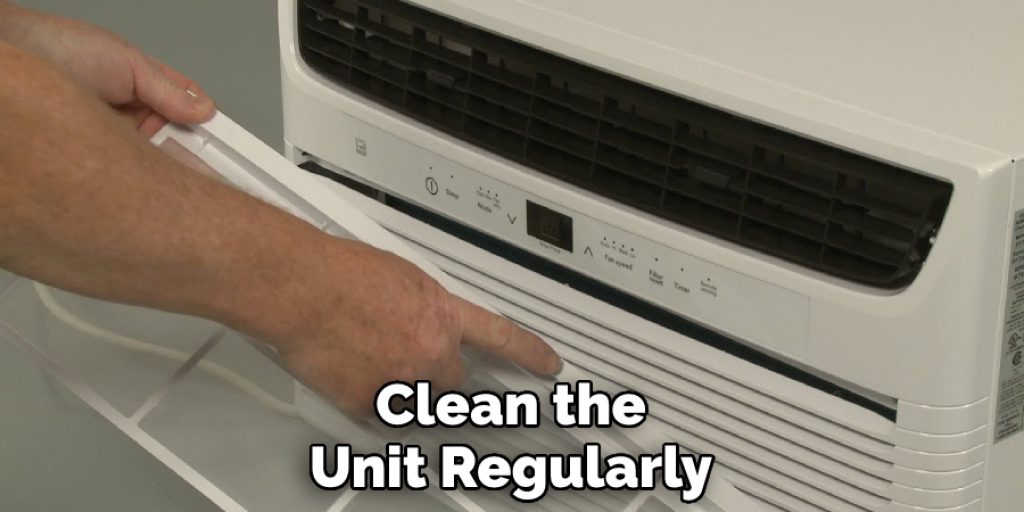
It is important always to keep your portable air conditioner clean. This will help it run cooler and more efficiently, which means that you will use it for a longer period of time. Here are a few tips on keeping it clean:
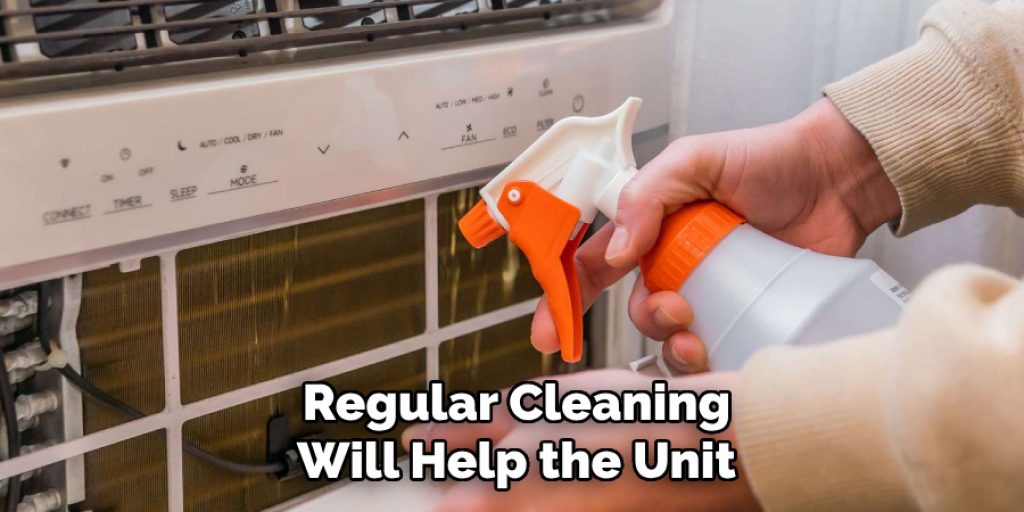
1) Clean the unit regularly. This will depend on how often you use it, but once every few months should be fine.
2) Use canned air to get rid of all of the dust and dirt from the unit. Do not spray anything directly onto your portable air conditioner!
3) If you have touching wires, they are probably fraying. Just cut them off, and be sure to check your portable air conditioner more often if you do not want it to short out on you.
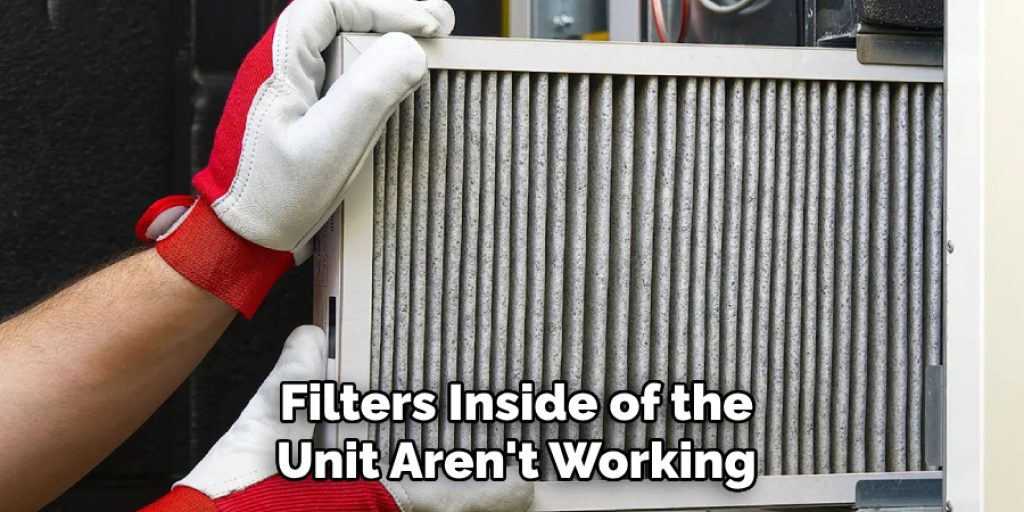
4) If the filters inside of the unit aren’t working, clean or replace them so that the air conditioner can run cooler and quieter.
5) If your portable air conditioner is running hot, there might be a problem with the thermostat. Try to figure out what is making it run hot and fix that first before replacing parts.
By following these tips, you can ensure that your Frigidaire Portable Air Conditioner lasts for a long time and continues to keep you cool during the hot summer months. Remember to always unplug your unit before attempting any maintenance or repair work, and consult the manufacturer’s manual for specific instructions on cleaning and maintaining your model air conditioner.
Frequently Asked Questions:
Q: Do I Need Any Special Tools to Clean My Portable Air Conditioner?
A: No, you do not need any special tools. A small vacuum cleaner or an air nozzle on a blow dryer should suffice for cleaning the fan blades and removing dust from the unit. You may also need a screwdriver to remove the cover and access the motor. You should always unplug your unit before attempting any maintenance or repair work. The manufacturer’s manual may provide specific instructions for your model. It is important to follow these instructions carefully.
Q: How Often Should I Clean My Portable Air Conditioner?
A: It is recommended to clean your portable air conditioner every few months, depending on how often you use it. Regular cleaning will help the unit run more efficiently and last longer. You may also want to clean it more frequently if you notice any issues with its performance. It is important to follow the manufacturer’s recommendations for cleaning and maintenance. You may also want to consult a professional for more specific advice.
Q: Can I Use a Toothbrush to Clean the Blades on My Portable Air Conditioner?
A: No, it is not recommended to use a toothbrush as the fan blades are sharp and could easily cut your hands. Instead, use a small vacuum cleaner or an air nozzle on a blow dryer to remove any dust or debris. You may also want to consult the manufacturer’s manual for specific instructions on how to clean your model air conditioner. The most important thing is to always unplug your unit before attempting any maintenance or repair work.
Q: How Can I Keep My Portable Air Conditioner Running Efficiently?
A: Regular cleaning and maintenance are key to keeping your portable air conditioner running efficiently and lasting longer. Be sure to clean the filters regularly, remove any debris or dust from the unit, and check for any frayed wires. It is also important to place your unit in a well-ventilated area and not block any air intake or exhaust vents. Additionally, set the thermostat to a comfortable temperature and avoid overworking the unit by setting it too low. Following these tips will help keep your portable air conditioner running smoothly and efficiently.
Q: What Should I Do If My Portable Air Conditioner Is Not Cooling Properly?
A: If your portable air conditioner is not cooling properly, there may be a problem with the thermostat or other internal parts. First, try to identify any potential issues and address them accordingly. If you are unsure of how to fix the problem, it may be best to consult a professional for assistance. It is important to never try to dismantle or repair the unit without proper knowledge and expertise, as this can result in further damage or injury. Always refer to the manufacturer’s manual for specific instructions on troubleshooting issues with your model air conditioner. In some cases, it may be necessary to replace certain parts or have the entire unit serviced by a professional technician.
Conclusion:
Frigidaire portable air conditioners are popular among homeowners because they make it easy to cool down your home. However, if you’re looking for a new unit or need help with the repair, maintenance, and installation of your current system, then this blog post will be helpful for you.
We have provided step-by-step guidelines on how to take apart frigidaire portable air conditioner so that you get benefited by applying that information if you have any questions or need assistance with this, feel free to let us know!