How to Keep a Bandage Dry in the Shower
Most people know that it is essential to keep a bandage dry, but not everyone knows how. However, with the proper technique, you can maintain your skin’s integrity and avoid infection. In this post, we’re going to talk about why keeping a bandage dry in the Shower is so essential and how to keep a bandage dry in the Shower.
For your body’s natural healing process to work correctly, some things need to be done correctly. One of these is avoiding water with a wound or injury. This means no baths, showers, swimming pools, nothing! But what about when you have an itch? Let’s find out in this blog post!
What is a Bandage?
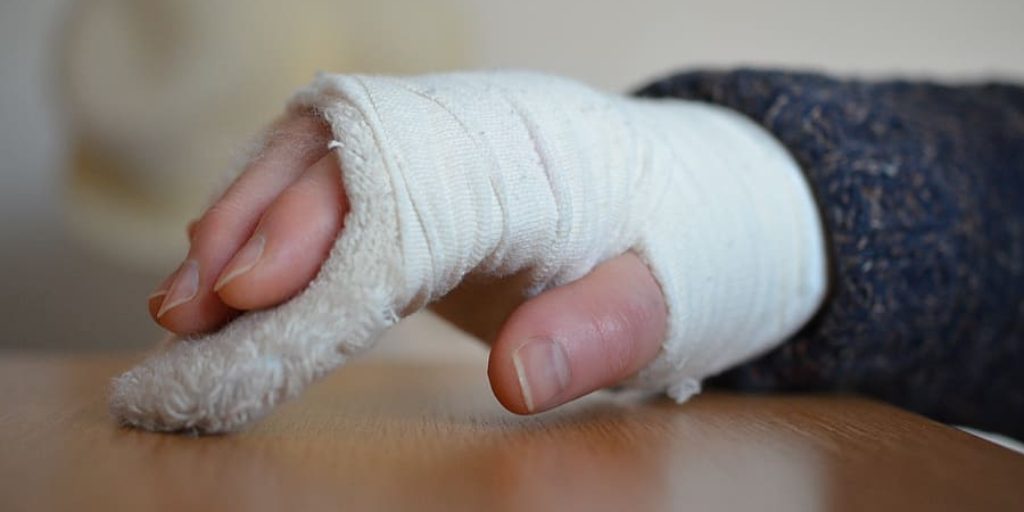
A bandage is a material that protects and covers an injury or wound. It can be made of various materials, such as gauze, cloth, or plastic. A bandage serves several purposes: it keeps the wound clean, prevents infection, and helps with the healing process by providing pressure to the injured area.
You may have been instructed by a healthcare provider to keep a bandage on your wound for a specific period, depending on the severity of the injury. Failing to keep it dry can lead to complications such as infection or slowed healing.
Why is it Important to Keep a Bandage Dry in the Shower?
The Shower is a common place where people get injured, whether it’s from shaving, slipping, or burning themselves with hot water. When this happens, you’ll need to protect the wound from getting wet. Here’s why:
- Water can introduce bacteria and germs into the wound, leading to infection.
- Wet bandages can loosen and allow dirt or debris to enter the wound.
- Moist environments can slow down the healing process by preventing oxygen from reaching the wound.
- Soaking a bandage can also cause it to fall off or lose its adhesive properties, further exposing the wound.
- In some cases, getting a bandage wet can also cause it to stick to the wound, making removal painful and potentially causing further damage.
Now that we understand the importance of keeping a bandage dry in the Shower let’s discuss how we can do so effectively.
10 Ways on How to Keep a Bandage Dry in the Shower:
We have discussed some ways to keep a bandage dry in the shower. Be sure to check it out and follow the one that is suitable for you!
1. Cover the Bandage With a Plastic Cover
Wrap the bandage in a thin plastic covering, such as a bag from your body wash or shampoo. Then, put the bandage in your pocket or somewhere else where it won’t get wet. If you have trouble finding a bag that is small enough, cut off the top of an empty water bottle and use that. Be sure to secure it with tape or rubber bands. You can also purchase specially designed bandage covers from your local drugstore. The plastic cover will also prevent any soap or shampoo from getting onto the bandage.
2. Use Adhesive Bandages With Wings
Adhesive bandages with wings help keep the dressing dry even when you’re completely submerged in water. The wings stick to the skin on each side of the Band-Aid, which keeps it from moving around and exposing the wound. These types of bandages are great for minor cuts and scrapes. You can also find waterproof adhesive bandages that are specifically designed for Shower use.
3. Use a Large Bandage With Clear Tape
Cover the bandage with clear tape or an Ace bandage, which sticks to itself but not your skin. This way, it won’t slip off and can stay dry until you’re ready to take it off. When you want to remove it, use the tape to unwrap the bandage. This method is especially useful for large bandages that cover a bigger portion of your body. It also works well for injuries that are in hard-to-reach places, like your back or shoulder.
4. Use a Strip of Plastic Wrap
Cut a piece of plastic wrap and place it over the area with the bandage on it. Then, set a small baggie filled with water on top of the plastic. The water should stay in the bag, even if you turn it upside down or around. Just be sure to secure the plastic wrap with tape or rubber bands. This method is effective for smaller bandages, but it may not work well for larger ones.
5. Use Duct Tape
It may not be very comfortable, but at least your bandage will stay dry! Use two strips of duct tape to attach the first strip to the shower wall. This way, the first strip makes a bridge at an angle for you to press the second strip against it on its other side. Be sure to press hard so that the tape sticks. You can attach the second strip horizontally on the other wall for a similar reason.
6. Use Baggy Foil
Do you have any leftover plastic food baggies from your groceries? They’re built to keep water out, so they should do a decent job of keeping your Band-Aid dry, too! Wrap up your Band-Aid in a baggy before you put it on. Please make sure the baggy is sealed, and then place it on your favorite shower shelf (or any other desired location). This method works best for smaller bandages.
7. Seal It With Shower Caps
Shower caps are made to keep water out of your hair, so it only makes sense that they would do an excellent job of keeping your bandage dry. Use one or two shower caps over the area with the Band-Aid on them before you get in the shower. The elastic band should hold it in place until you’re ready to take it off.
8. Protect It With Shower Poufs
Do you know those poufs that sit on the side of your Shower? They’re relatively waterproof, so they can protect your bandage from getting wet. All you have to do is place it over the area with the Band-Aid on it before you get in the Shower. The pouf will create a barrier between the bandage and any water that may come into contact with it.
9. Hide It Under a Towel
Before you get in the Shower, wrap your bandage up in a towel (use two if you want to avoid getting too wet while wrapping it). Then, place the wrapped-up Band-Aid on the bathroom counter or a nearby shelf. It’ll be there waiting for you when you’re done with your Shower. This method works well for larger bandages and injuries that are in hard-to-reach places.
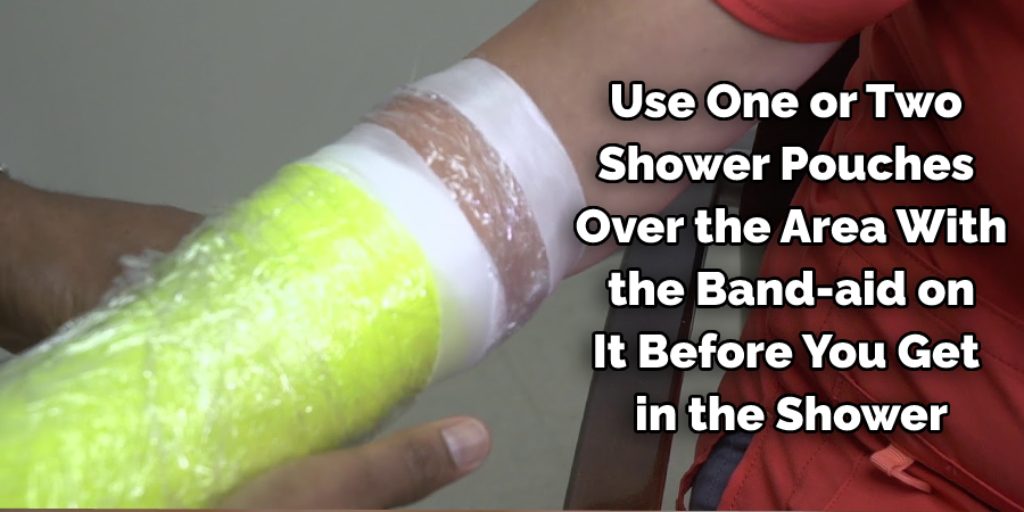
10. Use a Shower Pouch
Shower pouches are designed to hold essential items while you’re in the Shower, so they should be able to do an excellent job of keeping your bandage dry. Use one or two shower pouches over the area with the Band-Aid on them before you get in the shower. The pouch should keep the bandage covered and protected until you’re ready to take it off. You can also use a regular plastic bag if you don’t have a shower pouch on hand.
With these 10 ways to keep a bandage dry in the Shower, you can continue to maintain proper wound care while also enjoying your daily shower routine. Remember to always follow any additional instructions provided by your healthcare professional and replace your bandages regularly for optimal healing. Stay clean and stay healthy!
Bandage Drying Tips:
Here are some tips you can follow on how to keep a bandage dry in the Shower.
1. Make sure the bandage is completely covered in water before putting it back on your wound. This will keep the application from sticking to your skin and causing pain when you pull the tape off the bandage.
2. If it does stick, carefully try to peel it off without hurting yourself more. Soak the bandage in water until it becomes soft, and then peel it off slowly if this doesn’t work.
3. If you have a waterproof cover for the bandages, put one on over the application before re-applying the tape and removing it from your skin. This will make sure that no water can get to your wound but still allow it to breathe.
4. If you don’t have a waterproof covering for the bandage, try wrapping it in plastic wrap before putting the tape back on. This will keep water out of your wound but still allow air to get to it so that it can heal faster.
5. Don’t cover up your bandages with anything else when they are wet. The application is made to keep the water out, so adding anything else over it will not keep your wound dry.
6. Try to put a small t-shirt on yourself after you shower instead of using a towel to dry off. This will avoid soaking your clothes or bed sheets with water, which can cause your bandages to get wet.
7. If the bandage doesn’t stick to your skin or rip off while in the Shower, try keeping it on after you get out and drying yourself entirely with a fan or a blow dryer. This can be tricky because of how delicate some wounds are. If you do this, make sure your hands are not wet when you are holding the dryer. If they are, try using your elbows or an object to keep them instead.
Things to Consider When Showering with a Bandage:
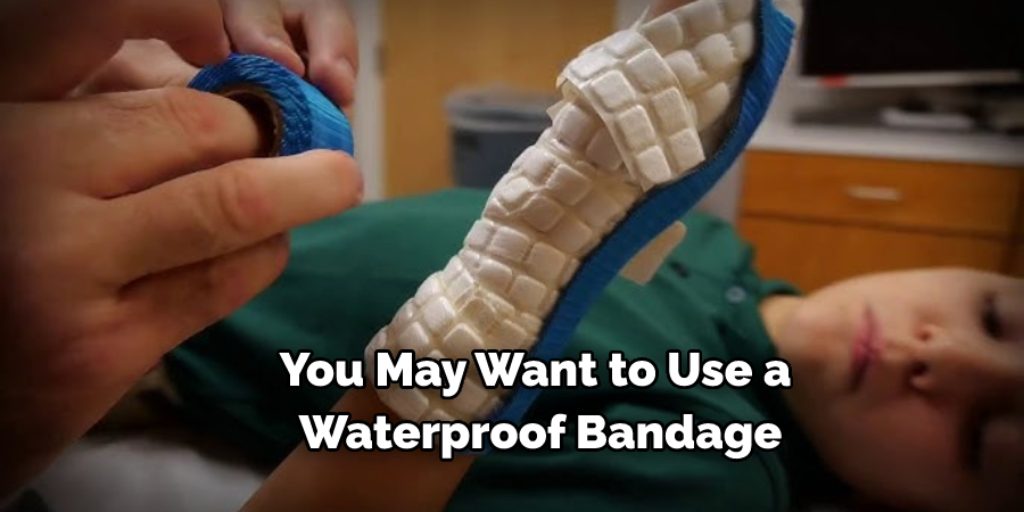
1. You may want to use a waterproof bandage. This will help protect it from getting wet in the Shower.
2. If you have sensitive skin, you can also use a hypoallergenic moisturizing soap and moisturize your skin after showering. This is good for people with psoriasis or eczema.
3. If you have a wound, you can cleanse it with lukewarm water and pat dry with a towel. Do not rub the damage, as this may make it worse.
4. Keep your bandage dry by wearing loose clothing or a plastic bag over the applications when going near any source of water, such as a pool, bathtub, or beach.
5. When going out with a fresh tattoo, apply sunblock with at least 30SPF to prevent it from fading too quickly, and wearing a bandage for up to 2-3 days will reduce your chances of scarring or infection.
6. If you have dry skin on your feet, you can apply lotion under your bandages while soaking in the tub.
7. Wearing thick socks may help reduce the water intake of your feet while showering, but taking too many showers without removing your boots will only irritate the skin further.
8. If you have hair over the wound, keep it dry by wearing a hat or cap when showering.
How Do You Keep Your Knee Bandage Dry in the Shower?
Knee bandages are an essential part of the rehabilitation process for many people, especially if you have recently had knee surgery. However, there are certain risks associated with showering while wearing a bandage, so it is essential to take precautions. If you cannot avoid showering with your bandage, there are ways to keep it protected to prevent water damage.
One way to keep your bandage dry in the Shower is by using a waterproof bag. These bags can be found at most pharmacies and some grocery stores. Other people use a garbage bag as a substitute, although this poses its own set of problems, including tearing or leakage. Some people even utilize an extra-large bag over their entire leg or arm with the bandage on top. It is usually preferable to keep your leg or arm dry, not the bag.
Frequently Asked Questions:
Q: Can I Shower With a Fresh Band-aid?
A: It is generally recommended to avoid showering with a fresh Band-Aid, as the adhesive may not stick properly and could get wet. However, if you must shower, follow the tips mentioned above to keep your bandage dry. You may also want to consult with your healthcare professional for specific instructions. You can always replace the bandage after showering if needed. The main priority is to keep the wound clean and protected.
Q: Can I Swim With a Band-Aid?
A: It is not recommended to swim with a bandage on, as it may get wet and loosen or fall off. However, if you must swim, make sure to use waterproof bandages or coverings and follow proper wound care instructions afterward. You may also want to consult with your healthcare professional for specific instructions and precautions. The same goes for showering with a bandage on – always prioritize keeping the wound clean and protected.
Q: What Should I Do if My Bandage Gets Wet in the Shower?
A: If your bandage gets wet in the shower, gently pat it dry with a clean towel and replace it if necessary. Make sure to follow proper wound care instructions and keep the area clean and dry to avoid infection. If you experience any pain or notice any signs of infection, such as redness, swelling, or discharge, consult with your healthcare professional immediately. You may also want to consider using waterproof bandages or alternative methods of keeping your bandage dry in the future.
Q: What if I Have a Cast or Splint on My Leg or Arm?
A: If you have a cast or splint on your leg or arm, it is essential to keep it dry while showering. You can use a plastic bag or waterproof cast cover to protect it from water. Alternatively, you can take a bath instead of a shower and keep the affected area out of the water. It is also important to follow any specific instructions given by your healthcare professional for caring for your cast or splint. Always prioritize keeping the area clean and dry to promote proper healing.
Q: What if I Have a Wound That Cannot Get Wet?
A: If you have a wound that cannot get wet, such as a surgical incision or open wound, it is crucial to keep it dry while showering. You can use waterproof bandages or coverings, or try taking a bath instead of a shower and keeping the affected area out of the water. If you are unsure about the best method for keeping your wound dry, consult with your healthcare professional for specific instructions and recommendations. Remember to always prioritize proper wound care to promote proper healing.
Conclusion:
If you’re looking for a way on how to keep a bandage dry in the Shower, there are a few ways that may work. We recommend using one of these methods because it will be easier and more convenient to use! The first method is by bringing an extra set of clothes into the bathroom with you so that after getting out from under the water, you can quickly change without drying or wetting yourself down too much.
You could also wear rubber boots over your feet, which would allow them to stay dry while still making contact with the floor. Finally, if none of those options sound like something that will work for you, you can seek professional help to understand which would be best for you. Let us know how it goes, and feel free to ask any questions you have!
Angela Ervin
Angela is the executive editor of DIY quickly. She began her career as an interior designer before applying her strategic and creative passion to lifestyle and home. She has close to 15 years of experience in creative writing and online content strategy for housekeeping, home decorations as well as other niche efforts. She loves her job and has the privilege of working with an extraordinary team. She lives with her husband, two sons, and daughter in Petersburg. When she's not busy working she spent time with her family.