How to Hide a Camera in a Shower
Are you looking for a discreet way to monitor your shower while taking one? The best way is to install a hidden camera in the corner of the ceiling. It will provide you with high-quality footage that can’t be seen by anyone else.
The clip-on or screw mounscrew-mountre is very affordable, easy to in and stall and use. They come with everything you need, including all the necessary cables, power cord, screws, and more. These cameras are typically used in offices, but they make perfect additions to any bathroom! Here in this blog post, we have given some tips on how to hide a camera in a shower or even set up one outside of the house.
Reasons Why You Should Hide a Camera in a Shower:
1. Surveillance of Employees:
To monitor employees to ensure that they are not doing anything that would cause the business harm.
2. Preventing Theft:
Use imaImagesmera hidden in a shower to identify used y and locate individuals who steal, such as the man who stole the shampoo shown above.
3. Monitoring Children:
Parents should never have to worry about leaving their children unattended in a shower, and using a hidden camera will confirm your suspicions or ease your worries.
4. Security:
Recording the inside of any location is the most effective way to provide security for yourself at home, work, or even on vacation.
5. To Catch a Thief:
When you catch someone red-handed, you’ll finally be able to put your mind at ease and know you’re safe.
6. To Catch a Cheater:
Many web services will allow you to monitor your spouse’s online activity and email, but few of those options work as well as having footage from a hidden camera in your shower.
7. Experiment New Things:
Getting out of your comfort zone and trying something new is exciting and rewarding, but you don’t know this until you experiment.
8. Keep Possessions Safe:
Having proof of who stole what from you will help police investigate the crime and identify the perpetrator so that they may be brought to justice.
Things to Consider When Hiding a Camera in a Shower:
Here are some things to consider before you know how to hide a camera in a shower.
1. Camera Resolution:
The lower the resolution, the easier it is to hide in small places like a shower. However, if you want HD video (720p+) with good low-light capabilities, you’ll have to sacrifice space for ease of installation and may require multiple cameras. We recommend using a small, low-resolution camera for this purpose.
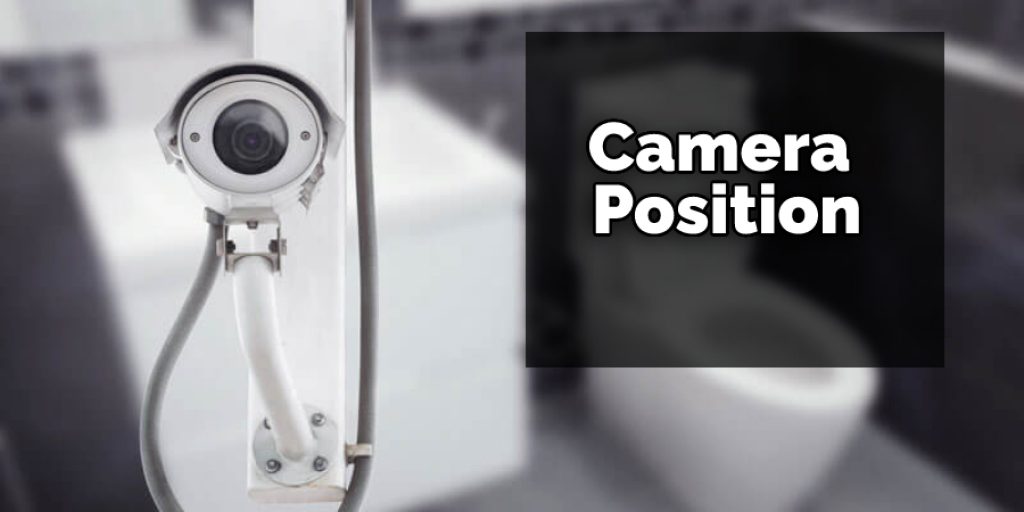
2. Camera Position:
The following instructions are good to know if you want the camera pointed at the shower head/controls, but it’s always possible to point it away from those features. You’ll still be able to capture everything that happens, given your shower head or bathtub.
3. Power Supply:
It’s essential to plan for where you’ll be hiding your power supply and where the wire will go to connect to the camera. This is especially important if you’re planning on hiding your power source in your attic or walls because it could easily get disconnected with even the slightest of tugs, so work carefully and plan carefully.
4. Quality of the Camera:
This is important because if you plan to set up a multi-camera with multiple cameras in various areas, your lowest quality camera should be in the area with the least priority. The priority from top to bottom would probably go as follows: Inside the shower, On a shelf or table near the shower, Behind a window.
5. Lighting Conditions:
This is important because it’s easiest to capture footage in well-lit areas. If it’s pitch black, you’re going to have a hard time operating your camera because it’ll be difficult for the infrared to pick up relevant details and will probably give you a completely black screen and no sound. It would still be possible to see the outlines of people if enough light is available, but it would be far more challenging to capture high-quality footage.
6. Waterproof Camera:
If you’re not waterproofing your camera, you’ll have to use another method of weatherproofing. I recommend using a resealable freezer bag and make sure to dry everything thoroughly before opening it again.
7. Battery Capacity:
If you’re using an external battery pack, the battery’s capacity has to be high enough to power your camera long enough for at least one full shower. If it’s too low, your camera will die in the middle of a shower and may miss something important.
11 Step-by-Step Guide: How to Hide a Camera in a Shower
Here, we have given a step-by-step guide on how to hide a camera in a shower. Be sure to follow these guidelines as mentioned.
Step 1: Buy a Waterproof Hidden Camera
There are many different types of hidden cameras on the market, and most of them will work for this tutorial. If you’re having trouble finding a camera with waterproof capabilities, you can always buy one and place it in a waterproof case. You can also use a regular camera as long as you waterproof it by placing it in a resealable freezer bag. It won’t be ideal, but it will get the job done.
You can find waterproof hidden cameras online or in electronic stores. It’s important to make sure the camera has a resolution of 480p or lower so it can easily fit into small spaces.
Step 2: Find a Suitable Location
The best place to put the hidden camera is in a shower soap dish, but if you can’t find one of those, any waterproof case will suffice. It should be small enough to fit inside your average soap dish or waterproof casing. This tutorial isn’t meant to help you hide it from experts. It’s hone. It’s rather obvious where the camera is. But it is meant to help you hide it from your significant other, roommate, or whoever else you don’t trust in the shower.
You could also hide it in a shampoo bottle, but then you have to make sure the camera is waterproof and can fit inside the bottle with ease.
Step 3: Run Cable to Camera
Find a suitable location for your camera and make sure there’s enough cable that they can reach an electrical outlet. You’ll need three watts of electricity to run this camera. Be sure to hide your wire as much as possible so that it doesn’t get in the way. Otherwise, it may be a dead giveaway.
It’s ideal to run the cable through the wall and plug it into an outlet in another room. The more you can hide the wire, the better. You can also use a battery pack to power your camera if you’re unable to plug it into an outlet.
Step 4: Unscrew the Shower Head
Screw your camera into the showerhead. From there, you have two options. One is to always leave the camera on, which requires a hidden switch within reach of the showerhead to turn it off when they want privacy. The other option is to put it in recording mode before your subject enters the bathroom and not turn it off.
You can hide the switch under your soap dish, or you can put it in a waterproof housing and attach it to the showerhead. Then, when they’re done with their shower and want privacy, they just press the button.
Step 5: Mount Camera
Using the adhesive strips that come with the camera, mount it to your shower wall. If they’re not sticky enough, you can always use double-sided tape instead. Then put some silicone around the cable, so water doesn’t accidentally get in. If you don’t have silicone, you could also use hot glue.
You can also mount the camera on a shelf or any other flat surface near the shower, as long as it has a good view of the area. It’s important to make sure the camera is well-hidden and not easily noticeable.
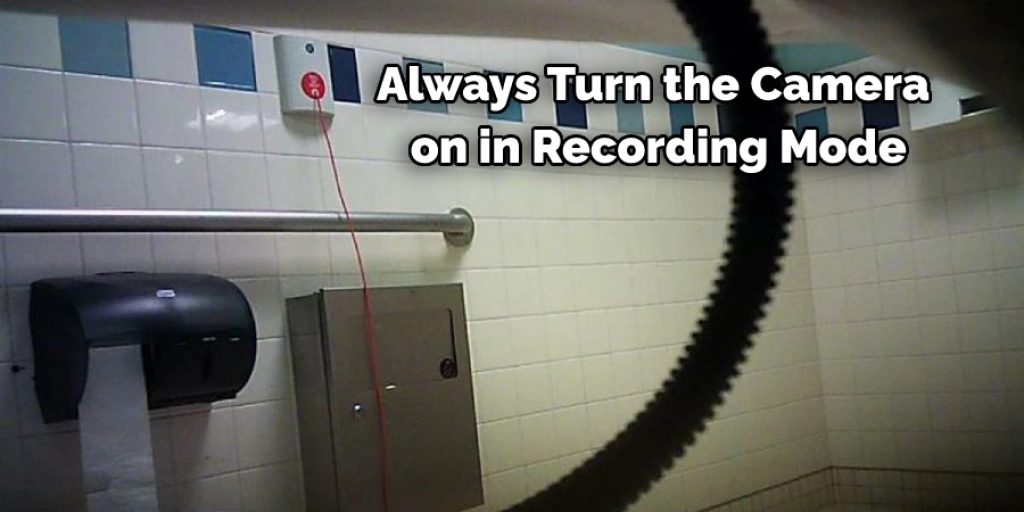
Step 6: Turn on Recording Mode
If you choose to use the second option, always turn the camera on in recording mode before your subject enters the bathroom rather than turning it off after they leave. This is because people are most vulnerable when they’re naked, and if your hidden camera is in recording mode at all times, you’re most likely to capture something incriminating.
Although this method requires a lot of storage space, so make sure you have enough memory in your device or insert an extra SD card.
Step 7: Cover the Camera
As long as the camera is in a waterproof casing, it’s okay to leave it uncovered. However, you can always buy a small plastic bag and attach it over the top of the casing if you want to be extra careful. This will ensure that no water gets into the camera, and it also makes it harder to spot. You can also use a small piece of transparent tape to cover the lens. It won’t affect the quality of the footage and will help to hide it even more.
Step 8: Plug it in
If you’ve got the wires to the camera plugged into an electrical outlet that’s close enough, then congratulations! You’re done. If not, you’ll need to get an extension cord and plug your camera in at a more relative distance. Just be sure to cover the socket with plastic wrapping or electrical tape if you’re worried about water getting into it.
The easiest way to do this is by plugging the camera in from another room and running the wire through a small hole you’ve made below the shower. If you have any suspicions that someone might see it, try placing a towel over it.
Step 9: Test It Out
Before leaving your camera unattended, it’s best to test it out and make sure everything is working correctly. Turn on the recording mode and adjust the angle of the camera if needed. Then, take a quick shower and review the footage afterward. This way, you can make any necessary adjustments before actually using it for its intended purpose.
You can also test the camera by having someone else take a shower and check afterward. This will give you an idea of what to expect and if there are any blind spots that need to be fixed.
Step 10: Hide the Power Supply
Whether you’re using a battery pack or plugging it into an outlet, it’s essential to hide your power supply. This could be in a nearby cabinet, behind the shower curtain, or somewhere else out of plain sight. Just make sure it’s still close enough to the camera so that the wire can easily reach. If you’re using a battery pack, you can also hide it in a plastic bag and tape it to the wall to keep it from getting wet.
Now that you’ve successfully hidden your waterproof camera in your shower remember to use it responsibly. Respect others’ privacy and only use it for legitimate reasons, such as monitoring your home or keeping an eye on children or pets.
Step 11: Monitor and Retrieve Footage
Now, all that’s left is to monitor and retrieve any footage captured by your hidden camera. Be sure to check it regularly and delete any unnecessary footage to free up space on your camera. And remember, always respect others’ privacy and only use a hidden camera for security or safety reasons.
So there you have it, a step-by-step guide on how to hide a camera in a shower. Just remember to always use good judgment and respect the privacy of others. Happy shower spying!
Tips to Maintain Your Hidden Camera:
1. Clean your hidden camera regularly to remove dust particles that can affect image quality. If you are not familiar with the cleaning procedure of your camera, please get in touch with the supplier for more information.
2. Make sure that any cameras in use are within their operating temperature range, usually indicated by a rating on the housing or rating plate. If the rating is exceeded, the camera will shut down and may not restart and, thus causing the loss of ing video.
3. Never expose your hidden cameras to direct sunlight for extended periods because this can cause overheating and damage the housing.
4. Do not drop the camera or subject it to any physical shocks that damage its delicate electronic components.
5. Do not move your hidden camera from a cold area to a hot place, as condensation may build up on the internal components and damage the unit.
6. Never attempt to open or take apart your hidden cameras. Again, only factory-authorized personnel are qualified to perform this operation.
Do You Need Wifi for Hidden Bathroom Cameras?
Hidden cameras in the bathroom require a power source, no matter if they are wired or wireless. This means that you will need to install an outlet near the hidden camera to turn it on. However, many people want their cameras to be portable and not stationary. For example, a mobile shower surveillance camera is proper when watching your baby, but you still want to take a shower by yourself. The presence of an outlet near the camera would ruin this opportunity.
Your best option is to use a battery-operated power source, such as an AA battery, to make our hidden camera wireless. Unfortunately, wireless cameras are typically not very powerful and may need to be replaced often, depending on the quality. However, you can avoid this inconvenience by using rechargeable batteries to power your cameras, which you can charge whenever they die out.
Frequently Asked Questions:
Q1: Is It Legal to Put a Hidden Camera in a Shower?
A1: It is generally not legal to place a hidden camera or any surveillance device in a private area, such as a bathroom or bedroom, without the consent of the individuals being recorded. It is important to check with local laws and regulations before installing any hidden cameras. It is also important to respect the privacy of others and only use hidden cameras for legitimate reasons.
Q2: Can I Use a Security Camera as a Hidden Camera?
A2: Yes, you can use a security camera as a hidden camera by disguising it or placing it in an inconspicuous location. However, be aware that this may still require consent from individuals being recorded, and it is important to check local laws and regulations.
Conclusion:
If you want to find out how to hide a camera in a shower, your first step will be determining where you want the camera and what angle works best for watching it. You’ll also need an outlet nearby so that you can plug the device into power when required. Once this is all set up, follow instructions carefully to ensure safety while installing your new security system.
Install any brackets or mounts on either side of the wall before drilling holes through them with a drill bit that’s just large enough for the screws attaching them. Insert one screw at each point and tighten firmly but not too tightly. Wrap tape around both ends of every wire coming out of the backplate. If you want more information about how to protect your home or business against theft or other crimes while you aren’t there, then let us know in the comment section below!
Angela Ervin
Angela is the executive editor of DIY quickly. She began her career as an interior designer before applying her strategic and creative passion to lifestyle and home. She has close to 15 years of experience in creative writing and online content strategy for housekeeping, home decorations as well as other niche efforts. She loves her job and has the privilege of working with an extraordinary team. She lives with her husband, two sons, and daughter in Petersburg. When she's not busy working she spent time with her family.