
How to Keep Ink From Smearing on Glossy Paper
Introduction:
Gorgeous, crystal-clear photos printed on glossy paper look like they were shot and developed instantly. Glossy paper ranges from heavy photo stock to much lighter text-weight papers. The unique glossy finish gives them a rich depth and luxurious feel, and the image seems to “pop” off the page. Images printed on matte or uncoated stock lack this dimensional quality and can appear flat or dull by comparison. In this article, I will discuss how to keep the ink from smearing on glossy paper.
What Makes Ink Bleed?
Ink is composed of various pigment particles suspended in a liquid. When you print one color directly over another, these pigment particles spread into each other like little dots (a process called spreading). Adding watercolor paint to your pigmented ink, will absorb into the paper like a dye (absorption). If you add oil to your ink, the ink becomes thicker (thixotropic) and won’t spread as easily. But in most cases, if your ink spreads too much on one area of paper, it will continue to spread even after it has dried. This is especially true for prints made on inferior or improperly prepared papers like bond paper or newsprint.
How to Keep Ink From Smearing on Glossy Paper:
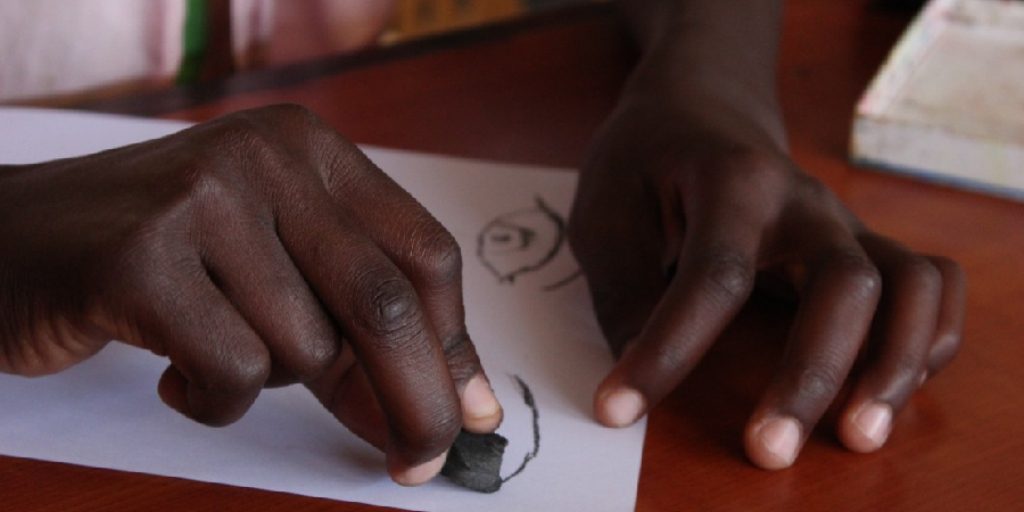
It is a fact that drawing on glossy paper is more fun than plain old white printer paper, but it can sometimes be difficult to keep your marker ink from smearing. So here are some tips for how to keep your ink from smearing!
Step: 1
Make sure the shiny side of the paper is facing up before you start drawing. Water-based markers will bead up and have less smudging and bleeding on the glossy surface.
Step: 2
Use high-quality pens with permanent ink for best results on glossier papers like cardstocks or photo stock materials. These types of pen inks are specially formulated to resist flaking off or fading over time. Before buying expensive branded pens, though, it’s always worth checking out any local office or stationery store to see if they have any samples of their pens that you can test out with your paper.
Step : 3
Sometimes, all it takes is just a little bit of patience! If the ink starts smudging, just wait for about half an hour before touching it again, and then carefully scrub the excess ink using a white eraser.
Step: 4
It’s always best to keep inks stored at room temperature rather than in direct sunlight or near heaters; this will ensure that the solvent isn’t too thinned out or dried out, which will affect how well the ink stays on the paper.
Step: 5
For markers specifically, make sure you shake them up before painting on your glossy surfaces! Shaking up regular pens is strongly recommended, too, because it ensures that the ink is distributed evenly throughout the tip before you start using it.
Step: 6
There’s always a fixative spray for inking, but this stuff can get pretty pricey, so if you’re just starting with drawing on glossy surfaces, wait until your marker finds are getting dull or smear all over your paper. Fixatives usually last about six months before completely running out of their contents.
Step: 7
There are also several other art supplies specially formulated for use on glossy surfaces; these include alcohol-resistant pens, acrylic paints, and varnishes, to name a few! If you have access to any of these types of materials, then make sure you use them instead when working on glossier papers.
Step: 8
If you’re printing off your artwork after it’s finished, make sure you print on the “reverse” side of the paper, as printers themselves can cause a bit of smudging too! This is because most printers have their rollers directly above where they place the ink onto the sheets.
The excess ink from the roller getting onto your work will definitely result in some unsightly smudges later on, so always try and avoid prints being done on glossy surfaces that could get ruined by a printer!
Step: 9
It’s also a good idea to avoid permanent markers if possible; these types of marker pens tend to bleed through any paper, even high-quality art stock! Use them only if the paper you’ll be using can hold up against these types of marker inks, or just use fine-tipped pens instead.
Step: 10
If your pen starts bleeding through your paper’s material, there’s always a technique called “pearling.” For this effect, you will need to gesso over the whole surface before painting on it with marker, and then seal it all off after with fixative spray.
This technique works well for glossy surfaces that are not watercolor paper because it helps keep any bleed marks, smudges, or stains from ruining your work later on down the line.
Precautions While Using Glossy Paper:
1. Avoid touching the surface of your paper. Keep your fingers on the edges of the sheet.
2. Keep your ink properly mixed before you start printing; don’t let it sit after you have finished mixing for a long time.
3. Make sure that your paper is completely dry before printing on it. Don’t even touch it with wet hands! If there are any drops of water on the paper, these will be transferred to the block and cause ink smearing when you print. It’s best to use blotting paper or some other absorbent paper to remove these moisture spots from the page before using them in printmaking – more information about drying papers can be found here.
4. We would strongly recommend not using glossy paper for mono-printing, as the process of applying ink to a dry sheet of paper so many times can be challenging and cause smearing.
5. You should not print on color bonds or other types of smooth-coated papers as these tend to give you problems with smudging, although these papers are excellent for lithography and intaglio work.
Conclusion:
Glossy paper isn’t the best to use for printmaking, but it is one of the most commonly used papers in commercial practice, especially regarding high-quality reproduction prints.
If you can avoid the common problems associated with glossy surfaces, then try and experiment with creating your prints on these materials as much as possible; just keep in mind that for lithography or mono-printing, it might be wiser to find another type of paper that can hold up better under repeated use.
I hope this article has helped me learn how to keep the ink from smearing on glossy paper. Thank you, and have a nice day!
Elizabeth Davis
Elizabeth is a creative writer and digital editor based in the United States. She has a passion for the arts and crafts, which she developed from a young age. Elizabeth has always loved experimenting with new mediums and sharing her work with others. When she started blogging, she knew that DIYquickly would be the perfect platform to share her tutorials and tips. She's been writing for the blog from the beginning, and her readers love her helpful advice and easy-to-follow instructions. When she's not writing or editing, Elizabeth enjoys spending time with her family and friends.


