
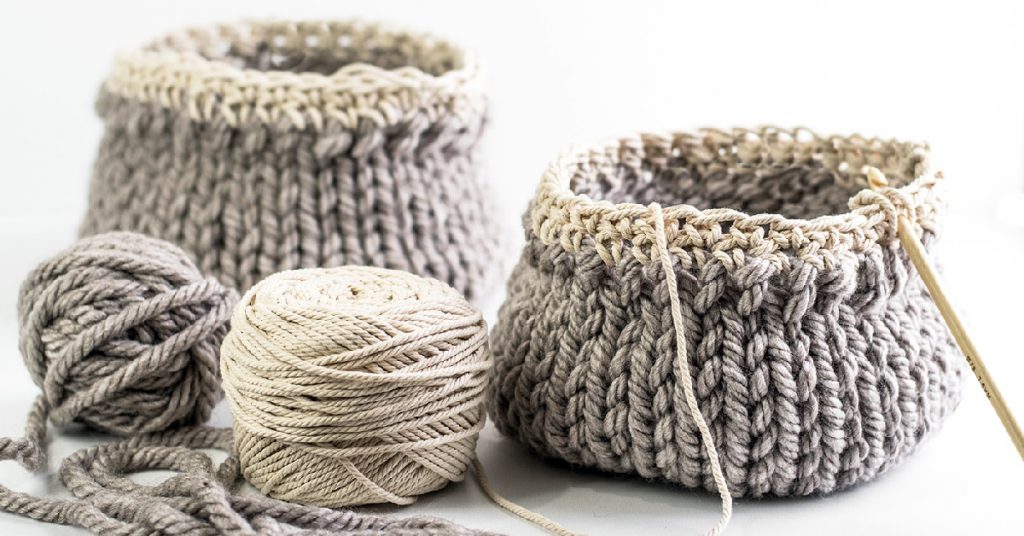
How to Knit a Basket
Knitting is the perfect way to show your loved ones that you care. Not only is it a fun and relaxing activity, but it can also result in some pretty incredible creations. In this tutorial, we’ll show you how to knit a basket that is perfect for holding fruits, vegetables, or any other small items. So grab your needles and get started!
Why Should You Knit a Basket?
When it comes to DIY projects, knitting a basket might not seem like the most exciting option. However, there are actually several reasons why you should give it a try. For one thing, knitting a basket is a great way to use up leftover yarn. It’s also a relatively quick and easy project, so it’s perfect for beginners.
And once you’ve mastered the basic technique, you can experiment with different patterns and colors to create a truly unique piece. Best of all, a handmade knit basket will surely be appreciated by anyone who receives it. So if you’re looking for a fun and practical DIY project, grab some yarn and start knitting!
You Will Need
- Yarn (any type will do)
- A knitting needle (size dependent on the yarn you are using)
- A crochet hook (optional)
- A tapestry needle
- Scissors
How to Knit a Basket in 6 Easy Steps
A basket is a great way to store things, and it’s also a fun knitting project. In this how-to guide, we will show you how to knit a basket.
1. Cast on The Desired Number of Stitches
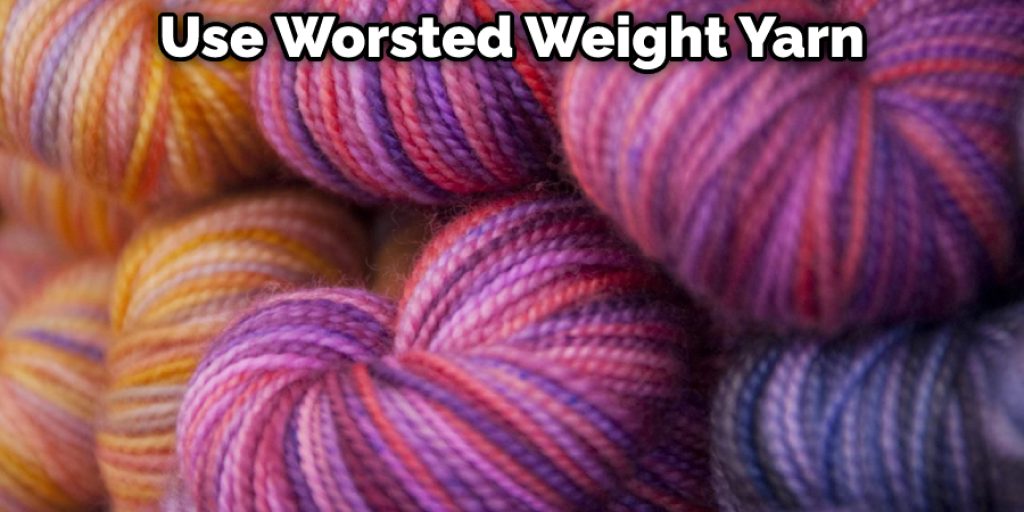
If you are using a thick yarn, you will need fewer stitches than if you are using thin yarn. For example, if you are using worsted weight yarn, you will need to cast on 24 stitches.
2. Knit Every Row
Once you have cast on your stitches, it’s time to start knitting! For this basket pattern, you will simply knit every row. This means that you will insert your right needle into the next stitch on the left needle from front to back.
Then, wrap the yarn around the right needle (counterclockwise), and pull the yarn through the stitch, letting the old stitch off of the left needle. You’ve now made one knit stitch! Repeat this process until you have reached the end of the row, then turn your work so that the needles are once again in your left hand.
3. Increase the Number of Stitches in Each Row
To make your basket wider, you must increase the number of stitches in each row. You can do this by knitting two stitches into one stitch or by using a yarn-over method. For example, if you use worsted weight yarn and have 24 stitches on your needle, you will need to increase it to 48 stitches.
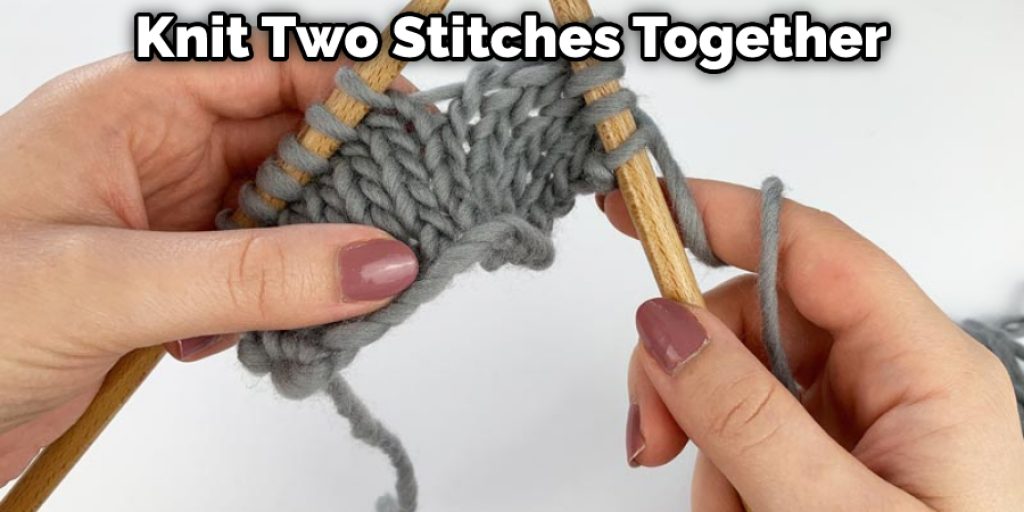
4. Decrease the Number of Stitches in Each Row
In order to make your basket narrower, you will need to decrease the number of stitches in each row. To do this, knit two stitches together at the beginning and end of every other row. Repeat this until you have only a few stitches left on your needle.
5. Finish Off
Once you have reached the desired width for your basket, it’s time to finish off. To do this, simply knit two stitches together all the way around the basket. Then, cut the yarn leaving a long tail. Thread the tail through the remaining stitches and pull tight. Weave in any loose ends. Your basket is now complete!
6. Optional Step: Crochet a Rim
If you want to add a crochet rim to your basket, simply single crochet around the top edge of the basket. To do this, make a slip knot and put it on your hook. Insert the hook through the first stitch on the top edge of the basket and pull up a loop (2 loops on the hook).
Yarn over and pull through both loops (1 loop left on hook). Continue in this manner around the entire top edge of the basket. Fasten off and weave in ends. Your basket is now complete!
How to Knit a Basket with a Provisional Cast On
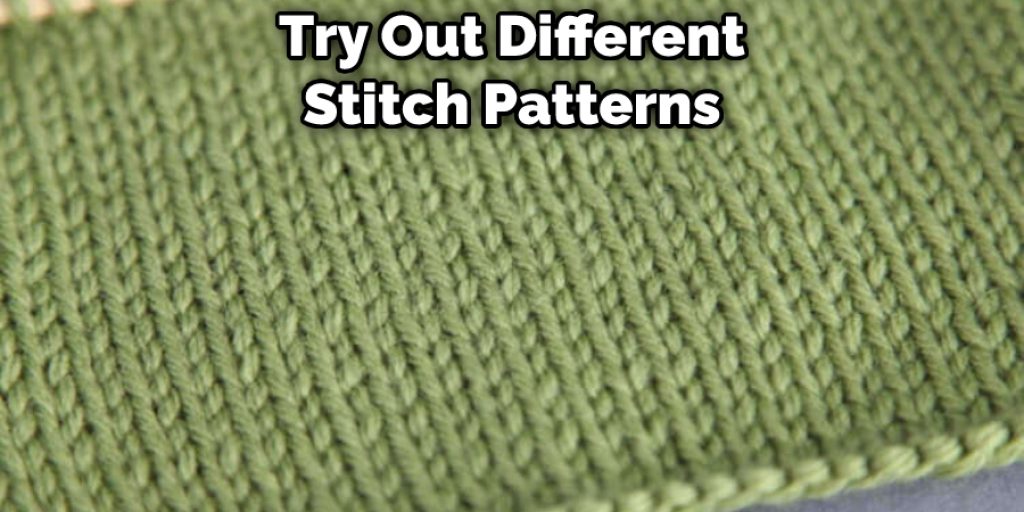
Knitting a basket is a great way to use up leftover yarn and create a beautiful, functional piece for your home. And with a provisional cast on, you can easily try out different stitch patterns and colors before committing to the final design. Here’s how to knit a basket with a provisional cast on:
- Start by making a slip knot and putting it on your knitting needle. This will be the starting point for your provisional cast on.
- Next, make a loop with your yarn and put it over the knitting needle. Then, insert the needle through the loop and pull the yarn through to create a new stitch.
- Continue making stitches in this way until you have the desired number of stitches for your basket. Make sure to leave a long tail of yarn so that you can later weave in the ends.
- Now, it’s time to start knitting! Knit stitches until your work measures about half an inch less than the desired finished size of your basket. For example, if you want your basket to be six inches wide, knit until your work measures five and a half inches wide.
- To finish, cut the yarn, leaving a long tail for weaving in the ends. Then, remove the provisional cast and put the live stitches on a different needle.
- Finally, graft the two pieces of knitting together using the Kitchener stitch. Weave in any remaining ends, and your basket is complete!
How to Knit a Hexagonal Basket
Knitting a hexagonal basket is a great way to use up odd balls of yarn and create a handy storage solution. The key to successful knitting is to keep a consistent tension on the yarn. To start, cast on six stitches using a long-tail method. Then, knit two rows. Next, increase one stitch at the beginning and end of each row until there are twelve stitches.
From here, continue knitting in stockinette stitch until the piece measures six inches from the cast-on edge. To shape the hexagon, start by knitting two stitches together at the beginning and end of every other row. Then, knit one stitch together at the beginning and end of every row until six stitches are remaining.
Finally, bind off all stitches. Weave in any loose ends, and voila! You’ve got yourself a cute little hexagonal basket.
What Type of Yarn Is Best for Knitting a Basket?
There are many different types of yarn available for knitting, and it can be hard to choose the right one for your project. When it comes to knitting a basket, you want to choose a yarn that is strong and durable. A cotton or wool blend yarn is a good option, as it can hold up well to wear and tear.
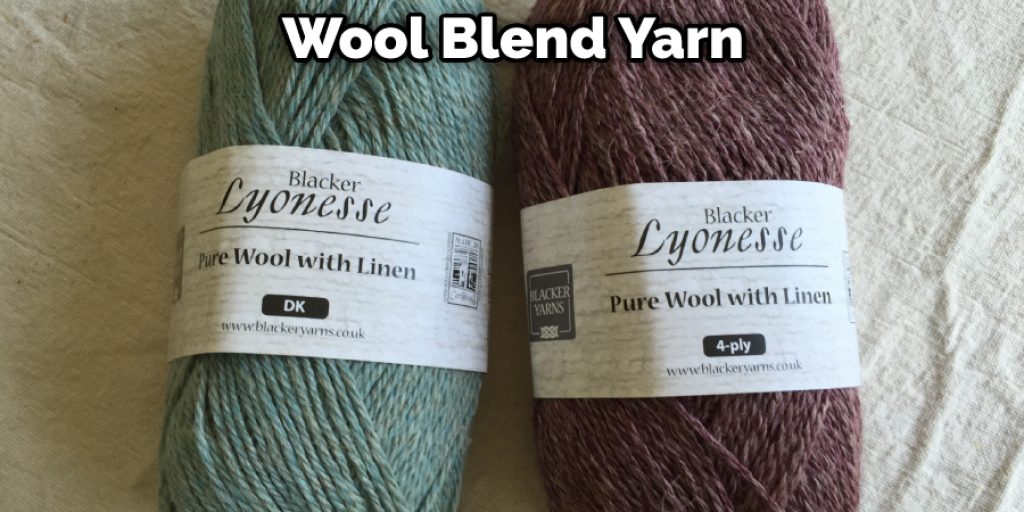
You also want to choose a yarn that is not too bulky, as this can make your basket difficult to knit. Keep these factors in mind when choosing yarn for your next knitting project.
What Is the Best Way to Weave in Ends when Knitting a Basket?
When you’re finishing a knitting project, it’s important to weave in the ends, so they’re hidden and secure. This is especially important for projects like baskets, where the ends could come loose and cause the whole thing to unravel. There are a few different ways to weave in ends, but the best method depends on the type of yarn you’re using.
For example, if you’re using a slippery yarn like silk or rayon, it’s best to use a needle. This will help to prevent the yarn from slipping out of your stitches. On the other hand, if you’re using a bulky yarn, you can simply tie the ends together. Just be sure to knot the ends securely, so they don’t come undone.
Whichever method you choose, take care to weave in the ends securely so that your finished project is beautiful and long-lasting.
What Are Some Variations of Baskets that Can Be Knit?
There are many different types of baskets that can be knit. The most common basket is the round basket. This basket is knit in a spiral pattern and is often used for holding balls of yarn or small objects such as needles.
Another popular type of basket is the rectangular basket. This basket is knit flat and then seamed together at the sides. It is well suited for holding larger items such as books or magazines.
Perhaps the most unusual type of basket is the hexagonal basket. This basket is knit in a series of six triangular panels, which are then joined together to form a hexagon. Hexagonal baskets are often used for decorative purposes but can also be used for storage.
Whatever the shape, baskets are versatile and functional items that everyone can enjoy.
Conclusion
Now that you know how to knit a basket, it’s time to get started! The best way to learn is by practicing, so go ahead and make a few baskets. Once you’ve gotten the hang of it, experiment with different materials and designs. We can’t wait to see what you come up with. Happy knitting!


