
How to Light Stained Glass Window on Wall
Introduction
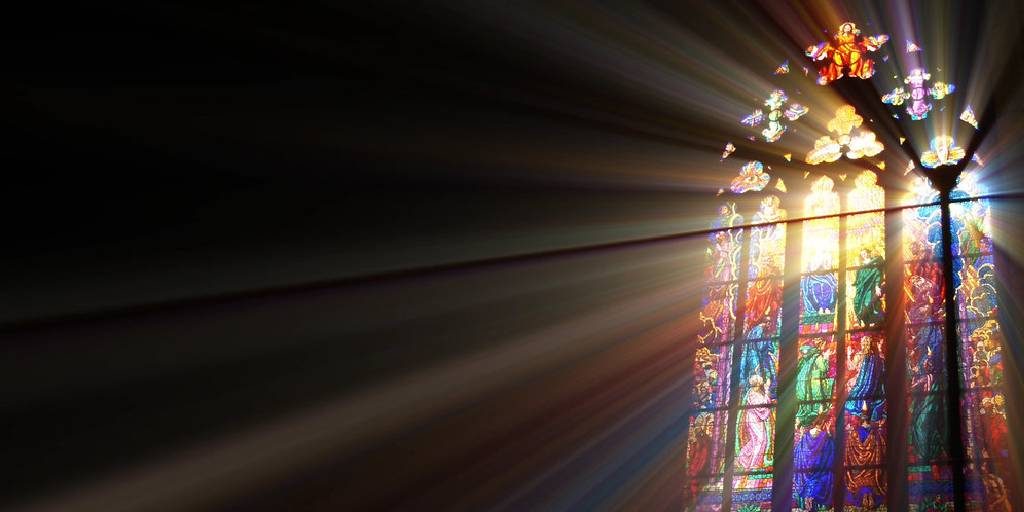
Stained glass windows are beautiful, decorative, and different from modern window panes. They have been around for many centuries, and they still look gorgeous to this day. Many stained glass artists specialize in designing custom-made windows for homeowners, offices, businesses, etc. Stained glass can be used as an inspiration for artistic pieces of art or to make your home more unique and attractive. Today I will discuss how to light stained glass windows on walls.
Prepping Your Window
Stained glass is fairly delicate. It breaks easily from overzealous handling, and you want to ensure you get it up on the wall right the first time! First, cover your work surface with newspaper or a plastic sheet.
Place your window above a piece of furniture in front of an outlet. Stained glass windows are often tall, so be prepared for the extra height and space. Once you’re at this stage, carefully remove all protective packaging (usually just some bubble wrap) and tape around the edges of your art panel.
If any small pieces seem loose or vulnerable (aka precious), hold those out until later when they’re ready for mounting. After removing everything, take a step back for the big picture. You’ll need a way to hang your window on the wall.
In my case, I had an old wooden dresser that was easy enough to hammer hooks into. I’ve used sawtooth hangers in other cases, and they work just as well (if not better).
Be sure to measure your space before going overboard with buying anything special! Once you have everything set up, put your art panel in place and trace the wall with a pencil around it so you know where to nail it.
Types of Lighting a Stained Glass Window
Front lighting:
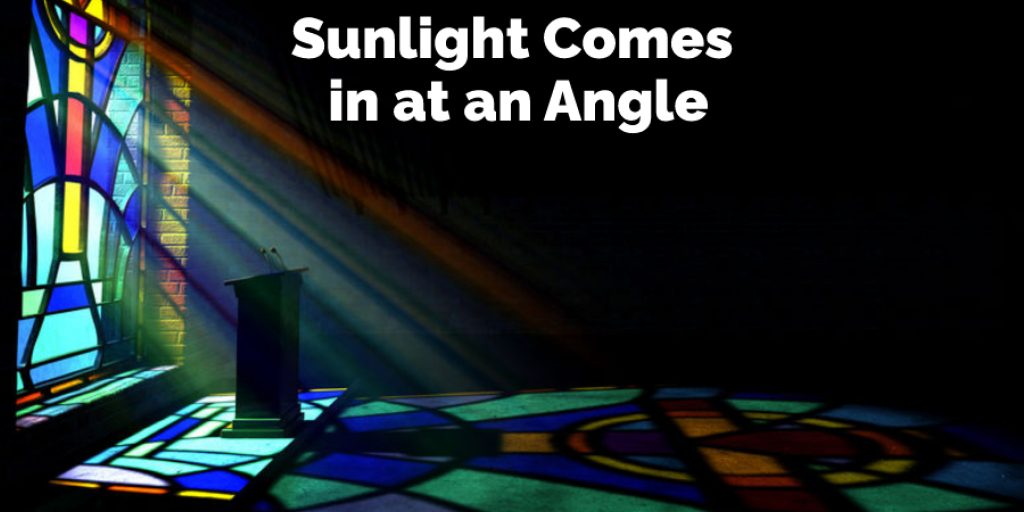
*Use front lighting when you wish to show intricate details in your work. This light casts shadows on faces and other small areas that highlight them beautifully. For this kind of lighting to be successful, you need to angle your window so that the sunlight comes in at an angle directly opposite where it initially shines into the room. Side Lighting :
Lighting from the side can really bring out the shape and form of objects placed against a wall. Side lighting should be done near noon or the brightest time of day.
Backlighting:
*This is one of the most effective ways to make your work stand out. The backlight shows a translucent glow around everything else in the room and also creates an overall warm tone in the environment. This type of lighting should be used to set off a piece from its surroundings or create an overall warm feeling in the environment.
Step-wise Guide on How to Light Stained Glass Window on Wall
Step 1
For this first goal, you need to choose a window with two or three glass panes. For an extra ethereal look, go for stained-glass windows. Place the hanging light outside the pane on the inside wall of your house so that its lower edge is near the bottom half-yard mark of the window frame.
The top point should be almost touching the ceiling level. However, if you have chosen only one pane as your source pane, place it directly below and behind it.
Carry out proper dry fitting before starting to complete installation work to prevent any injury or accidents during installing process by using small pieces of wood which will not create any scratches or holes on walls.
Step 2
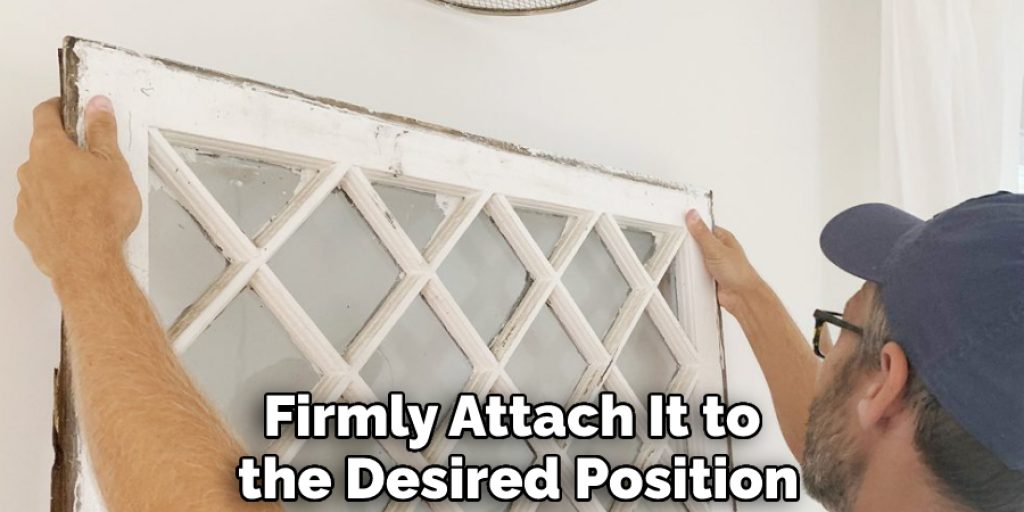
Take one side of the frame and secure it with a screw gun to the wall. Ensure that the light fixture hanging outside does not contact any part of the windowpane while doing so. If your bulb is loose, first fix it, then return to this step. To fix the other side of the glass on the wall, use a cordless drill or screws to firmly attach it to the desired position.
For more stability, use wood putty once you have completed the installation process by using a finishing hammer to smoothen up edges and clean up any rough patches left behind after the drilling process is complete. It is recommended that you take help from someone else to hold down the frame for doing so, as it can be cumbersome and awkward to hold alone.
Step 3
Now take a strip of wood and place it below the glass window pane to cover up any gap. It helps hide cords during installation and protects the cord from damage while hanging the glass above tiled flooring. Next, place a nail at each end of the trim, and hammer them into place for attaching the said strip to the wall with ease.
Step 4
Use your hands to pick up the piece of stained-glass windowpane after successfully completing the installation process. To hang it on the wall, let go over two open sides while leaving one side still attached to the frame by holding on to the handle on the top edge of the frame.
Then place a metal hanger on the open side of the frame. Release another side, and it will attach itself to the wall instantly!
Step 5
Now choose one side you want your light source to emit from and place the hanging bulb (this can be either a candle or a single electric bulb) so that it is just below the center point in the pane. This position will let the most light out while maximizing its effect on the room’s atmosphere.
We recommend positioning the hanging bulb 10 – 12 inches away from the glass pane for best effects. To achieve this goal, ensure that you provide proper height and ventilation for lamps while keeping in mind safety regulations applicable in your country not to cause any serious risk of fire or electric shock accident due to a short circuit.
Step 6
After this, choose the right light source depending on your preference and taste to achieve maximum ambiance. For example, if you have chosen a candle as your main light source, place it wherever you want but make sure that it does not threaten a home or family members in case of a fire accident. Also, as candles usually emit a strong smell, we recommend using them outside or only during special gatherings.
However, suppose a choice is given between an electric bulb and a candle. In that case, an electrical lamp with shades is highly recommended for indoor use to create the best ethereal mood for house parties, dinners, and social events!
Lighting Stained Glass Artwork with LED Panels and Fixtures
To properly light any stained glass artwork, you should use a combination of lighting types. This is for two reasons. First, most glass displays contain transparent or translucent portions and must be lit from the back. Secondly, it can be difficult to evenly cover an entire surface with one type of lighting without hot spots and uneven illumination.
If your display contains fully opaque pieces – like traditional windows – this is not as much of an issue since they will all be uniformly lit from behind. However, if you have a large window divided into sections by lead lines (like we do at our shop), those sections will want different types of lighting if you want them to look their best.
In some cases where there were small gaps between the lead lines, we added black felt to the back of the glass to mask those areas.
If you have a large display divided into sections with lead lines, the first thing you will want to do is cover all of those lines up with a coat or two of primer. This can be done as a light touch-up coat after cutting and/or sanding the edges of your pieces; however, if you are using E6000 to glue your artwork onto plywood, it would probably be best to wait until after everything has been glued down. Primer will make any small gaps filled nicely not to throw off any light when lit from behind.
Precautions While Learning How to Light Stained Glass Window on Wall
- Always ensure that electric lighting is not exposed to direct heat or sunlight for long periods.
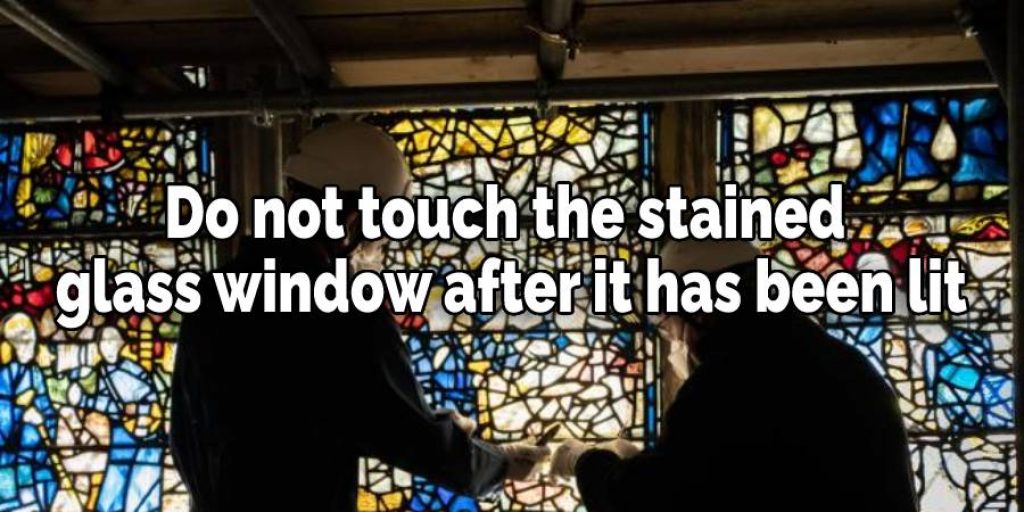
- Do not touch the stained glass window after it has been lit, as it will be hot for a while after the lights have been switched off.
- Ensure no children are around when you are lightening your stained glass window on your wall because they may get hurt by touching the hot glass windows.
- While handling frames, please consider how hot the glass gets when lit and take necessary precautions.
- Please check if all the wires are properly connected before switching on the main power source.
Conclusion
Stained glass windows have been around for centuries and are still an important part of many buildings. Lighting stained glass window on the wall is a great way to bring beauty into your home or office space, but there are some precautions you should take before lighting them up. I hope you have obtained all the information necessary on how to light stained glass windows on the wall. Thank you, and have a nice day!
You May Visit –


