
How to Light Up Acrylic With Led
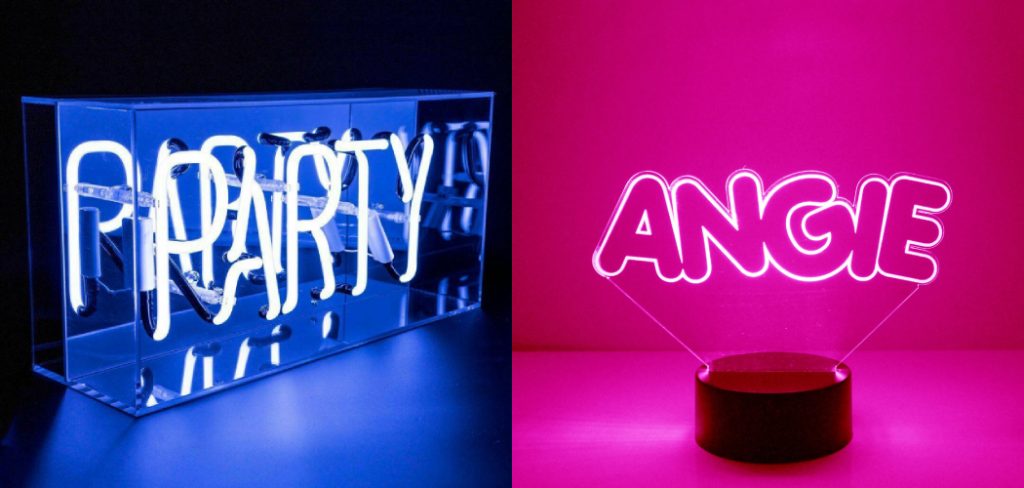
When it comes to acrylic, there are a ton of ways to light it up. Of course, you can use LEDs, CFLs, or even traditional light bulbs. But if you want to make your acrylic stand out, then LEDs are the way to go. Not only are they more energy efficient, but they also last longer and produce less heat. Plus, you can get them in just about any color imaginable.
In this blog post, we will be discussing how to light up acrylic with LEDs. We will give you a step-by-step guide on how to do this, as well as some tips and tricks on getting the best results. So, if you are interested in learning more about LED lighting for acrylic, then keep reading!
Can You Light Up Acrylic With Led?
When it comes to lighting up acrylic, LED lights are an excellent option. Not only are they energy efficient, but they also produce little to no heat and offer a variety of colors and lighting effects. When selecting an LED light strip for acrylic, choose one with a flexible design that can easily be attached to the surface.
Then, use adhesive tape or clear silicone glue to secure the strip. Finally, use a power source such as a battery pack or AC adapter to illuminate your creation. Whether using acrylic for signage or decorative displays, LED lights can add that extra touch of brilliance and charm. So go ahead and give it a try – let your acrylic shine with the power of LED lighting.
What Tools & Materials You’ll Need?
- A sheet of acrylic
- An LED light source
- Soldering iron and solder
- Electrical tape or heat shrink tubing
- A drill and appropriate bits (depending on the size of your LED)
Complete Guide on How to Light Up Acrylic With Led
Step 1: Choose the Right Led Light
There are many different types and shapes of LED lights available on the market, so it is important to choose the right one for your project. You will need to consider the light’s size, shape, power, and the type of batteries it uses. If the Led light is too big, it will not fit properly into the acrylic sheet. If it is too small, it will not provide enough light.

Step 2: Cut the Acrylic Sheet
Cutting acrylic sheets can seem daunting, but with the right tools and technique, it can be fairly straightforward. One of the most popular uses for acrylic is in creating illuminated signage or displays. The acrylic must be cut to fit the desired shape, and holes must be drilled for LED lights to shine through. First, ensure that the cutting tool is sharp and set at the correct depth for the thickness of your acrylic sheet. Next, trace a line on the sheet where you want it to be cut, and then use a straight edge to guide your cutting tool.
Step 3: Cut a Hole in the Acrylic Sheet
For drilling holes, use a drill bit with a small diameter, about half the width of your LED lights. Place the sheet on a work surface lined with scrap wood to prevent damage to your tabletop or surface below. Drill slowly and steadily at each marked point until you have a hole big enough for your LED to fit snugly through. If the holes are too big, the light will not be diffused properly and may shine through in an unwanted way.
Step 4: Insert the Led Light
Now it’s time to insert the LED light into the hole. First, ensure that the light points in the direction you want it to shine. If necessary, use a small amount of glue or adhesive to secure the light in place. Once the light is in position, check the fit by turning it on to make sure that the light shines through evenly.
Step 5: Solder the Positive Leads Together
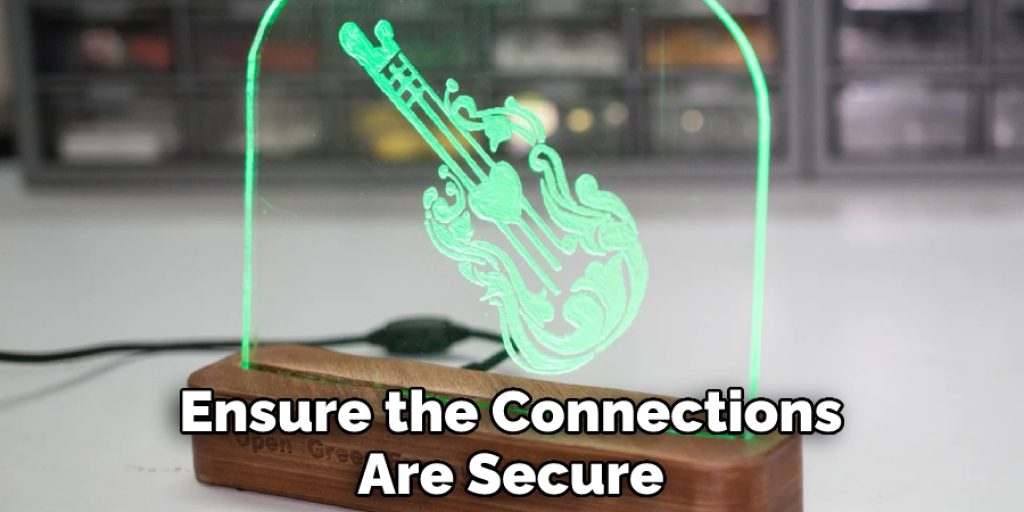
Using a soldering iron and solder, connect all of the positive leads of the LEDs. This can be done by soldering a wire to each positive lead and then connecting the wires. Make sure there are no gaps or spaces between the connections, as this could cause a short circuit.
Step 6: Solder the Negative Leads Together
Now do the same for the negative leads, soldering them all together. Once again, ensure the connections are secure and have no gaps. If your LEDs have legs, you can bend them to create a space between the positive and negative leads so they can be soldered together more easily. If you want to be extra safe, you can add a drop of hot glue to the connection once it has cooled.
Step 7: Attach the Power Supply
Now it’s time to connect your power supply. Using batteries, simply twist their positive and negative leads together and tape them off. For an AC adapter, connect the positive lead to the positive terminal and the negative lead to the negative terminal. Make sure the adapter is unplugged before making these connections!
Step 8: Hang or Mount the Acrylic Sheet
The final step is to hang or mount your acrylic sheet in its desired location. Use a clear fishing line or wire to create an invisible suspension for a hanging display. To mount the sheet, use double-sided tape or small Command strips. Be careful not to use too much adhesive, as it could cause the acrylic to warp.
Now you know how to light up acrylic with LED lights! This technique can be used for various projects, from illuminated signs and displays to unique home decor. So be creative and have fun!
How to Choose the Correct Acrylic Sheets?
There are several factors that you will need to take into account when choosing the right acrylic sheets for your project. These include the thickness of the sheet, the intended purpose of the sheet, and the type of lighting you will be using.
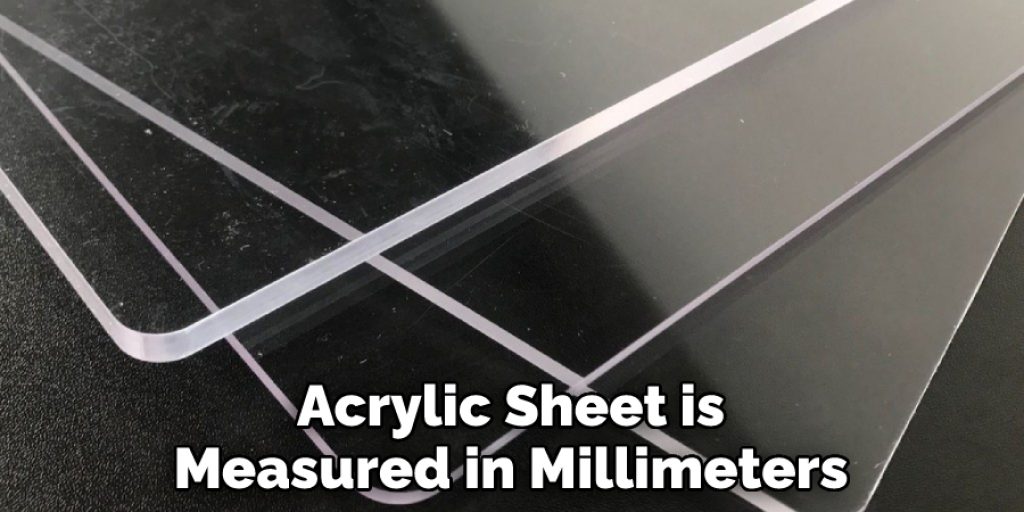
Thickness
The thickness of an acrylic sheet is measured in millimeters (mm). The thicker the sheet, the more durable it will be. However, thicker sheets are also more difficult to cut and drill. For most projects, 3-5mm thick sheets should be sufficient. However, if you are working on a project requiring extra durability, such as an outdoor sign, you may want to use a thicker sheet.
Intended Purpose
The intended purpose of the acrylic sheet will also dictate the thickness you will need. For example, if you are creating a display case, you will need a thicker sheet to provide extra support. On the other hand, if you are using the sheet for a craft project, a thinner sheet will be sufficient.
Lighting
The type of lighting you will be using will also dictate the thickness of the sheet. If you are using LED lights, you will need a thicker sheet to diffuse the light. For most other types of lighting, a thinner sheet will suffice. If your project is exposed to direct sunlight, you may want to use a UV-resistant sheet.
How to Cut Acrylic Sheets?
Acrylic sheets can be cut using various methods, including saws, lasers, and CNC machines. However, for most projects, a simple hand-held jigsaw will suffice. When cutting acrylic sheets, always use a clean, sharp blade to avoid chipping or cracking the material.
To minimize waste, it is best to first mark out the desired shape on the sheet before cutting. Then, when using a jigsaw, use a slow speed and steady hand to ensure a clean cut. A laser cutter or CNC machine will produce the best results if you are looking for a professional finish.
Tips for Cutting Acrylic Sheets
Here are some tips to keep in mind when cutting acrylic sheets:
1. Use a sharp blade
Dull blades can cause the acrylic sheet to crack or shatter.
2. Score the sheet first
Score it first with a sharp blade before cutting through the sheet. This will help prevent cracking and shattering.
3. Use a straightedge
When cutting, use a straightedge such as a ruler or measuring tape. This will help ensure that your cuts are straight and even.
4. Use clamps
To prevent the sheet from moving while cutting it, be sure to use clamps to secure it.
5. Go slowly
When cutting, take your time and go slowly. This will help prevent mistakes and ensure that you get a clean cut. Also, make sure to follow the line that you have marked out.
6. Use a dust mask
When cutting, wear a dust mask to avoid inhaling any fumes.

Final Words
It would help if you understood how to light up acrylic using an LED. Then, using the proper techniques, you can produce high-quality products that are illuminated and look great. Practice makes perfect, so keep it until you get the desired results. Don’t be afraid to experiment with different materials and methods to find what works best for you.
With a little patience and perseverance, you’ll be able to create amazing pieces illuminated by LEDs. We hope this guide on how to light up acrylic with led has been helpful. If you have any questions or comments, please contact us. We would be more than happy to help. Thanks for reading!


